
Introduction
Afghan Biscuits are a treasured classic originating from the culinary culture of New Zealand, embodying a rich history intertwined with community spirit and nostalgic baking traditions. Despite their name, these delightful cookies are not directly linked to Afghanistan; instead, their name is believed to be a playful or patriotic nod from the early 20th century. Known for their distinctive appearance featuring a chocolatey base topped with a glossy chocolate icing and a walnut half, Afghan Biscuits offer a harmonious blend of textures—from the crumbly, melt-in-the-mouth biscuit base to the crisp, shiny topping. The addition of cornflakes provides a subtle crunch, making each bite a satisfying experience. Their popularity has endured across generations, not only because of their delectable taste but also due to their simplicity and the nostalgic memories they evoke. As part of the Love With Recipes platform, this comprehensive guide aims to provide an in-depth understanding of the history, ingredient selection, preparation techniques, nutritional insights, and creative variations of Afghan Biscuits. Whether you’re a seasoned baker or a curious newcomer, this detailed exploration ensures you craft the perfect batch of these iconic treats, savoring every step of the baking journey.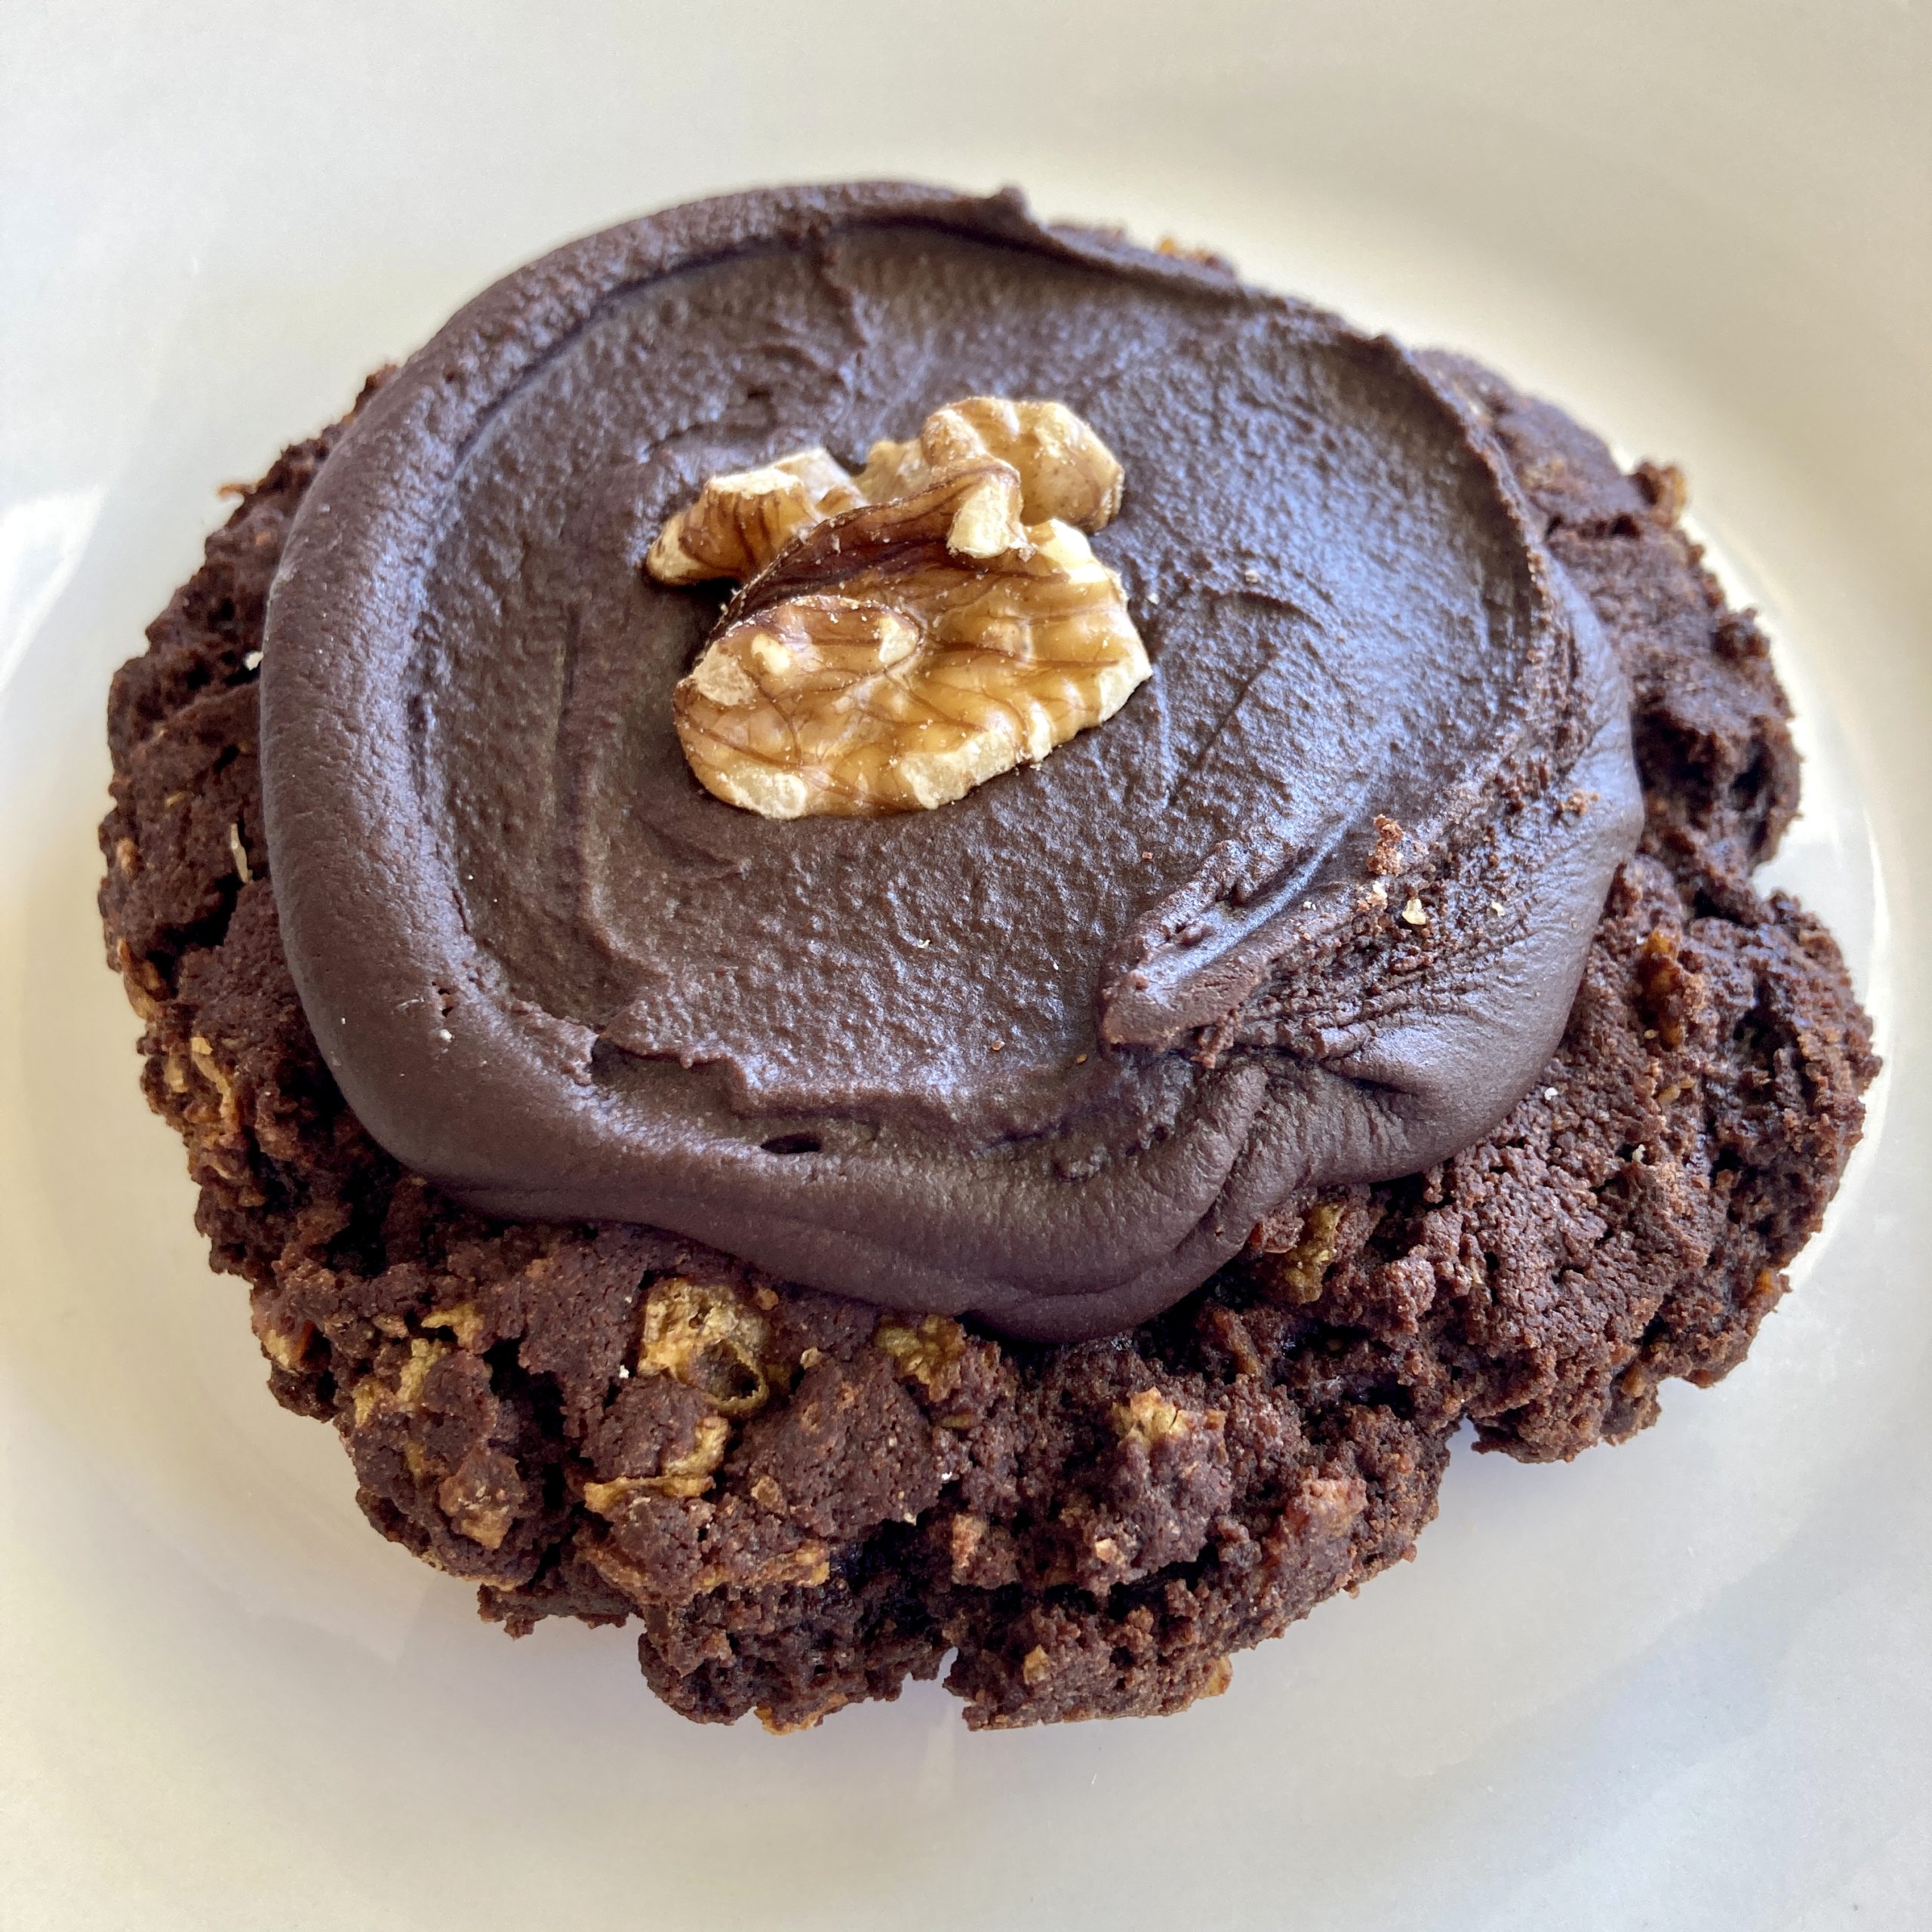
Estimated Time
From start to finish, preparing Afghan Biscuits takes approximately 45 minutes to 1 hour. This includes about 15-20 minutes of active preparation, 15 minutes of baking time, and additional time for cooling and decorating. For those meticulously shaping and decorating each biscuit, the process may extend slightly, but the overall effort remains manageable. The total time can vary depending on your familiarity with baking, your kitchen setup, and whether you’re making a large batch or a smaller quantity. For first-time bakers, allowing extra time for ingredient preparation and cooling will ensure optimal results. As with all baking endeavors, patience and attention to detail are key to achieving the perfect texture and appearance.
Needed Equipment
Essential Baking Tools
- Mixing bowls (various sizes)
- Electric hand or stand mixer (or a sturdy whisk)
- Sifting sieve or fine mesh strainer
- Measuring cups and spoons
- Kitchen scale (for precise measurement of ingredients)
- Rubber spatula or mixing spoon
- Baking tray or sheet pan
- Parchment paper or silicone baking mat
- Fork or biscuit stamp (for flattening cookies)
- Cooling rack
- Small saucepan (for melting butter and preparing icing)
- Whisk or spoon (for mixing icing)
- Knife and chopping board (for walnuts)
- Cookie scoop or tablespoon (for portioning dough)
- Pastry brush or offset spatula (optional, for icing application)
Optional Equipment for Advanced Technique
- Food processor (for chopping walnuts efficiently)
- Decorating piping bag and tips (for more refined icing application)
- Digital thermometer (to ensure precise melting temperatures)
Tags
Classic, Cookies, Sweet Treats, Baking, Kiwi Cuisine, Chocolate, Nutty, Family Favorite, Nostalgic, Easy Baking, Party Snacks, Homemade.
Serving Size
This recipe yields approximately 24 to 30 Afghan Biscuits, depending on the size of each cookie. Typically, each biscuit weighs about 20 grams. Serving size can be adjusted based on individual preferences, but it’s recommended to enjoy them in moderation considering their rich, calorie-dense nature.
Difficulty Level
Intermediate. The recipe involves multiple steps including creaming, folding in ingredients, handling delicate dough with cornflakes, and preparing a smooth icing. While not overly complex, attention to detail—especially in achieving the right dough consistency and proper icing texture—is essential for professional-looking results.
Allergen Information
| Allergen | Contains | Notes |
|---|---|---|
| Wheat | Yes | Contains all-purpose flour |
| Gluten | Yes | Derived from wheat flour |
| Butter | Yes | Made from dairy |
| Cocoa | Yes | Chocolate component |
| Nuts | Walnuts | Potential allergen |
| Sugar | Yes | Includes icing sugar and granulated sugar |
| Eggs | No | Recipe does not include eggs |
Dietary Preference
Vegetarian. The recipe does not contain any meat or animal-derived ingredients other than dairy. It is not vegan due to the use of butter and possibly dairy-based icing. For vegan adaptations, substitute plant-based butter and dairy-free icing alternatives.
Course
Dessert, Snack, Afternoon Tea Treat, Party Favor.
Cuisine
New Zealand / Kiwi Cuisine
Ingredients
In a detailed table for clarity
| Ingredient | Quantity | Notes |
|---|---|---|
| Butter, softened | 200 grams (7 ounces) | Use unsalted butter for better control over salt content |
| Sugar | 1/2 cup (100 grams) | Granulated white sugar |
| All-purpose flour | 1 1/4 cups (150 grams) | Ensure it’s sifted for lightness |
| Cocoa powder, unsweetened | 1/4 cup (25 grams) | Use high-quality cocoa for richer flavor |
| Cornflakes | 2 cups (about 60 grams) | Crushed slightly if very large |
| Chopped walnuts | 1/2 cup (60 grams) | Optional, for topping |
| Icing sugar (powdered sugar) | 1 cup (120 grams) | Sifted for smooth icing |
| Cocoa powder (for icing) | 2 tablespoons (10 grams) | |
| Melted butter (for icing) | 2 tablespoons (30 grams) | |
| Boiling water | 2-3 tablespoons | Adjust for desired icing consistency |
Instructions
Step 1: Prepare Your Workspace
Begin by gathering all your ingredients and equipment. Preheat your oven to 180°C (350°F). Line your baking tray with parchment paper or a silicone baking mat to prevent sticking and facilitate easy cleanup. Have your cooling rack ready nearby. Measure out all ingredients precisely, using a kitchen scale for accuracy, especially with the butter and flour, to ensure consistent results.
Step 2: Cream Butter and Sugar
In a large mixing bowl, combine the softened butter and sugar. Using an electric mixer on medium speed, beat the mixture until it turns pale and fluffy. This process typically takes about 2-3 minutes. Proper creaming incorporates air into the mixture, resulting in a tender crumb in the final cookies. Scrape down the sides of the bowl periodically to ensure even mixing.
Step 3: Sift and Incorporate Dry Ingredients
In a separate bowl, sift together the all-purpose flour and cocoa powder. Sifting helps eliminate lumps and aerates the dry ingredients, ensuring a smooth dough. Gradually add the sifted mixture to the creamed butter and sugar. Mix on low speed or fold in with a spatula until the dry ingredients are just incorporated. Be careful not to overmix to maintain the tenderness of the cookies.
Step 4: Fold in Cornflakes
Gently fold the cornflakes into the dough. For this step, use a spatula or wooden spoon to fold carefully, preserving the integrity of the cornflakes and preventing them from breaking apart excessively. The goal is to distribute the cornflakes evenly throughout the dough, adding a pleasant crunch to the final biscuit.
Step 5: Portion and Shape the Biscuits
Using a cookie scoop or tablespoon, portion out the dough into uniform mounds, approximately 2 teaspoons per cookie. Place them onto the prepared baking tray, leaving about 2 inches between each to allow spreading. Lightly flatten each cookie with the back of a fork or a biscuit stamp, pressing gently to encourage even baking and a recognizable flat shape.
Step 6: Bake and Monitor
Place the tray in the preheated oven. Bake for approximately 15 minutes, or until the cookies are set around the edges and display a slightly cracked surface. The appearance should be firm but not overly dry or burnt. Baking times may vary depending on your oven’s calibration and the thickness of your cookies. Keep a close eye during the final minutes to prevent overbaking, which can lead to excessive dryness.
Step 7: Cooling and Resting
Remove the cookies from the oven and allow them to cool on the tray for 5 minutes. This resting period helps them set and reduces the risk of breaking when transferring. Use a spatula to carefully lift the biscuits and transfer them to a wire rack. Cool completely before proceeding to icing, as warm cookies may cause the icing to melt or slide off.
Step 8: Prepare the Chocolate Icing
While the biscuits cool, prepare the icing. In a small saucepan over low heat or a microwave-safe bowl, melt the butter. In a separate bowl, sift the icing sugar and cocoa powder to prevent lumps. Add the melted butter to the dry mixture, then gradually stir in boiling water, one tablespoon at a time, until you achieve a smooth, glossy, and spreadable consistency. The icing should be thick enough to hold its shape but fluid enough to spread easily.
Step 9: Decorate the Biscuits
Once biscuits are completely cool, spoon a small dollop of icing onto the center of each biscuit. Use the back of a teaspoon or a small spatula to spread the icing evenly over the top, creating a glossy layer. Immediately place a walnut half on top of each iced biscuit, pressing gently to secure. The walnuts add a pleasing crunch and visual appeal, completing the iconic look of Afghan Biscuits.
Step 10: Final Rest and Storage
Allow the iced biscuits to rest at room temperature for at least 30 minutes, allowing the icing to set and firm up. Once hardened, store the biscuits in an airtight container at room temperature for up to a week. To maintain freshness and prevent the icing from becoming sticky, keep them separated with parchment paper or in a layered container. For longer storage, they can be refrigerated but are best enjoyed at room temperature.
Preparation Tips
- Ingredient Quality: Use high-quality cocoa powder and fresh butter to maximize flavor.
- Handling Cornflakes: Do not crush the cornflakes too finely; they should retain some crunch.
- Uniform Size: Use a cookie scoop for consistent portioning, ensuring even baking.
- Cooling Time: Patience in cooling prevents melting the icing and preserves the biscuit’s shape.
- Decorative Precision: For elegant presentation, use piping bags for icing or a fine spatula for smoother coating.
Nutritional Information
| Nutrient | Per Approximate Serving (per biscuit) |
|---|---|
| Calories | 200-250 kcal |
| Total Fat | 10-15 grams |
| Saturated Fat | 5-8 grams |
| Carbohydrates | 25-30 grams |
| Sugar | 10-15 grams |
| Protein | 2-3 grams |
| Fiber | Minimal |
| Sodium | Less than 100 mg |
Tips and Tricks
- For a richer chocolate flavor: Use dark cocoa or add a touch of espresso powder to the dough.
- Adding flavor variations: Incorporate a splash of vanilla or a pinch of cinnamon into the dough for nuanced taste.
- For a glossy icing: Use boiling water and avoid over-mixing once water is added.
- Walnut alternatives: Substitute with hazelnuts, almonds, or dried fruit for different flavor profiles.
- Shape customization: Use cookie cutters for themed or decorative biscuits.
Add-ons and Variations
- Chocolate drizzle: Instead of icing, drizzle melted chocolate over the biscuits for a more decadent look.
- Spiced biscuits: Add a pinch of cinnamon, chili powder, or ginger to the dough for a spicy kick.
- Vegan version: Replace butter with coconut oil or vegan margarine, and use dairy-free icing alternatives.
- Nut-free: Omit walnuts or replace with seeds like pumpkin or sunflower for allergy-friendly options.
Side Dishes
Afghan Biscuits are often served with a hot beverage such as tea, coffee, or hot chocolate. They complement breakfast spreads, afternoon tea, or serve as a sweet ending to a meal. For a more elaborate presentation, pair them with fresh berries or a dollop of whipped cream.
Improvements and Creative Twists
- Layered biscuits: Sandwich two biscuits with a layer of jam or cream for added richness.
- Decorative touches: Use colored icing or edible glitter for festive occasions.
- Healthier modifications: Incorporate oats or use whole wheat flour for added fiber and nutrients.
- Miniature versions: Make bite-sized biscuits for parties and gatherings.
Save and Store
Proper storage ensures your Afghan Biscuits remain fresh and delicious. Keep them in an airtight container at room temperature for up to one week. For longer shelf life, refrigerate them, but bring to room temperature before serving to enjoy their optimal texture. Avoid stacking heavy layers directly on top of each other to prevent breakage; use parchment paper between layers if needed.
Frequently Asked Questions (FAQs)
Can I make Afghan Biscuits gluten-free?
Yes. Substitute the all-purpose flour with a gluten-free flour blend suitable for baking. Ensure the blend includes xanthan gum or other binding agents if necessary. Keep in mind that texture may vary slightly based on the alternative flour used.
Can I freeze Afghan Biscuits?
Absolutely. Once cooled and iced, place biscuits in a single layer on a baking sheet to freeze until firm. Then, transfer to an airtight container or freezer bag for up to 3 months. To enjoy, thaw at room temperature and re-ice if needed for presentation.
Are Afghan Biscuits suitable for children?
Yes, but due to their high sugar content, they should be enjoyed in moderation. Consider reducing sugar or adding healthier ingredients for a more nutritious version suitable for children’s consumption.
How can I make the icing more glossy or shiny?
Use boiling water in the icing mixture and stir until smooth. Applying a thin layer of warm icing and allowing it to set at room temperature also enhances glossiness. For an extra shine, a light brushing with a bit of edible glaze or a quick warm-up of the icing can help achieve a mirror-like finish.
Conclusion
In the realm of baked confections, Afghan Biscuits stand out as a quintessential treat that embodies simplicity, nostalgia, and delightful flavor. Their rich chocolate base complemented by crunchy cornflakes and topped with a luscious chocolate icing and walnut embellishment create a symphony of textures and tastes that appeal to all ages. Perfect for sharing at gatherings, gifting, or enjoying as a personal indulgence, these biscuits exemplify the charm of traditional baking. The detailed techniques and tips provided by Love With Recipes ensure that every baker can craft a batch that rivals commercial or bakery-quality standards. Whether you are revisiting a childhood favorite or discovering this iconic treat for the first time, the process of baking Afghan Biscuits is as rewarding as the delightful crunch and melt-in-your-mouth richness they deliver.
References
1. Traditional New Zealand Baking: An Ethnographic Perspective by Margaret Christie, 2012.
2. The History of Afghan Biscuits – NZ Baking Archives, 2018.