Golden Crunch Skorpor: Traditional Swedish Crispy Bread Recipe
Introduction
Skorpor, a traditional Scandinavian biscuit-like snack, originates from Sweden and is cherished for its crisp texture and subtle, aromatic flavor. These twice-baked bread slices are the perfect accompaniment to a warm cup of tea or coffee, offering a delightful crunch that complements various spreads, jams, or simply enjoyed plain. This recipe, shared through Love With Recipes, offers an authentic approach to crafting homemade skorpor that are crispy, flavorful, and irresistibly fresh.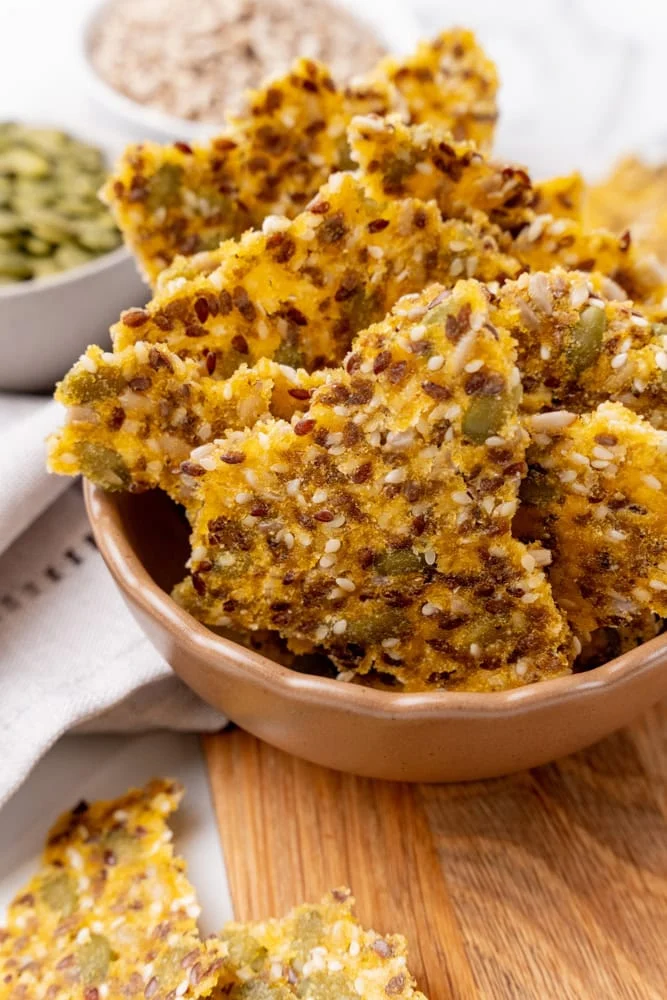
Making skorpor at home not only allows you to control the ingredients and customize flavors but also provides a satisfying baking experience rooted in Scandinavian culinary tradition. The process involves preparing a rich yeasted dough, shaping it into rolls, baking, slicing, and then drying them thoroughly to achieve that signature crunch. With attention to detail, patience, and a few essential tools, you can create a batch of skorpor that rivals store-bought or bakery versions, imbued with your personal touch.
Time
The total time required to make skorpor from start to finish is approximately 2 hours and 10 minutes. This includes preparation, rising, baking, and drying processes. While the active effort is relatively short, the bulk of the time is passive, allowing the dough and baked rolls to rise and dry in the oven. Proper planning and timing ensure that your skorpor turn out perfectly crispy and satisfyingly crunchy.
Needed Equipment
- Mixing bowls (medium and large)
- Whisk or hand mixer (for creaming ingredients)
- Measuring spoons and cups
- Kitchen scale (optional, for precise measurement of ingredients)
- Stand mixer with dough hook (optional but recommended for easier kneading)
- Baking sheet(s)
- Parchment paper or silicone baking mats
- Serrated bread knife or utility knife (for slicing baked rolls)
- Cooling racks
- Pastry brush (optional, for egg wash, if desired)
- Oven thermometer (to ensure accurate temperature)
- Kitchen towel or plastic wrap (for covering dough)
- Timer
Tags
Scandinavian, Scandinavian baking, homemade bread, biscuits, crunchy snacks, traditional recipes, breakfast, tea-time treats, baking from scratch, bread making, crispy bread slices, skorpor, Swedish cuisine, artisanal baking, homemade snacks, traditional Scandinavian desserts.
Serving Size
Each batch yields approximately 80 skorpor, which translates to about 2 pieces per serving. The nutritional facts are based on a single piece, making it easy to plan servings for breakfast, snack time, or tea parties.
Difficulty Level
This recipe is rated as moderate in difficulty. It requires basic bread-making skills, such as yeast activation, dough kneading, and precise baking. Patience during rising and drying phases is essential for achieving optimal texture and flavor. Basic knowledge of oven operation and slicing techniques will help ensure success.
Allergen Information
| Allergen | Contains | Notes |
|---|---|---|
| Gluten | Yes | From wheat flour |
| Dairy | Yes | Butter and margarine used |
| Soy | Possibly, depending on margarine | Check margarine label if soy allergy is severe |
| Sugar | Yes | |
| Eggs | No | Not included in this recipe |
Dietary Preference
This recipe is suitable for vegetarians. It can be adapted for vegans by substituting plant-based margarine and plant milk, and ensuring the sugar is vegan-friendly. Always check ingredient labels for compliance with dietary preferences.
Course
Snack, Breakfast, Tea-time, Appetizer
Cuisine
Scandinavian, Swedish
Ingredients
Ingredient Quantities and Details
| Ingredient | Quantity | Details |
|---|---|---|
| Dry yeast | 2 teaspoons | Active dry yeast for leavening |
| Milk | 2 cups (480 ml) | Warm, about 37°C (98.6°F) |
| Butter | 3/4 cup (170 g) | Melted |
| Margarine | 1/2 cup (113 g) | Softened or melted |
| Sugar | 1 cup (200 g) | Granulated white sugar |
| Salt | 1 teaspoon | Refined salt |
| Cardamom | 1 teaspoon | Ground, adds aromatic flavor |
| Flour | 4-5 cups (480-600 g) | All-purpose or bread flour |
Instructions
1. Preparing the Yeast Mixture
Begin by activating the dry yeast. In a small mixing bowl, combine the 2 teaspoons of active dry yeast with 2 cups of warm milk. The milk should be heated to approximately 37°C (98.6°F), which is warm to the touch but not hot enough to kill the yeast. Stir gently to dissolve the yeast completely, ensuring there are no clumps. Let this mixture sit undisturbed for 5-10 minutes, allowing the yeast to become frothy and active. If after this time, the mixture does not foam or bubble, discard and start anew with fresh yeast, as this indicates inactive yeast or improper activation temperature.
2. Creaming the Fat and Sugar
In a large mixing bowl, or using a stand mixer fitted with a paddle attachment, combine the softened or melted butter, margarine, sugar, salt, and ground cardamom. Using a whisk or mixer on medium speed, beat the mixture until it turns pale, fluffy, and well-incorporated. This process typically takes about 3-5 minutes. The goal is to aerate the fats and sugar, creating a light base for the dough. Proper creaming helps develop the texture of the final skorpor, contributing to a tender interior despite their crispy exterior.
3. Incorporating the Yeast Mixture
Once the yeast mixture is frothy, pour it gradually into the creamed fats and sugar. Mix thoroughly to distribute the yeast evenly throughout the dough base. This ensures proper fermentation and rise during the proofing stage. Use a spatula or mixer on low speed to combine, avoiding overmixing at this stage to prevent gluten development that could affect the final texture.
4. Incorporating the Flour
Start adding the flour gradually, beginning with 1 cup at a time. For best results, sift the flour beforehand to aerate it and prevent lumps. Mix each addition thoroughly before adding the next, aiming for a smooth, elastic dough that pulls away from the sides of the bowl. The total amount of flour can vary based on humidity and flour type, so add until a soft, slightly sticky dough forms that is manageable but not overly dry. The dough should be pliable and smooth, not stiff or sticky.
5. Kneading the Dough
If using a stand mixer, knead on low speed for approximately 8-10 minutes. If kneading by hand, turn the dough onto a lightly floured surface and knead for about 10-12 minutes until smooth and elastic. Proper kneading develops gluten, which provides structure and chewiness to the skorpor. The dough should be soft but resilient, with a slight tackiness that does not stick excessively to your hands or surface.
6. First Rise (Proofing)
Shape the dough into a ball and place it in a clean, lightly oiled bowl. Cover with a damp kitchen towel or plastic wrap to prevent drying. Let the dough rise in a warm, draft-free environment for about 1 to 1.5 hours or until it has doubled in size. During this period, the yeast ferments the sugars, producing carbon dioxide that causes the dough to expand, developing flavor and texture.
7. Shaping the Rolls
Once the dough has doubled in volume, punch it down gently to release excess gas. Turn it onto a floured surface and divide it into approximately 40 equal portions, each weighing about 20 grams. Shape each portion into a smooth, round roll by pinching the dough into a tight ball and smoothing the surface with your hands. The shaping process influences the final appearance and uniformity of the skorpor.
8. Second Rise (Final Proof)
Arrange the shaped rolls on a baking sheet lined with parchment paper or silicone baking mats, leaving enough space between each for expansion. Cover with a clean kitchen towel or plastic wrap and let them rise again for about 30 minutes, until slightly puffed. This secondary proof ensures the rolls develop a light, airy crumb before baking.
9. Baking the Rolls
Preheat your oven to 225°C (450°F). Bake the rolls for 5-10 minutes or until they turn a beautiful golden brown and are baked through. The initial baking at high heat creates a crusty exterior while maintaining a tender interior. Remove from the oven and transfer to a cooling rack. Cool completely before proceeding to slicing and drying.
10. Slicing the Baked Rolls
Once cooled, carefully slice each roll horizontally into two equal halves using a serrated bread knife. This step is crucial for achieving the characteristic twice-baked texture. Use gentle sawing motions to prevent crumbling. Be patient and precise to ensure even slices, which will toast uniformly during the drying phase.
11. Toasting and Drying the Skorpor
Place the sliced halves on a baking sheet, cut side up. Return them to the oven preheated to 225°C (450°F). Toast for an additional 5-10 minutes or until lightly golden. This initial toasting enhances flavor and creates a dry surface suitable for thorough drying.
Lower the oven temperature to 100°C (212°F). Transfer the toasted skorpor to the oven and dry for about 1 to 1.5 hours. The low temperature draws out residual moisture, ensuring the skorpor become crispy and dry, perfect for storage and long shelf life. Check periodically to prevent over-drying or burning. The drying process is essential for achieving the signature crunch and preventing mold or spoilage.
Preparation Tips
- Yeast Activation: Ensure the milk is at the correct temperature—warm but not hot—to activate the yeast effectively. If the milk is too hot, it can kill the yeast; too cold, and activation will be slow or unsuccessful.
- Flour Choice: Use high-quality all-purpose or bread flour for optimal gluten development and texture. Sift flour for a lighter dough and avoid over-flouring to prevent tough skorpor.
- Dough Consistency: Aim for a soft but manageable dough that is slightly sticky. Adjust flour quantity based on humidity and flour type to achieve this consistency.
- Rising Environment: Use a warm, draft-free space for proofing. You can create a makeshift proofing box by placing the bowl inside an oven with the light on or near a warm appliance.
- Slicing Technique: Use a serrated bread knife for clean, even cuts. Warm the knife slightly if the bread resists slicing.
- Drying Process: Patience is key. Ensure the skorpor are thoroughly dried to prevent mold and maximize crunchiness. The low-temperature drying can be extended slightly if needed.
Nutritious Information
| Per Serving (1 piece) | Amount |
|---|---|
| Calories | 47.3 kcal |
| Fat | 2 g |
| Saturated Fat | 1.2 g |
| Cholesterol | 5.4 mg |
| Sodium | 44.5 mg |
| Carbohydrates | 6.4 g |
| Fiber | 0.2 g |
| Sugar | 1.3 g |
| Protein | 0.9 g |
Tips and Tricks
- Flavor Variations: Add a touch of vanilla, lemon zest, or cinnamon to the dough for a flavor twist.
- Sweet or Savory: Incorporate dried fruits, nuts, or seeds into the dough for added texture and flavor.
- Storage: Keep skorpor in airtight containers to maintain crunchiness. They can last up to 2 weeks if stored properly.
- Vegan Option: Substitute dairy fats with coconut oil or vegan margarine, and use plant-based milk.
Add-ons
- Butter or margarine for serving
- Homemade jams, marmalades, or honey
- Nut butters or chocolate spread
Side Dishes
- Fresh fruit slices
- Yogurt dips or cheese spreads
- Warm fruit compotes
Improvements
- Experiment with different flours such as spelt or rye for unique flavors.
- Add herbs or spices like fennel seeds or ginger for seasonal variations.
- Use a bread machine for kneading and proofing if available.
Save and Store
After the skorpor have cooled completely, store them in an airtight container at room temperature. Keep them away from direct sunlight or humidity to preserve their crispness. For longer storage, you can freeze the dried skorpor in an airtight container or freezer bag for up to 3 months. To re-crisp, warm briefly in a low-temperature oven before serving.
FAQ
Can I make skorpor gluten-free?
Traditional skorpor rely on wheat flour for gluten structure. Substituting with gluten-free flours like rice or almond flour will alter the texture significantly, and additional binding agents such as xanthan gum may be necessary. It is recommended to seek specialized gluten-free bread recipes for similar results.
Can I skip the second drying step?
No, the second drying step is essential for achieving the characteristic crunch. Skipping it will result in softer, less crispy skorpor that may spoil faster.
How long do homemade skorpor last?
If properly dried and stored in an airtight container, they can last up to two weeks at room temperature. For extended shelf life, freeze them and re-toast before serving.
What variations can I add to the dough?
Feel free to incorporate spices like cinnamon or nutmeg, or mix in dried fruits, nuts, or seeds for added flavor and texture.
Conclusion
Homemade skorpor embody the best of Scandinavian baking—crisp, fragrant, and nourishing. The process, while requiring patience during proofing and drying, rewards you with a snack that pairs beautifully with beverages and spreads alike. By mastering this recipe, you bring a piece of Swedish culinary tradition into your home, with the bonus of customizing flavors and ingredients to suit your taste. Whether enjoyed during a cozy morning, a relaxing afternoon tea, or as a thoughtful gift, these skorpor will never disappoint. Explore variations, share with loved ones, and savor every crunchy bite, all through the guidance of Love With Recipes.
References
- Swedish Food Culture: An Introduction to Traditional Scandinavian Baking – Scandinavian Culinary Institute
- Authentic Swedish Baking Recipes – Nordic Food & Culture Journal

