Ultimate Homemade Bisquick Mix: Quick & Easy Sodium-Free Baking Mix Recipe
Introduction
Making your own Bisquick mix at home is a fantastic way to enjoy all your favorite recipes without the added sodium and preservatives found in store-bought versions. This homemade mix is versatile, cost-effective, and allows you to control the ingredients based on your dietary needs. Whether you’re whipping up pancakes for breakfast, biscuits for dinner, or a quick batch of muffins, this mix has got you covered. Let’s dive into how you can create this pantry staple and bring convenience to your cooking!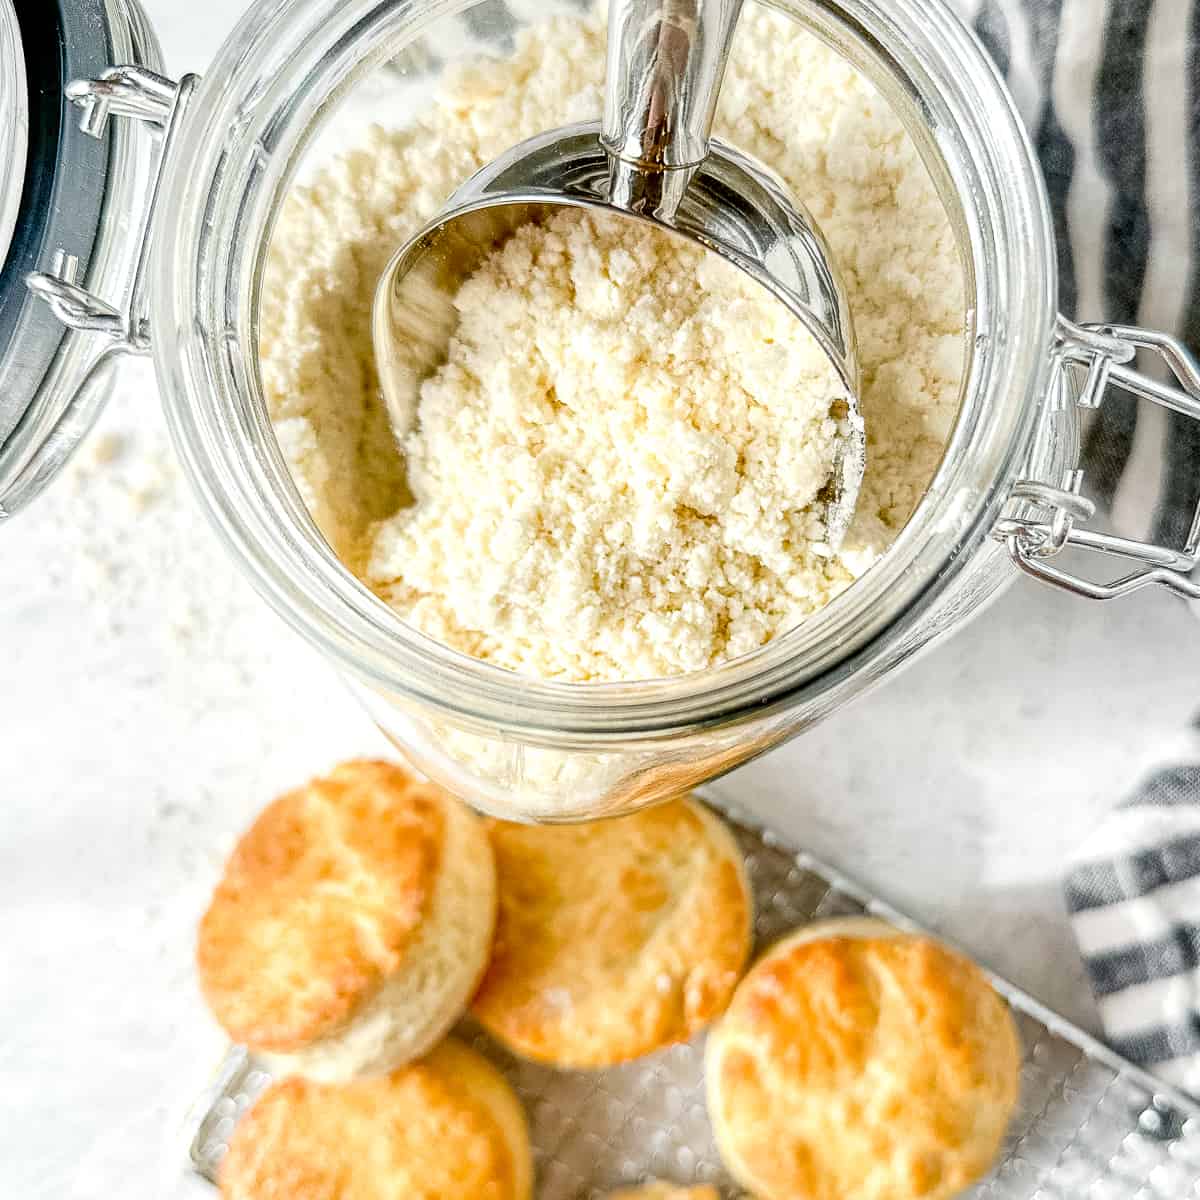
Time
- Preparation Time: 15 minutes
- Total Time: 15 minutes
Equipment Needed
- Large mixing bowl
- Measuring cups and spoons
- Pastry cutter or fork
- Airtight storage container
- Labels and markers (for storage)
Tags
- Easy
- Quick
- Baking Mix
- Homemade
- Substitute
Serving Size
- Yield: Makes 12 cups of baking mix
Difficulty Level
- Easy
Allergen Information
- Contains: Gluten (from all-purpose flour)
- Optional: Dairy (if using butter instead of shortening)
Dietary Preference
- Vegetarian
- Can be made vegan (by using vegetable shortening and sugar instead of sugar substitutes)
Course
- Baking Mix / Pantry Staple
Cuisine
- American
Ingredients
| Quantity | Ingredient |
|---|---|
| 10 cups | All-purpose flour |
| 1/3 cup | Featherweight baking powder |
| 1/4 cup | Splenda sugar substitute (or sugar) |
| 1 cup | Shortening or butter |
| 2 tablespoons | Salt (optional, to taste) |
Instructions
- Mix Dry Ingredients:
- In a large mixing bowl, combine 10 cups of all-purpose flour, 1/3 cup of featherweight baking powder, and 1/4 cup of Splenda sugar substitute. If desired, add 2 tablespoons of salt to enhance the flavor.
- Tip: Sift the dry ingredients together to ensure they are well combined and to remove any lumps.
- Cut in Shortening:
- Add 1 cup of shortening or butter to the dry ingredients.
- Using a pastry cutter or fork, cut the shortening into the flour mixture until it resembles coarse crumbs.
- Tip: For easier mixing, make sure the shortening or butter is cold. This helps create a flaky texture in your baked goods.
- Storage:
- Transfer the mixture into an airtight container.
- Label the container with the date and contents.
- Store at room temperature for up to 6 weeks. For longer storage, you can freeze the mix for several months.
Preparation Tips
- Even Distribution: Ensure the shortening is evenly distributed throughout the mix to achieve consistent results in your recipes.
- Alternative Fats: You can use coconut oil or vegan butter substitutes for different flavors or to accommodate dietary preferences.
- Customize Sweetness: Adjust the amount of sugar substitute or use natural sweeteners like honey or maple syrup.
Nutritional Information (Per Serving, Approximate)
| Nutrient | Amount per Serving |
|---|---|
| Calories | 697.2 kcal |
| Fat | 35.2 g |
| Saturated Fat | 13.9 g |
| Cholesterol | 19.1 mg |
| Sodium | 8.1 mg |
| Carbohydrates | 83.7 g |
| Fiber | 3 g |
| Sugar | 1.2 g |
| Protein | 10.8 g |
Tips and Tricks
- Sodium-Free Option: Omit the optional salt to create a sodium-free mix, ideal for low-sodium diets.
- Gluten-Free Version: Substitute all-purpose flour with a gluten-free flour blend to accommodate gluten sensitivities.
- Whole Grain Option: Replace half of the all-purpose flour with whole wheat flour for added fiber and nutrients.
Add-ons
- Flavor Enhancements: Add spices like cinnamon or nutmeg for a flavored mix.
- Nutritional Boosts: Incorporate ground flaxseed or chia seeds for added omega-3 fatty acids and fiber.
Side Dishes
- Biscuits: Use the mix to make quick biscuits to accompany soups and stews.
- Pancakes and Waffles: Create easy breakfast options by adding milk and eggs.
Improvements
- Extended Shelf Life: Store the mix in the refrigerator or freezer to extend its shelf life beyond six weeks.
- Texture Variation: For a coarser texture in your baked goods, leave slightly larger chunks of shortening when cutting it into the flour.
Save and Store
- Room Temperature Storage: Keep the mix in a cool, dry place, sealed tightly.
- Freezing Instructions: Place the mix in freezer-safe containers or bags to prevent freezer burn.
Frequently Asked Questions
- Can I use this mix in recipes that call for store-bought Bisquick?
- Yes, this homemade mix is a direct substitute for Bisquick in any recipe.
- How do I make pancakes using this mix?
- Combine 2 cups of the mix with 1 cup of milk and 2 eggs. Stir until just combined and cook on a greased griddle.
- Is the sugar necessary in the mix?
- The sugar adds a slight sweetness but can be omitted if you prefer a savory mix.
- What is featherweight baking powder, and can I use regular baking powder?
- Featherweight baking powder is sodium-free. You can use regular baking powder, but it will increase the sodium content.
- Can I use butter instead of shortening?
- Yes, butter can be used for a richer flavor, but it may reduce the shelf life of the mix due to its moisture content.
Conclusion
Enjoy the convenience and flexibility of this homemade Bisquick mix. It’s a simple yet effective way to bring homemade goodness to your kitchen while controlling the ingredients to suit your dietary needs. With this mix on hand, you’ll be ready to create delicious pancakes, biscuits, and more at a moment’s notice. Happy baking! 🥞🍪🧁

