Bihari Karela Aloo Sabzi: Bitter Gourd and Potato Stir-Fry Recipe
Introduction
Embarking on a culinary journey through the vibrant and diverse landscape of Indian cuisine, the Bihari Karela Aloo Sabzi stands out as a quintessential example of how traditional flavors can be harmoniously balanced to create a dish that is both nourishing and bursting with authentic regional taste. Originating from the culturally rich state of Bihar, this sabzi exemplifies the clever use of bitter gourd, or karela, which is often misunderstood for its bitterness but, when prepared with care and culinary finesse, transforms into a delightful vegetable that complements the soft, starchy potatoes beautifully.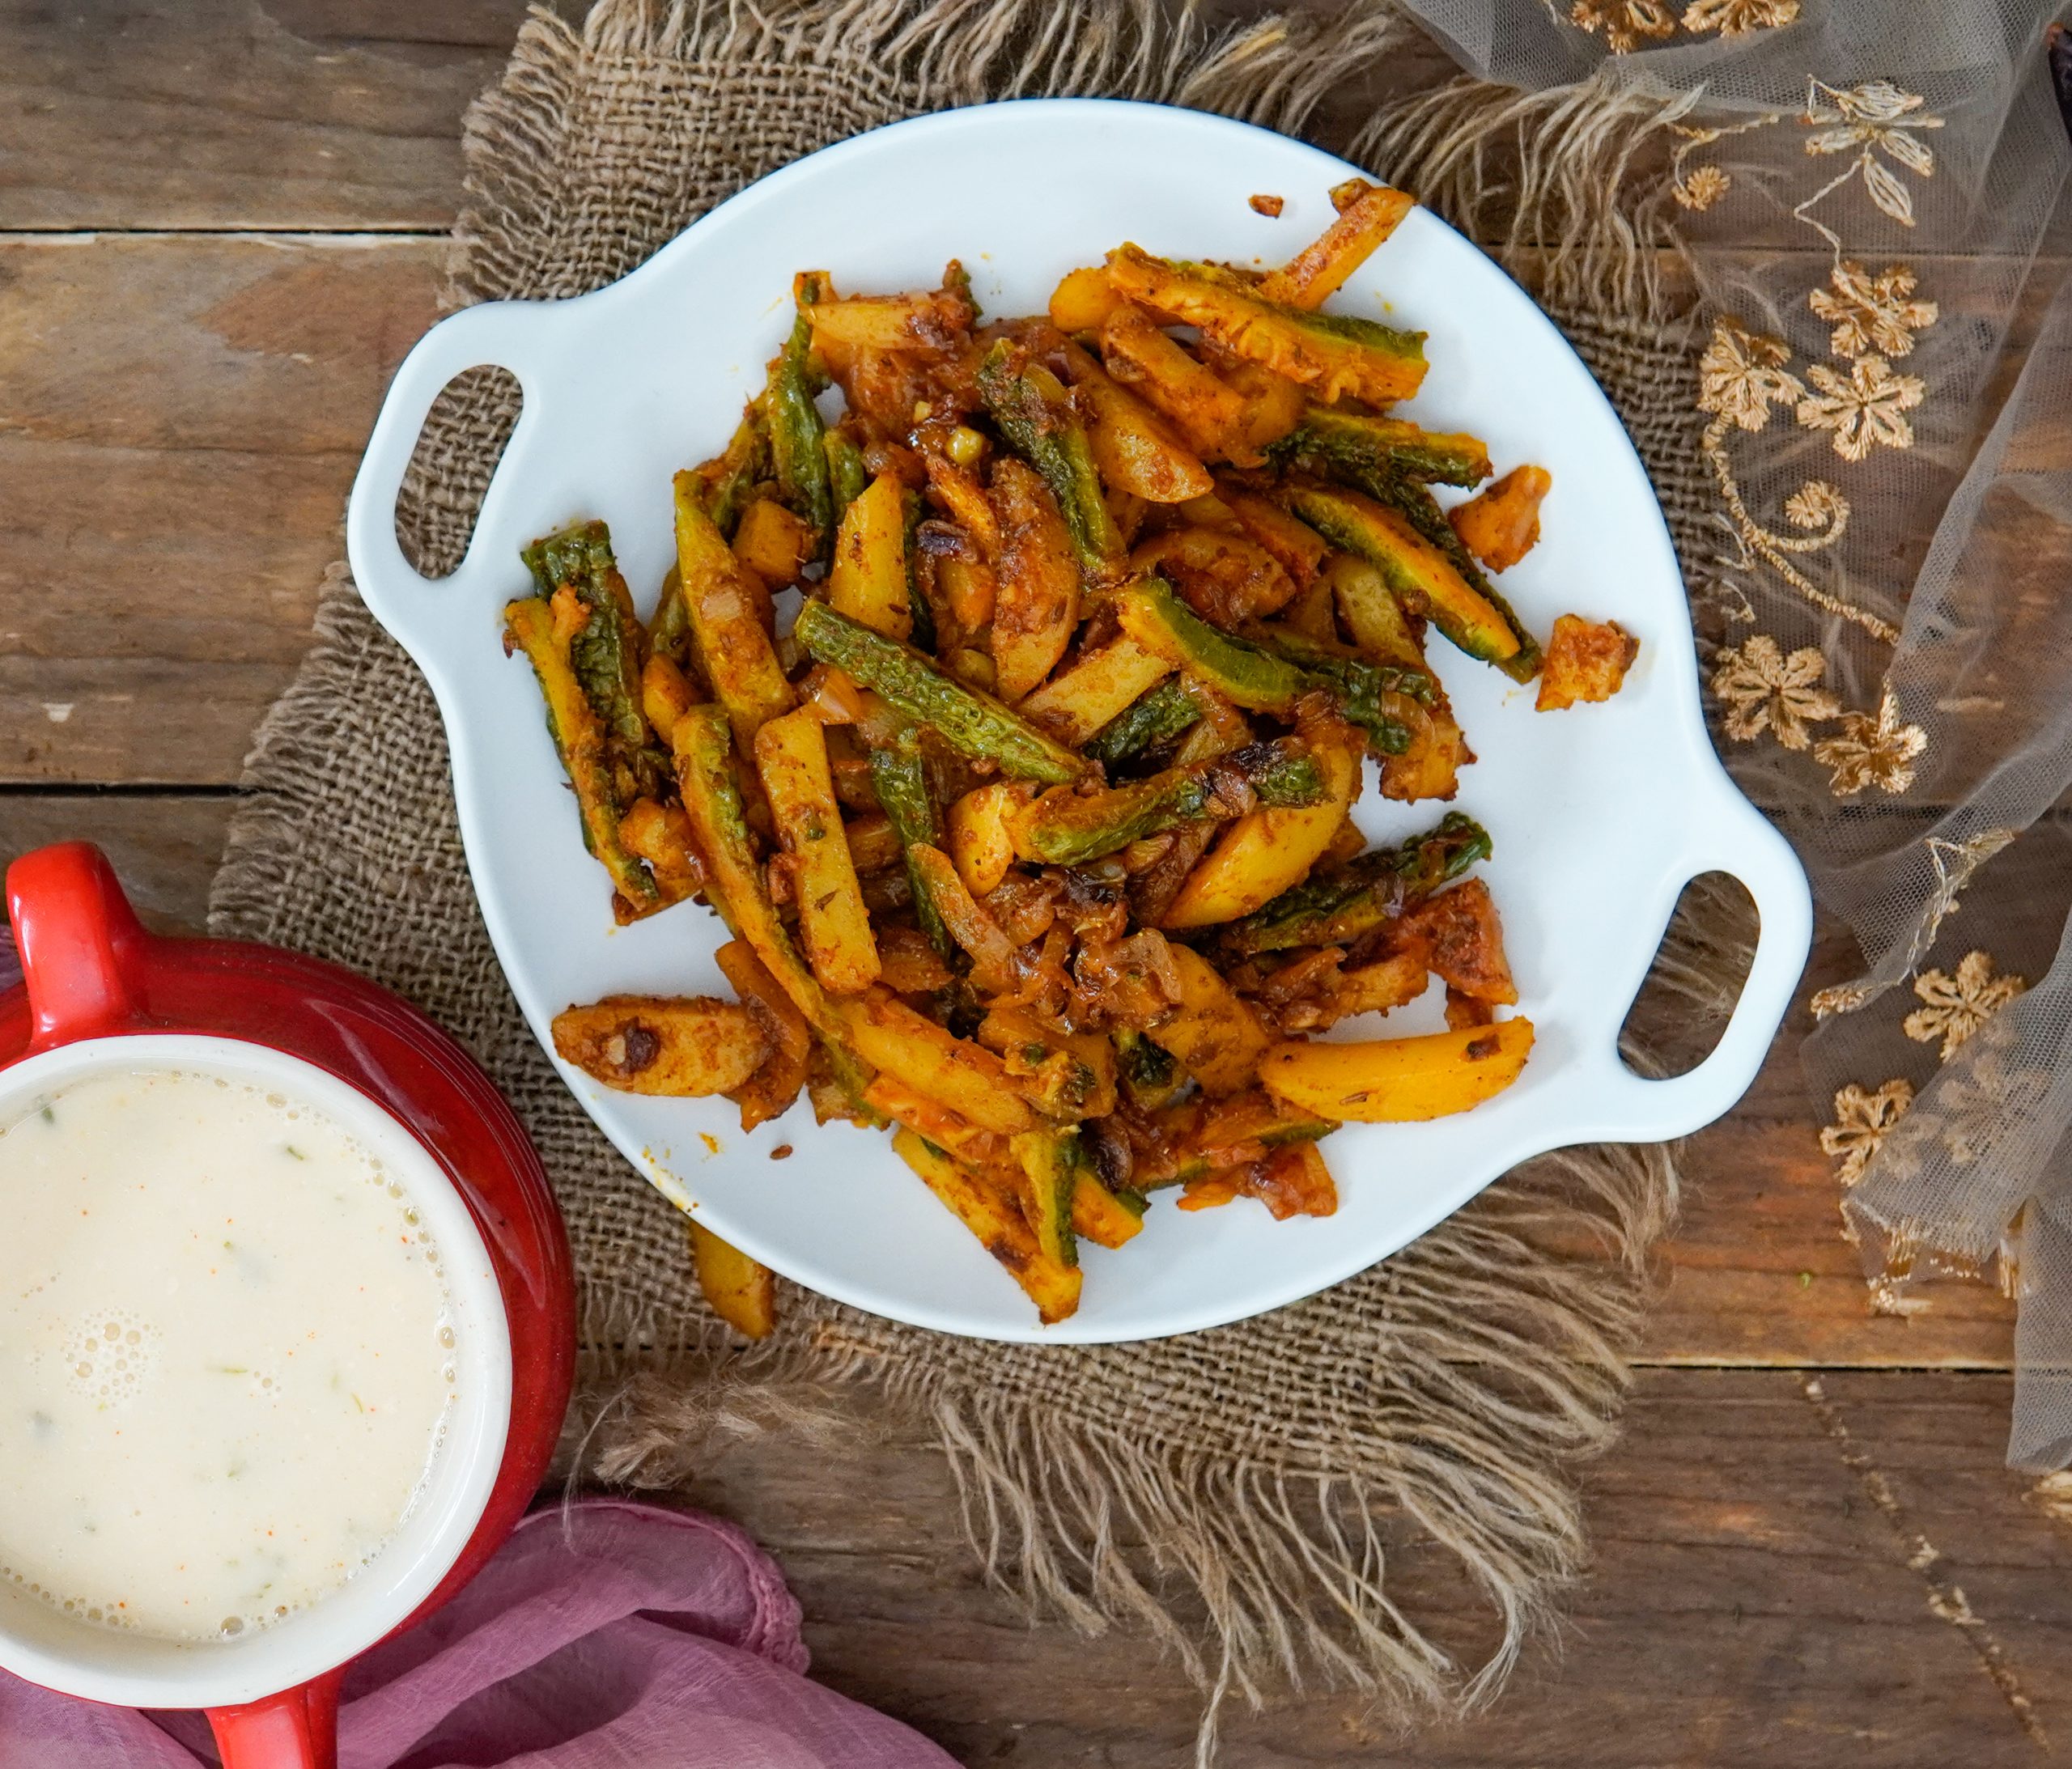
At its core, this dish embodies a symphony of flavors—earthy bitterness of karela tempered with aromatic spices, the subtle sweetness of jaggery, and the savory depth of onions and garlic. The culinary technique involves a unique approach to bitter gourd—initial pressure cooking to reduce bitterness and enhance tenderness—followed by stir-frying with potatoes and spices to develop layered flavors. This recipe is ideal for those seeking a nutritious, diabetic-friendly, and comforting meal that can be enjoyed as part of a hearty lunch or dinner.
In this comprehensive guide, published on Love With Recipes, the focus is on delivering a recipe that is detailed, precise, and richly informative, ensuring even a novice cook can master the art of preparing Bihari Karela Aloo Sabzi. From selecting the right ingredients to cooking techniques, nutritional insights, and serving suggestions, this recipe aims to become a staple in your culinary collection, offering the perfect blend of tradition and taste.
Time
Total Preparation and Cooking Time: 65 minutes
- Preparation Time: 20 minutes
- Cooking Time: 45 minutes
Needed Equipment
To prepare the Bihari Karela Aloo Sabzi efficiently and with the best results, gather the following equipment:
- Pressure Cooker: Essential for reducing the bitterness of karela and pre-cooking it efficiently.
- Kadai or Deep Wok: For sautéing onions, garlic, and stir-frying the vegetables with spices.
- Chef’s Knife: For chopping onions, garlic, potatoes, and karela.
- Chopping Board: A sturdy surface for prepping ingredients.
- Measuring Spoons and Cups: For accurate measurement of spices and ingredients.
- Spatula or Wooden Spoon: For stirring and mixing during cooking.
- Vegetable Peeler: Optional, for peeling potatoes if desired, though thick slicing is recommended.
- Mixing Bowls: For holding prepped ingredients and mixing spices.
- Colander or Fine Strainer: For rinsing and draining karela after pressure cooking.
Tags
Indian Cuisine, Bihari Special, Vegetarian, Diabetic-Friendly, Traditional Recipe, Home Cooking, Healthy Vegetables, Bitter Gourd, Potatoes, Spicy, Nutritious
Serving Size
This recipe yields approximately 6 generous servings, making it suitable for family meals or small gatherings. Each serving provides a balanced portion of vegetables, spices, and nutrients, perfect for a wholesome lunch or dinner.
Difficulty Level
Intermediate—While the process involves some specific steps like pressure cooking and spice balancing, the overall technique is accessible to home cooks with basic cooking experience. Attention to detail, especially in preparing the karela, will ensure success.
Allergen Information
- Contains: Mustard (oil), garlic, and spices, which may be allergens for sensitive individuals.
- Does not contain: Nuts, dairy, or gluten, making it suitable for various dietary restrictions.
Dietary Preference
Vegetarian, Vegan (if jaggery is plant-based), Diabetic-Friendly, Low-Calorie, High-Fiber
Course
Main Course, Vegetarian Main
Cuisine
Bihari (Regional Indian Cuisine)
Ingredients
Ingredient Details in Table Format
| Ingredient | Quantity | Preparation Notes |
|---|---|---|
| Karela (Bitter Gourd / Pavakkai) | 2 medium-sized | Deseeded and sliced into thin strips |
| Mustard Oil | 2 tablespoons | For authentic flavor; can substitute with other vegetable oils but flavor may differ |
| Cumin Seeds (Jeera) | 1 teaspoon | For tempering |
| Garlic | 4 cloves | Finely chopped |
| Onions | 2 medium | Thinly sliced |
| Potatoes (Aloo) | 3 medium | Cut into thick slices or cubes |
| Turmeric Powder (Haldi) | 1/2 teaspoon | For color and flavor |
| Garam Masala Powder | 1/2 teaspoon | For warmth and aroma |
| Coriander (Dhania) Powder | 1 teaspoon | Ground fresh or store-bought |
| Amchur (Dry Mango Powder) | 1 teaspoon | For tanginess |
| Red Chilli Powder | 1 teaspoon | Adjust according to spice preference |
| Salt | To taste | Adjust during cooking for flavor |
| Jaggery (Optional) | 1 teaspoon | Adds a subtle sweetness, optional |
Instructions
Step 1: Preparing the Ingredients
Begin by gathering all ingredients and prepping them systematically. Take the two medium-sized bitter gourds (karela), wash thoroughly under cold running water to remove any dirt or residues. Use a sharp knife or vegetable peeler to carefully remove the skin if desired, although traditionally, the skin is retained for added fiber and texture. Deseed the karela by making a slit lengthwise and scooping out the seeds with a small spoon or knife. Slice the karela into thin strips; typically, about 1/8 inch wide. Thin slicing helps reduce bitterness and ensures even cooking.
Next, peel the potatoes if preferred, or simply wash and cut into thick slices or cubes approximately 1/2 to 3/4 inch thick. This size helps them cook evenly and retain their shape during stir-frying. Finely chop the garlic cloves—this allows for maximum flavor infusion. Slice the onions into thin strips for quick and even cooking. Measure out the spices and oil, ensuring everything is within arm’s reach for efficiency during cooking.
Step 2: Pressure Cooking the Karela
This step is crucial for reducing the natural bitterness of karela, which can otherwise overpower the dish if unprocessed. Place the sliced karela into a pressure cooker, add a pinch of salt, and pour in about 2 tablespoons of water. Lock the lid securely and cook over medium heat for 2 whistles. The pressure cooker helps to soften the karela and extract some of its bitter compounds, making it more palatable. Once the whistles are complete, turn off the heat and allow the pressure to release naturally. Carefully open the lid and transfer the cooked karela to a colander or strainer to drain excess water. Rinse under cold water if necessary to halt further cooking and retain the vibrant green color. Set aside.
Step 3: Sautéing Onions and Garlic
Heat 2 tablespoons of mustard oil in a deep kadai or wok over medium heat. Mustard oil is preferred for its pungent aroma and traditional flavor, but if unavailable, vegetable or sunflower oil can be used as substitutes. Once the oil is hot, add the cumin seeds. Let them crackle and splutter for a few seconds—this releases their aromatic oils. Add the finely chopped garlic and sauté until golden brown, taking care not to burn it. Add the sliced onions and cook, stirring frequently, until they turn translucent and soften, about 4-5 minutes. The onions should develop a slight caramelization, which enhances sweetness and depth of flavor.
Step 4: Cooking Potatoes
Add the thickly sliced potatoes to the onion and garlic mixture. Sprinkle a pinch of salt and the turmeric powder over the potatoes. Stir well, ensuring the potatoes are coated evenly with the spices. Cover the pan with a lid to facilitate steaming and quicken the cooking process. Let the potatoes cook for about 10-12 minutes, stirring occasionally to prevent sticking. They should turn golden brown and develop crispy edges, yet remain tender inside. If necessary, add a splash of water to prevent sticking and to aid in even cooking.
Step 5: Combining Karela and Spices
Once the potatoes are cooked to your desired crispness, add the pre-cooked karela strips to the pan. Mix gently to combine all the vegetables. Now, sprinkle in the remaining spices: red chili powder, garam masala, coriander powder, and amchur powder. Adjust salt as needed, considering the salt already added during pressure cooking. If you prefer a touch of sweetness to balance the bitterness, stir in the optional teaspoon of jaggery. Mix thoroughly, ensuring that the spices coat all the ingredients evenly.
Step 6: Stir-Frying for Flavor Development
Continue stir-frying the mixture over medium heat for an additional 4-5 minutes. This step allows the spices to meld with the vegetables, creating a rich, aromatic coating. The heat also helps evaporate excess moisture, intensifying the flavors. Keep stirring gently to prevent burning and sticking. Taste the sabzi and adjust seasoning if necessary—add more salt, spices, or jaggery to fine-tune the flavor profile.
Step 7: Final Touches and Serving
Once the flavors have melded beautifully and the texture is to your liking, turn off the heat. Transfer the Bihari Karela Aloo Sabzi to a serving bowl. It can be enjoyed immediately or left to rest for a few minutes to allow flavors to deepen. Serve hot with traditional Indian staples such as soft phulkas, fluffy jeera rice, or a bowl of warm Palak Dal. Garnish with fresh coriander leaves if desired for an extra layer of freshness and visual appeal.
Preparation Tips
- Reducing Bitterness: Salt the sliced karela and let it sit for 15 minutes before rinsing. This process extracts excess bitterness, making the vegetable more palatable.
- Choosing Potatoes: Use starchy varieties like Russet or Yukon Gold for crispy texture, or waxy potatoes like Red Bliss for a softer bite.
- Cooking the Karelas: The pressure cooking step is optional but highly recommended for reducing bitterness and ensuring tenderness. Alternatively, slicing and salting the karela and then sautéing in oil can also help mitigate bitterness.
- Spice Adjustment: Feel free to tweak the spice levels according to your preference—more chili for heat or more jaggery for sweetness.
- Oil Choice: Mustard oil imparts an authentic flavor but can be substituted with other vegetable oils if needed.
Nutritional Information
| Nutrient | Per Serving (Approximate) |
|---|---|
| Calories | 150-200 kcal |
| Protein | 2-3 grams |
| Carbohydrates | 30-35 grams |
| Fat | 6-7 grams |
| Fiber | 5-6 grams |
| Sugar | 4-5 grams |
| Vitamins & Minerals | Rich in Vitamin C, Iron, and Dietary Fiber |
Tips and Tricks
- Make it Vegan or Diabetic-Friendly: Use jaggery or natural sweeteners and ensure no dairy or animal products are added.
- Enhance Flavor: Add a teaspoon of lemon juice at the end for a fresh tang.
- Batch Preparation: Prepare a larger batch of pre-cooked karela and store it in the refrigerator for quick assembly during busy weekdays.
- Spice Variations: Incorporate fennel seeds or fenugreek for added depth.
- Extra Crunch: Toss in chopped fresh coriander or mint before serving for added freshness.
Add-ons
- Freshly chopped coriander leaves
- Ginger slices sautéed with onions
- Green chilies for extra heat
- Crumbled paneer or tofu for added protein
Side Dishes
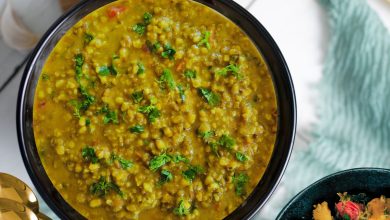
- Palak Dal (Spinach Lentils)
- Steamed Basmati Rice or Jeera Rice
- Whole Wheat Phulkas or Parathas
- Mixed Vegetable Raita or Cucumber Salad
Improvements
- For an extra smoky flavor, add a pinch of smoked paprika or roasted cumin powder.
- Use a cast-iron skillet for better flavor development and even heat distribution.
- Experiment with different spices like fennel powder or turmeric-laced coconut milk for variation.
- For a tangy twist, add a splash of lemon juice just before serving.
Save and Store
Leftovers can be stored in an airtight container in the refrigerator for up to 2 days. To reheat, gently warm in a pan over low heat, adding a splash of water or oil if necessary. For longer storage, freeze in portions for up to a month, ensuring proper sealing to prevent freezer burn. To retain freshness, reheat thoroughly before serving to enjoy the flavors at their best.
FAQ
Q: Can I skip pressure cooking the karela?
A: Yes, but pressure cooking significantly reduces bitterness and softens the vegetable, making it more enjoyable. Alternatively, salting and rinsing sliced karela before cooking can help mitigate bitterness.
Q: Is this dish suitable for diabetics?
A: Absolutely. Using minimal oil, controlling spice levels, and including fiber-rich ingredients make it a diabetic-friendly choice. Always consult your healthcare provider for personalized advice.
Q: Can I make this dish vegan?
A: Yes. Ensure that the jaggery used is plant-based, and avoid any dairy or animal-derived ingredients.
Q: How do I make the karela less bitter without pressure cooking?
A: Salt the sliced karela and let it sit for 15 minutes, then rinse thoroughly. This process draws out excess bitterness.
Conclusion
Mastering the art of preparing Bihari Karela Aloo Sabzi opens a window into the rich tapestry of regional Indian flavors that celebrate balance and health. This dish exemplifies how simple ingredients, when treated with traditional techniques and a touch of culinary ingenuity, can transform into a wholesome, flavorful masterpiece. Whether you are seeking a nutritious addition to your vegetarian repertoire or exploring regional Indian delicacies, this sabzi offers a delightful combination of bitterness, spice, and comfort that will resonate with both seasoned cooks and curious food enthusiasts alike. Remember, at Love With Recipes, our goal is to inspire you to bring authentic, healthy, and delicious meals to your table—one dish at a time.
References
- Indian Food History and Recipes – Regional Variations, by R. K. Tiwari, 2018.
- Nutrition and Medicinal Benefits of Bitter Gourd, Journal of Herbal Medicine, 2020.