
Introduction
Welcome to the comprehensive culinary journey of creating the ultimate hot soft pretzels filled with luscious cream cheese, a recipe curated exclusively for Love With Recipes. This decadent snack combines the chewy, golden exterior of traditional pretzels with the rich, creamy interior of fresh cream cheese. Perfect for cozy nights, festive Oktoberfest celebrations, or simply indulging in a comforting treat, these pretzels are a testament to baking artistry and flavor harmony. This detailed guide aims to empower home bakers with precise techniques, insightful tips, and thorough explanations to master this delightful dish, ensuring your experience is both educational and enjoyable.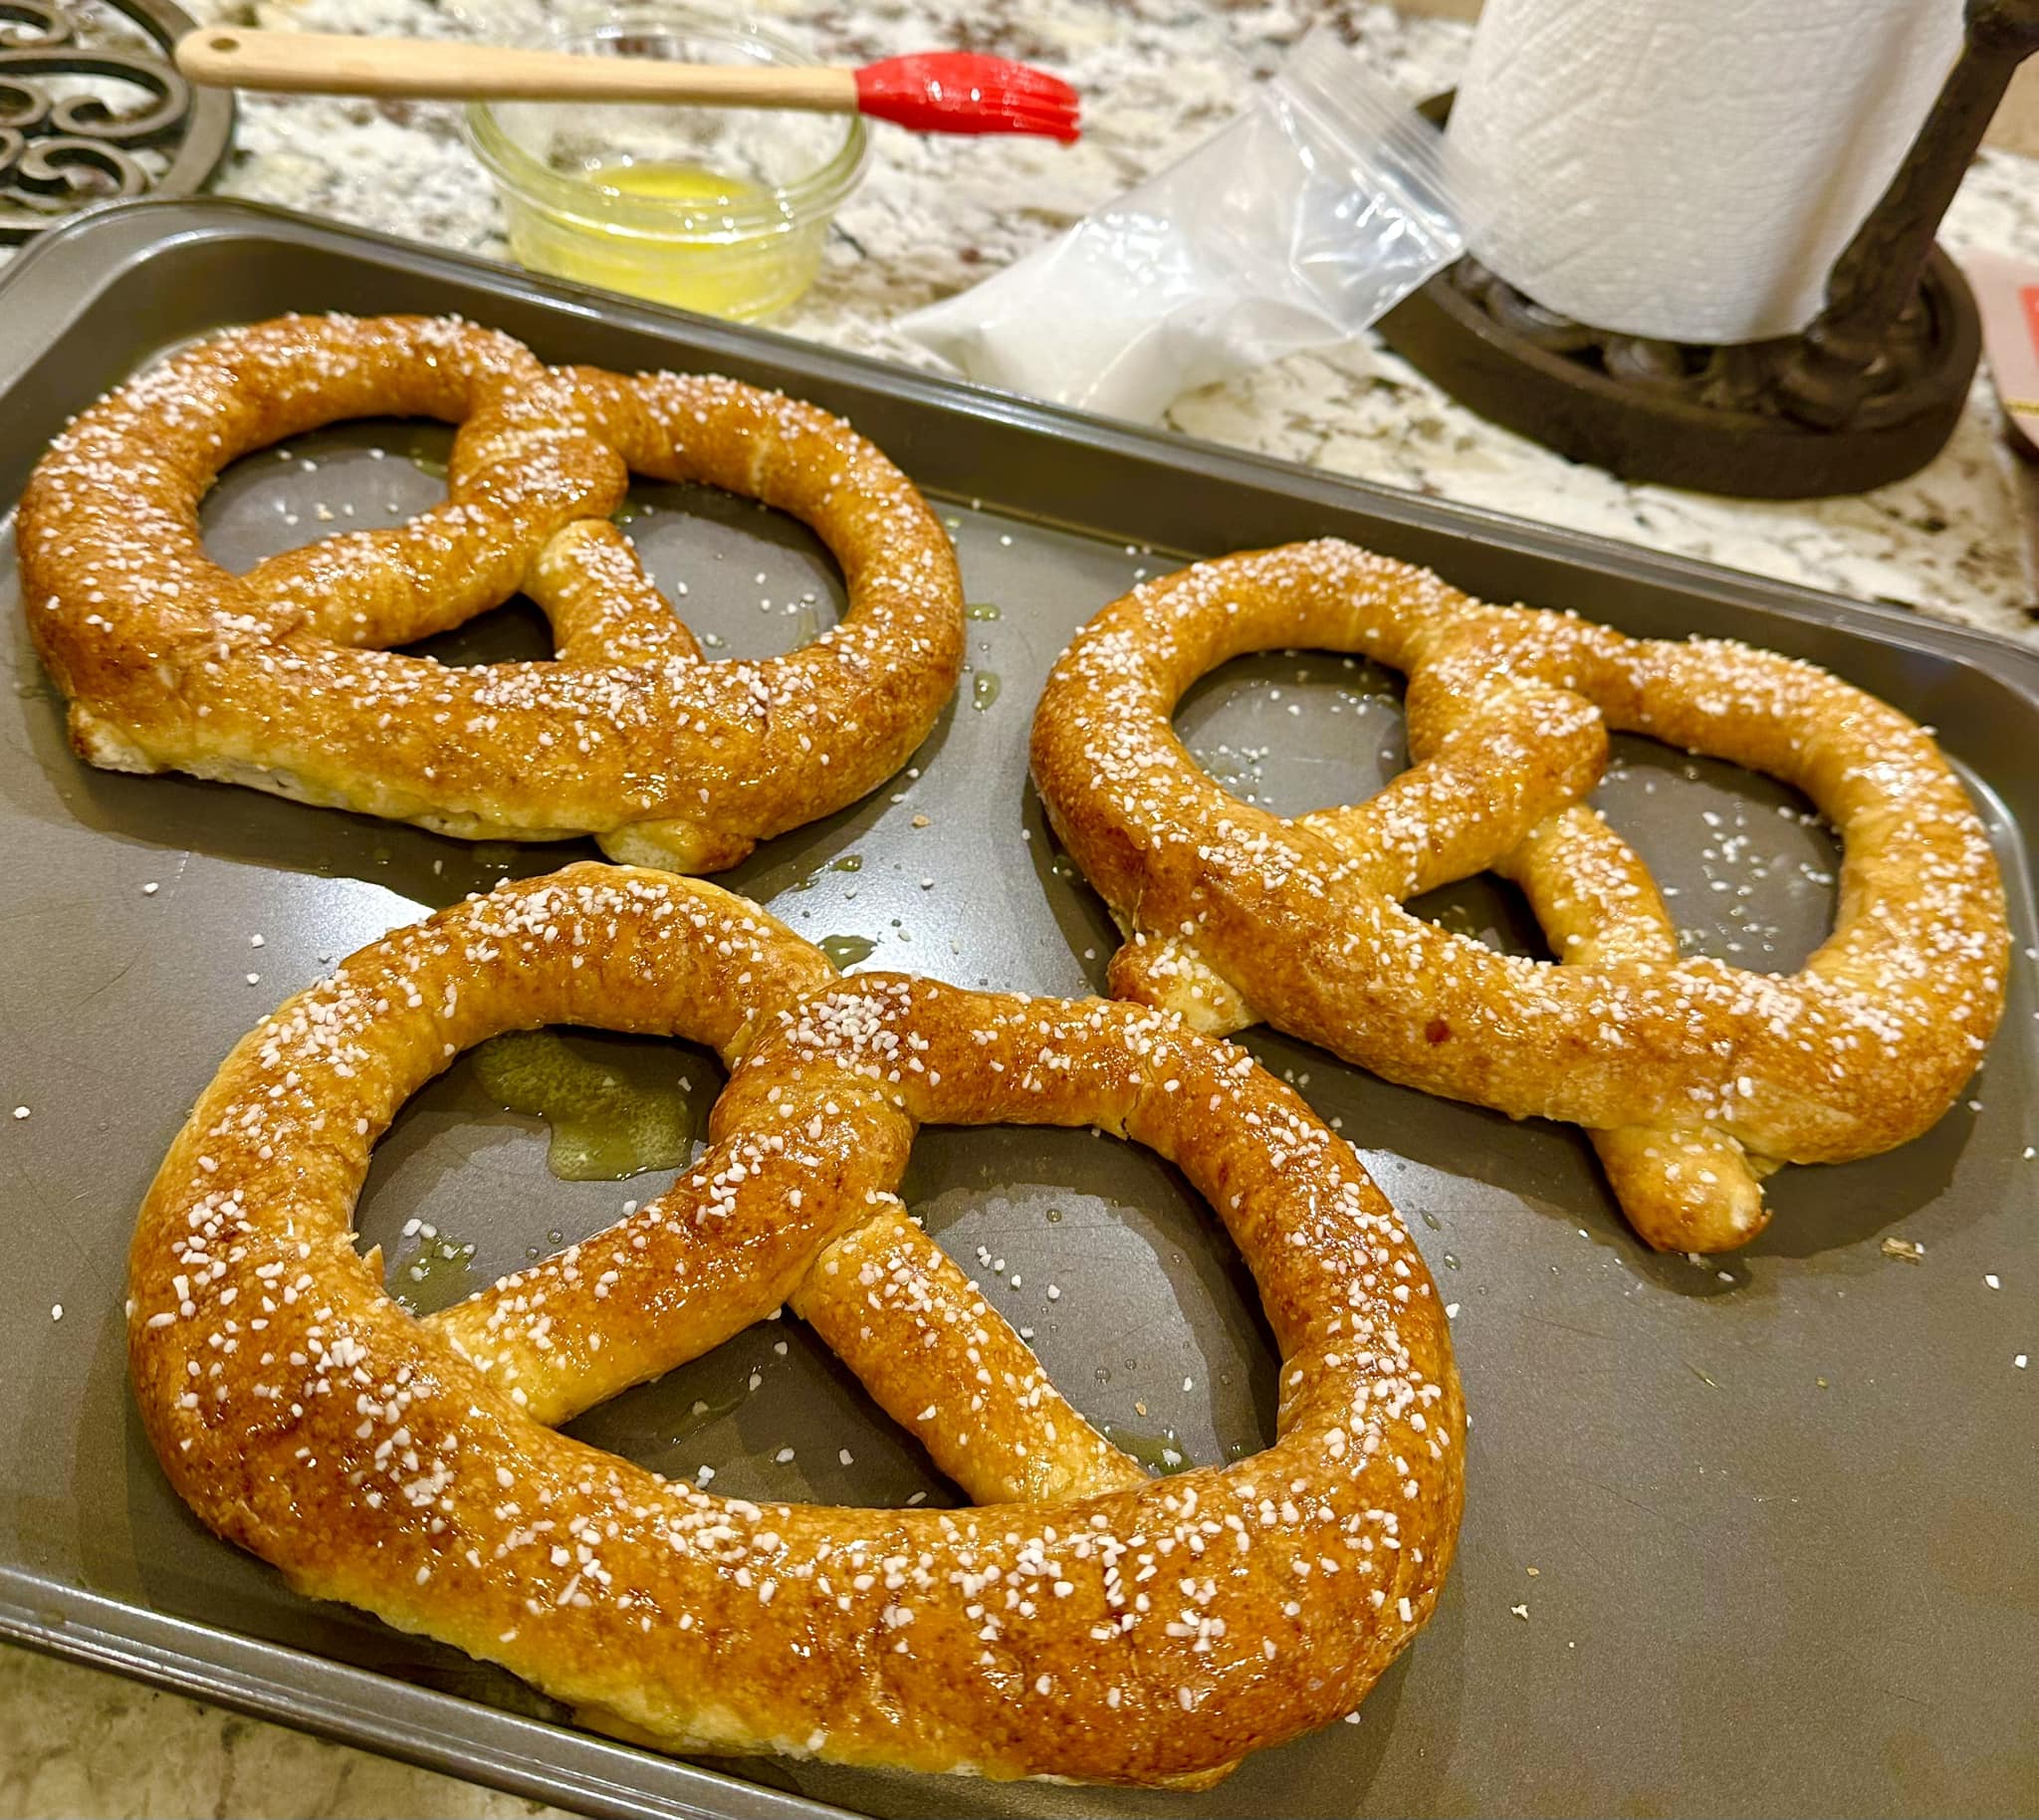
Time
Preparation Time: 20 minutes
Cooking Time: 20 minutes
Total Time: 40 minutes
Note: The dough requires an additional 1 hour for proofing, bringing the overall process to approximately 1 hour and 40 minutes from start to finish.
Needed Equipment
- Mixing Bowls: Large enough to accommodate dough rising.
- Food Processor: Equipped with a metal blade for dough kneading.
- Measuring Cups and Spoons: For precise ingredient measurement.
- Kitchen Scale: Optional, for exact dough portioning.
- Rolling Pin: To flatten dough for filling.
- Sharp Knife or Dough Cutter: For dividing dough into portions.
- Silicone Baking Mats or Parchment Paper: To prevent sticking during baking.
- Large Pot or Deep Saucepan: For preparing the baking soda solution.
- Slotted Spoon or Skimmer: To dip pretzels into the baking soda solution.
- Pastry Brush: For brushing melted butter onto baked pretzels.
- Cooling Rack: To allow pretzels to cool evenly post-baking.
- Optional: Piping Bag or Plastic Ziplock Bag: For filling pretzels with cream cheese neatly.
Tags
Bakery, Snack, Appetizer, Oktoberfest, Comfort Food, Homemade, Cheesy, Baked Goods, Party Food, Gluten-Inclusive
Serving Size
Each batch yields approximately 12 pretzels, with an estimated serving size of 1 pretzel per person. Serves 12 guests comfortably, ideal for sharing or enjoying solo as a hearty snack.
Difficulty Level
Intermediate. While the process involves several steps, each phase—from dough preparation to baking—is straightforward with proper attention to detail. Bakers with basic pastry skills will find this recipe approachable, but first-time bread makers should exercise patience and follow instructions carefully.
Allergen Information
| Allergen | Contains | Notes |
|---|---|---|
| Gluten | Yes | From all-purpose and bread flours |
| Dairy | Yes | Cream cheese and butter |
| Yeast | Yes | Active dry yeast used for leavening |
| Soy | No | None in ingredients |
| Nuts | No | Optional toppings, like chopped almonds, can contain nuts |
Dietary Preference
Contains gluten and dairy. Not suitable for vegans or those with dairy or gluten allergies unless modifications are made.
Course
Appetizer, Snack, Party Food
Cuisine
German-inspired, American bakery style
Ingredients
Primary Ingredients
| Quantity | Ingredient |
|---|---|
| 1 packet | Active dry yeast (about 2 1/4 teaspoons) |
| 2 tablespoons | Sugar |
| 1 teaspoon | Salt |
| 1 1/2 cups | Warm water (for dough) |
| 3 cups | All-purpose flour |
| 1 cup | Bread flour |
| 2 cups | Warm water (for baking soda solution) |
| 2 tablespoons | Baking soda |
| 2 tablespoons | Melted butter |
| 2 teaspoons | Kosher salt |
| 2-4 ounces | Cream cheese |
Optional Toppings & Variations
- Cinnamon sugar with chopped roasted almonds
- Mustard for dipping
- Honey drizzles for sweetness
- Additional herbs or spices like garlic powder or paprika
Instructions
Step 1: Initiate the Yeast Activation
Begin by preparing the yeast. In a large mixing bowl, combine the active dry yeast, sugar, and 1 1/2 cups of warm water. Ensure the water temperature is around 110°F to 115°F (43°C to 46°C)—warm enough to activate the yeast but not hot enough to kill it. Stir gently to dissolve the yeast and sugar completely. Allow this mixture to sit for about 5 to 10 minutes until it becomes frothy and bubbly, indicating that the yeast is active and alive.
Step 2: Prepare the Dough
While waiting for the yeast to activate, prepare your food processor with a metal blade. In a separate bowl or directly in the processor, combine the all-purpose flour and bread flour. Pulse a couple of times to blend evenly. This blending ensures an even distribution of flour, promoting a uniform dough texture.
Once the yeast mixture is frothy, pour it gradually into the food processor through the feed tube while the machine is running. Continue processing until the dough forms a smooth, elastic ball that leaves the sides of the bowl, approximately 40 seconds. If the dough appears too sticky, add a tablespoon of flour at a time; if too dry, add small amounts of warm water until the desired consistency is achieved.
Step 3: First Rise & Proofing
Transfer the dough into a lightly greased large mixing bowl, turning it once to coat all sides with oil or butter. Cover the bowl with a clean kitchen towel or plastic wrap to maintain warmth and humidity, which are essential for proper yeast activity. Let the dough rise in a warm, draft-free environment for approximately 1 hour or until it has doubled in size. During this time, the yeast ferments, producing carbon dioxide that creates the light, airy structure of the pretzels.
Step 4: Prepare Baking Soda Solution
Preheat your oven to 450°F (230°C). While the dough is proofing, prepare the baking soda bath. In an 8-inch square or similar-sized pan, mix 2 cups of warm water with 2 tablespoons of baking soda. Stir until the baking soda dissolves completely. This solution will be used to give the pretzels their characteristic chewy crust and deep brown color.
Step 5: Divide and Fill the Dough
Once the dough has doubled in volume, punch it down gently to release excess gas. Turn it out onto a lightly floured surface. Divide the dough into 12 equal portions using a sharp knife or dough cutter. For each pretzel, take one portion and roll it into a 3-foot-long rope, ensuring an even thickness throughout. For the filled pretzels, roll out a single dough portion into a flat rectangle about 8 inches by 12 inches.
Step 6: Filling & Shaping
For cream cheese filling, pipe or spread approximately 1 to 2 ounces of softened cream cheese along the center of the rolled-out dough. Leave about 1/2 inch of space around the edges to seal the filling inside. Fold the dough over the filling and pinch or press the edges firmly to seal completely, preventing leakage during baking. Alternatively, if you prefer traditional pretzels, skip the filling step and proceed to shape into pretzels.
Twist the filled dough into the classic pretzel shape: form a U-shape, cross the ends over each other, and press down to secure. Carefully dip each shaped pretzel into the baking soda solution, ensuring full submersion for about 10 seconds. This step is crucial for achieving that authentic pretzel crust.
Step 7: Second Rise & Preparation for Baking
Place the dipped pretzels onto parchment-lined baking sheets. Space them adequately to allow for expansion. Cover the pretzels lightly with a towel and let them rise for another 15 to 20 minutes. During this time, the pretzels will develop a slightly puffy appearance and will be ready for baking.
Step 8: Baking & Finishing Touches
Bake the pretzels in the preheated oven for approximately 8 to 10 minutes, or until they are a beautiful deep golden brown. Keep an eye on them during the last few minutes to prevent over-browning. Once out of the oven, immediately brush the pretzels with melted butter for a shiny, flavorful finish. Sprinkle generously with coarse salt, or add cinnamon sugar and chopped roasted almonds for an indulgent variation.
Preparation Tips
- Use fresh, active dry yeast for reliable rising. Check the expiration date before use.
- Maintain precise water temperatures for yeast activation; too hot can kill yeast, too cold may inhibit activation.
- For an extra flavorful crust, incorporate a pinch of smoked paprika or garlic powder into the butter brush.
- Ensure the dough is kneaded thoroughly in the food processor to develop gluten structure, which affects chewiness and elasticity.
- Use parchment paper to prevent sticking and facilitate easy cleanup.
- Test the baking soda solution’s effectiveness by dipping a small piece of dough; it should turn a rich amber color, indicating readiness for deep browning on the pretzels.
- Adjust baking time depending on your oven’s calibration; aim for a deep golden hue for optimal flavor and appearance.
- For the best texture, serve pretzels immediately after baking, but they can be reheated in a warm oven for a few minutes if needed.
Nutritional Information
| Nutrient | Per Serving (Approximate) |
|---|---|
| Calories | 220 kcal |
| Protein | 6 g |
| Carbohydrates | 35 g |
| Fat | 7 g |
| Saturated Fat | 4 g |
| Cholesterol | 20 mg |
| Sodium | 480 mg |
| Fiber | 2 g |
Tips and Tricks
- Sealing the Filling: Ensure the edges are pinched tightly to prevent cream cheese from leaking during baking. Use a little water or egg wash to seal if necessary.
- Consistency Control: Adjust the dough with extra flour or water during kneading to achieve a slightly tacky but manageable dough, which yields the best texture.
- Color Development: For a richer color, increase baking soda concentration slightly or extend baking time marginally, but monitor closely to avoid burning.
- Make Ahead: Prepare the dough in advance, shape, and refrigerate for up to 24 hours. Bring to room temperature before baking for optimal rise.
- Flavor Variations: Add herbs like rosemary or thyme into the dough for an aromatic twist.
Add-ons
- Shredded cheese sprinkled on top before baking for extra cheesiness.
- Crushed red pepper flakes for a spicy kick.
- Caramelized onions or sautéed garlic mixed into the cream cheese filling for gourmet flair.
- Serve with an assortment of dipping sauces such as spicy mustard, honey mustard, or a tangy ranch dressing.
Side Dishes
- German potato salad
- Fresh vegetable platter with hummus
- Warm beer cheese dip
- Sauteed bratwurst or sausages
- Pickle and fermented vegetables for a tangy contrast
Improvements
- Use bread flour exclusively for a chewier texture, or experiment with rye flour for a more authentic German flavor.
- Incorporate malt syrup into the dough for enhanced flavor and browning.
- Experiment with different fillings such as ham and cheese, spinach and feta, or Nutella for sweet variations.
- Upgrade the crust with a sprinkle of coarse sea salt or herbs before baking for added visual appeal and flavor.
Save and Store
If you have leftover pretzels, allow them to cool completely, then store in an airtight container at room temperature for up to 24 hours. For longer storage, freeze individually on a baking sheet, then transfer to a zip-top freezer bag. Reheat in a 350°F (175°C) oven for 5-7 minutes until warmed through and crispy.
To reheat filled pretzels, wrap loosely in foil to prevent filling from oozing out and warm for approximately 10 minutes.
FAQ
Can I make these pretzels gluten-free?
Gluten-free versions are possible using specialized gluten-free flours and xanthan gum. However, texture and elasticity might differ, requiring experimentation with recipes designed specifically for gluten-free baking.
Can I prepare the dough ahead of time?
Yes, refrigerate the dough after the initial rise in an airtight container for up to 24 hours. Bring it to room temperature before shaping and baking.
Is it necessary to use both all-purpose and bread flour?
Combining flours provides a balance of tenderness and chewiness. You can substitute with bread flour alone for a chewier texture or all-purpose for a softer bite, but the mixture yields optimal results.
What are some alternative fillings?
Besides cream cheese, consider ham and cheese, sautéed spinach and feta, Nutella, or fruit preserves for sweet variations.
Conclusion
This detailed guide encapsulates every aspect of crafting irresistibly soft, cheesy-filled pretzels that elevate any gathering or quiet night at home. By understanding each step—from activating yeast to shaping, baking, and finishing—you gain mastery over a classic baked good that combines tradition with personal flair. Remember, patience and attention to detail are key, and with practice, you’ll produce pretzels that rival bakery-quality treats. Dive into this baking adventure and enjoy the warm, comforting aroma wafting through your kitchen, sharing a delightful culinary experience that is as rewarding to make as it is to eat. For more inspirational recipes and baking tips, visit Love With Recipes—your trusted platform for heartfelt homemade delights.
References
- Joy of Baking – Pretzel Recipe. (https://joyofbaking.com)
- Serious Eats – Making Perfect Pretzels. (https://seriouseats.com)