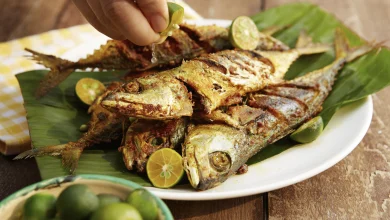
Crispy Gurameh Fish
Ingredients:
- 1/2 kg Gurameh fish
- 5 cloves garlic
- 1 tsp salt
- 1 tsp coriander seeds
- 1-inch piece of turmeric
- 1-inch piece of ginger
- 250 ml vegetable oil
- 2 eggs
- 1/4 cup cornstarch
Instructions:
-
Prepare the Fish: Begin by cutting the Gurameh fish into small pieces.
-
Prepare the Spice Mixture: In a mortar and pestle or a food processor, blend the garlic, salt, coriander seeds, turmeric, and ginger into a smooth paste.
-
Marinate the Fish: Coat the fish pieces with the spice mixture thoroughly. Allow the fish to marinate for at least 15 minutes to absorb the flavors.
-
Prepare the Coating: In a bowl, beat the eggs. Add the cornstarch to the beaten eggs and mix until well combined. The mixture should be slightly thick but not overly dense.
-
Coat the Fish: Dip each piece of marinated fish into the egg and cornstarch mixture, ensuring an even coating.
-
Heat the Oil: In a frying pan, heat the vegetable oil over low to medium heat. You want the oil to be hot but not smoking.
-
Fry the Fish: Carefully place the coated fish pieces into the hot oil. Fry them slowly, turning occasionally, until they are golden brown and crispy. Adjust the heat as needed to ensure the fish cooks evenly without burning.
-
Drain and Serve: Remove the crispy fish from the oil and drain on paper towels.
-
Enjoy: Serve your Crispy Gurameh Fish hot, garnished with a sprinkle of extra cornstarch if desired for an additional crunch. Enjoy this delicious dish with your favorite dipping sauce or side.
Notes: For best results, ensure the oil is hot before frying and maintain a low heat to cook the fish thoroughly without burning the coating.