Introduction
Naan bread is an iconic staple of Indian cuisine, renowned for its soft, pillowy texture and rich, slightly charred flavor. Originating from the Punjabi region, this versatile bread is traditionally baked in a tandoor oven, which imparts a distinctive smoky aroma and a characteristic blistered surface. At Love With Recipes, we aim to bring the authentic flavors of naan into your home kitchen, allowing you to enjoy this delicious bread alongside curries, grilled meats, or even as a standalone snack with butter or chutney. This comprehensive guide provides everything you need to master naan baking, including tips for perfect dough consistency, flavor variations, and baking techniques that approximate the tandoor’s intense heat. Whether you are a seasoned baker or a curious beginner, this recipe is crafted to help you achieve bakery-quality naan with accessible ingredients and straightforward instructions.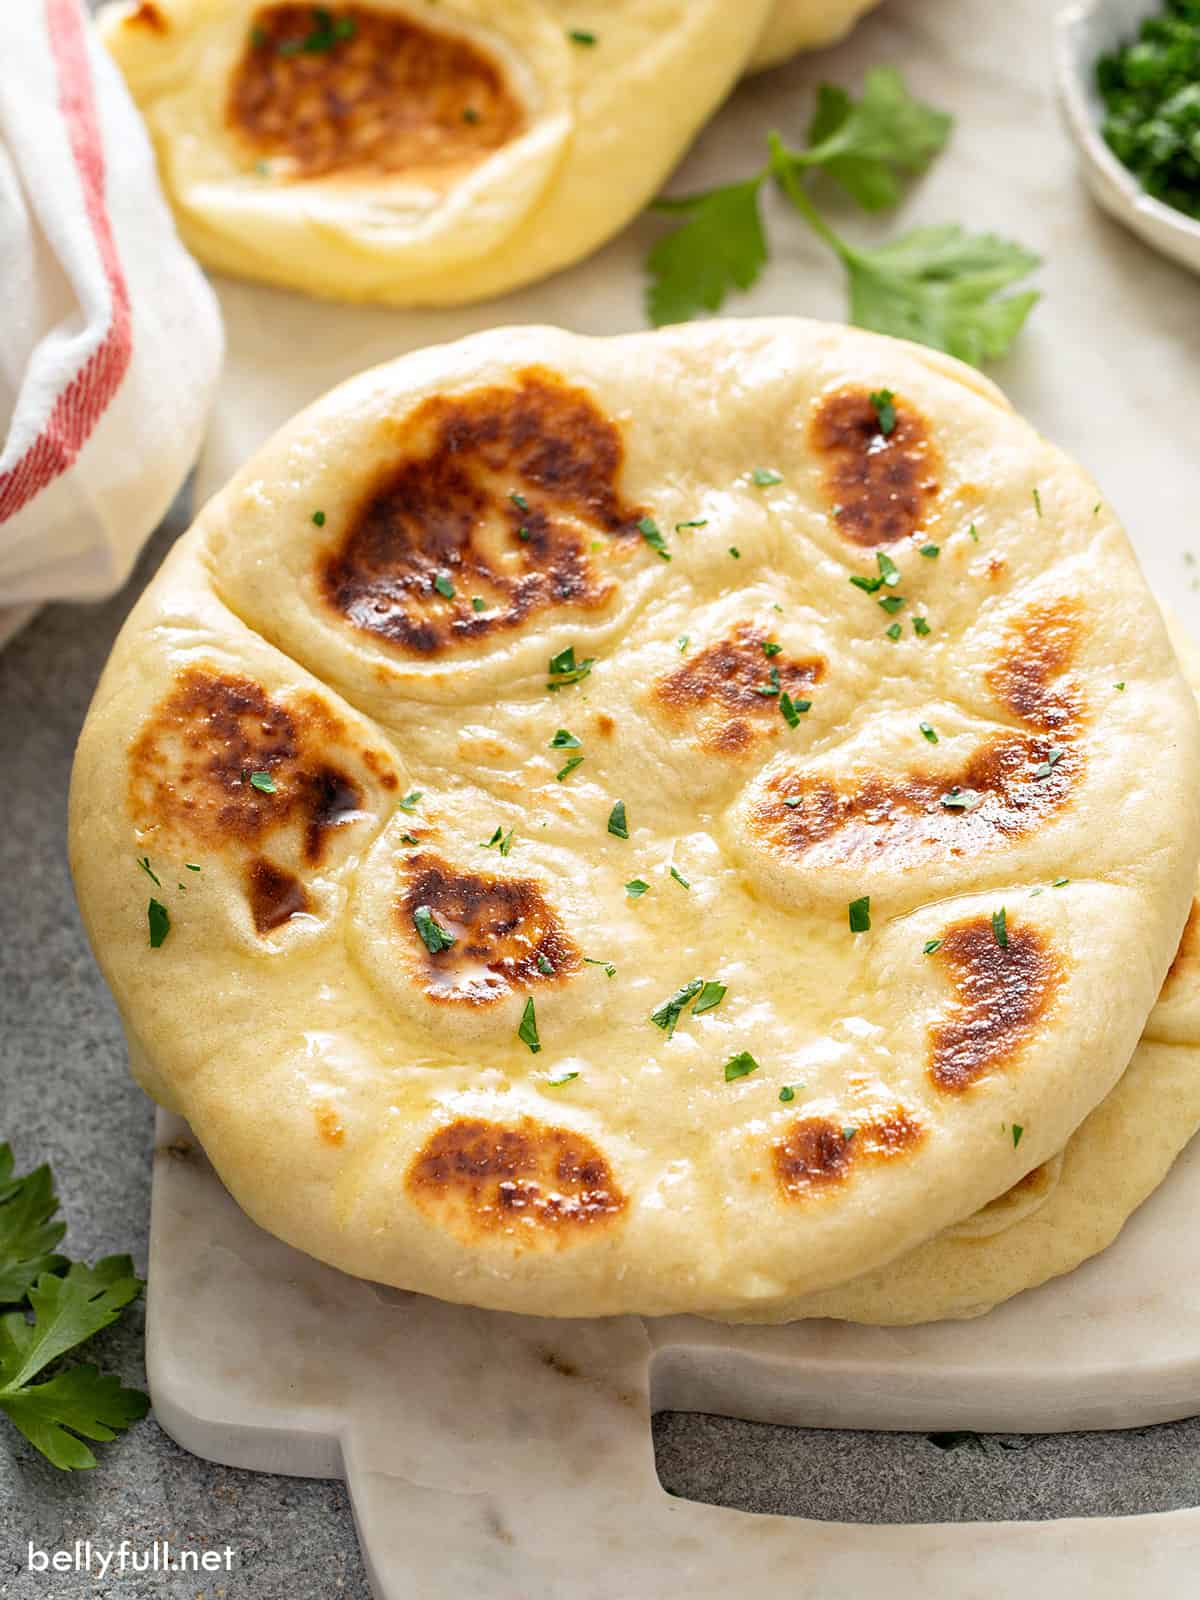
Estimated Time
Preparation time: approximately 45 minutes
Cook time: approximately 10 minutes
Total time from start to finish: about 55 minutes
Note: Allow extra time for dough rising, approximately 1 to 2 hours depending on ambient temperature and yeast activity.
Needed Equipment
- Mixing bowls (various sizes)
- Measuring cups and spoons
- Kitchen scale (optional but recommended for precision)
- Whisk and spatula
- Stand mixer with dough hook (optional but recommended)
- Damp kitchen towel or plastic wrap
- Rolling pin
- Baking sheet or pizza stone
- Pastry brush for butter or ghee
- Oven capable of reaching 450°F (232°C)
- Cooling rack
- Small bowl for yeast proofing
- Silicone baking mat or parchment paper (optional)
- Measuring spoons for small ingredients
Tags
Indian cuisine, bread, homemade bread, tandoori style, vegetarian, baking, traditional recipes, quick bread, gluten, dairy, egg, appetizer, side dish
Serving Size
This recipe yields approximately 8 small naan breads, each roughly 8 inches long and 3-4 inches wide. Perfect for sharing among family or friends, or for a hearty individual serving with multiple accompaniments.
Difficulty Level
Intermediate. While the process involves some specific techniques such as dough kneading and shaping, the steps are straightforward. Achieving the ideal dough texture and oven temperature are key to success, but with patience and careful attention, even novice bakers can produce impressive results.
Allergen Information
Contains gluten (wheat), dairy (yogurt and ghee or butter), and egg. Please modify accordingly if you have allergies or intolerances.
Dietary Preference
Vegetarian. Can be adapted to vegan by substituting dairy and eggs with plant-based alternatives such as almond yogurt, coconut oil, or flaxseed eggs.
Course
Appetizer, Side Dish, Snack
Cuisine
Indian, Punjabi, South Asian
Ingredients
| Quantity | Ingredient |
|---|---|
| 1 teaspoon | Dried yeast |
| 3/4 cup (180 ml) | Warm water (for proofing yeast) |
| 3 tablespoons | Sugar |
| 1/4 cup (60 ml) | Plain yogurt (full-fat recommended) |
| 1 | Egg (beaten) |
| 1/4 cup (60 ml) | Ghee or melted butter |
| Additional melted ghee or butter for brushing | |
| 3 1/2 cups (440 g) | All-purpose flour (plus extra for kneading and shaping) |
| As needed | Salt (adjust to taste) |
| As needed | Fresh or dried cumin seeds (for sprinkling) |
| As needed | Poppy seeds (optional, for sprinkling) |
Instructions
1. Proofing the Yeast
Begin by creating a warm environment conducive to activating the yeast. In a small mixing bowl, pour 3/4 cup of warm water—ideally between 100°F to 110°F (37°C to 43°C)—and sprinkle the dried yeast evenly over the surface. Add 1 teaspoon of sugar to nourish the yeast and stir gently to combine. Place the bowl in a warm, draft-free spot, such as near a radiator or inside an oven with the light on, and allow it to sit undisturbed for approximately 10 minutes. During this time, the yeast should become frothy and bubbly, indicating active fermentation. If no frothing occurs, the yeast may be expired or inactive, and it’s advisable to start anew with fresh yeast to ensure successful bread development.
2. Preparing the Wet Ingredients
While the yeast is proofing, combine the yogurt, remaining 2 tablespoons of sugar, 1/2 cup of water, beaten egg, and melted ghee in a separate mixing bowl. Whisk thoroughly until the mixture is smooth and uniform. The yogurt lends tenderness and moisture, while the egg and ghee contribute richness and flavor. Adjust the seasoning with a pinch of salt, keeping in mind the overall taste profile you desire. For a more authentic flavor, some cooks add a pinch of baking soda to the yogurt before mixing, which can help create a slightly puffed, airy texture.
3. Combining the Yeast and Wet Ingredients
Once the yeast mixture has become frothy, pour it into the bowl containing the yogurt mixture. Stir gently to incorporate all components, creating a cohesive liquid base that will serve as the foundation for your dough.
4. Mixing the Dough
In a large mixing bowl, place 2 cups of the all-purpose flour. Create a well in the center of the flour mound and pour in the liquid mixture. Using a spatula, whisk, or stand mixer fitted with a dough hook, blend until the mixture comes together into a wet, sticky dough. Gradually add the remaining flour, one-half cup at a time, kneading after each addition until the dough becomes firm but still slightly tacky. The ideal dough consistency should be soft, elastic, and slightly sticky to the touch—this ensures the naan will be tender yet chewy.
5. Kneading the Dough
Transfer the dough onto a floured surface or continue kneading in your stand mixer. Knead by hand for approximately 10-12 minutes or with the mixer for about 7-8 minutes until the dough is smooth, elastic, and slightly tacky but not overly sticky. Proper kneading develops gluten, giving naan its characteristic chewiness and airy pockets. If the dough feels too sticky, sprinkle in small amounts of flour; if too dry, add a splash of water. The goal is to achieve a dough that springs back slightly when pressed and holds its shape.
6. First Rise
Shape the kneaded dough into a ball and lightly coat it with ghee or oil. Place it in a clean, greased mixing bowl, turning the dough to coat all sides. Cover the bowl with a damp kitchen towel or plastic wrap, and place it in a warm, draft-free environment. Let the dough rise until it doubles in size—this typically takes 1 to 2 hours depending on ambient temperature. During this period, gluten continues to develop, and the yeast ferments, producing carbon dioxide that inflates the dough.
7. Dividing and Resting the Dough
Once doubled in volume, gently punch down the dough to release excess gas. Divide the dough into 8 equal portions using a knife or dough scraper. Shape each portion into a smooth ball, then cover the balls with a damp cloth or plastic wrap and let them rest for 10 minutes. Resting allows the gluten to relax, making the dough easier to shape and resulting in softer, more pliable naan.
8. Shaping the Naan
Take one dough ball and flatten it slightly with your hands. Using a rolling pin, roll out into a circle approximately 8 inches in diameter. For authentic style, make the center thinner and the edges slightly thicker. You can also pull and stretch the dough gently with your hands to achieve an irregular, rustic shape. For a traditional look, pull one end outward to form a teardrop shape or stretch both ends outward for an oblong form. The final shape is flexible—what matters most is that the naan is evenly thin in the center for even baking.
9. Preparing for Baking
Preheat your oven to 450°F (232°C), and if possible, place a baking stone or an inverted baking sheet inside to heat. This mimics the intense heat of a tandoor, creating the characteristic blistered and slightly charred surface. Meanwhile, brush each shaped naan with melted ghee or butter for flavor and moisture. Sprinkle with poppy seeds, cumin seeds, or other toppings of your choice, pressing them lightly into the surface to adhere.
10. Baking the Naan
Transfer the prepared naan onto the preheated baking surface—using a pizza peel or parchment paper to assist if necessary. Bake for approximately 10 minutes, or until the naan is puffed, golden, and slightly blistered. Keep an eye on the bread during the last few minutes to prevent burning. For an extra authentic touch, you can broil the naan for the last 1-2 minutes to enhance browning and blistering.
11. Finishing and Serving
Remove the naan from the oven and immediately brush with additional melted ghee or butter for richness. Serve warm, garnished with additional poppy seeds or cumin if desired. These breads are best enjoyed fresh but can be stored for later use with proper techniques.
Preparation Tips
- Ensure water for proofing is warm but not hot to avoid killing the yeast.
- Use full-fat yogurt to add moisture and tenderness; low-fat versions may result in a drier texture.
- Adjust flour quantity based on humidity and flour type; the dough should be soft but manageable.
- Resting the dough is crucial for gluten development and creating airy naan.
- Incorporate garlic, cilantro, or chopped herbs into the dough for flavor variations.
- Use a cast-iron skillet or tandoor oven if available for even higher authenticity.
Nutritional Information (per serving)
| Nutrient | Amount |
|---|---|
| Calories | 317.3 kcal |
| Fat Content | 12.3 g |
| Saturated Fat | 7.2 g |
| Cholesterol | 55.6 mg |
| Sodium | 335.8 mg |
| Carbohydrates | 44.1 g |
| Fiber | 1.7 g |
| Sugar | 2.1 g |
| Protein | 7.2 g |
Tips and Tricks
- Use a pizza stone or preheated baking sheet for a more authentic, crispy crust.
- For extra flavor, add minced garlic and chopped cilantro to the dough or sprinkle on top before baking.
- Experiment with different toppings like chopped green chilies, onion seeds, or sesame seeds.
- If you prefer softer naan, avoid over-rolling; slightly thicker naan will be more tender.
- Leftover naan can be reheated in a hot skillet or oven for a few minutes to regain freshness.
- For vegan adaptations, replace yogurt with plant-based options like coconut or almond yogurt, and use vegan butter or oil.
Add-ons
- Garlic butter or herb-infused ghee for brushing after baking
- Chopped fresh herbs like cilantro, mint, or parsley mixed into the dough
- Spicy toppings such as chopped green chilies or chili powder
- Cheese fillings for stuffed naan variations
Side Dishes to Complement Naan
- Chicken Tikka Masala
- Chana Masala (Chickpea Curry)
- Palak Paneer (Spinach and Cottage Cheese)
- Lentil Dal
- Vegetable Korma
- Grilled Kebabs
Improvements and Variations
- Incorporate whole wheat flour for a healthier, nuttier flavor, replacing up to 50% of the all-purpose flour.
- Experiment with different toppings and fillings, such as cheese, spiced potatoes, or minced meats.
- Use a cast-iron skillet or griddle for stovetop baking, mimicking tandoor effects without an oven.
- Implement a sourdough starter instead of commercial yeast for a tangy, artisanal flavor.
- Adjust oven temperature and baking time to achieve desired level of charring and puffiness.
Save and Store
Fresh naan is best enjoyed immediately after baking. To store leftovers, allow the bread to cool completely, then place in an airtight container or resealable plastic bag. Store at room temperature for up to 24 hours or refrigerate for up to 3 days. To reheat, warm in a skillet over medium heat or in a preheated oven at 350°F (175°C) for 5-7 minutes, brushing with butter or ghee for added moisture and flavor.
FAQ
Can I make naan without yogurt?
Yes. You can substitute yogurt with dairy-free alternatives like coconut yogurt or use a bit of milk plus a teaspoon of lemon juice or vinegar to mimic acidity. However, yogurt contributes to softness and flavor, so the texture may differ slightly.
Can I freeze naan bread?
Absolutely. Once cooled completely, wrap each naan tightly in plastic wrap or aluminum foil, then place in a freezer-safe bag. Freeze for up to 3 months. To reheat, thaw at room temperature or in the refrigerator, then warm in a skillet or oven until hot and slightly crispy.
How do I achieve authentic tandoor flavor at home?
Using a pizza stone or preheated baking sheet in a very hot oven mimics the high heat of a tandoor. For added flavor, you can briefly char the naan under a broiler or on a grill, or use a cast-iron skillet over high heat to develop blistered, smoky spots.
Conclusion
Mastering homemade naan bread elevates your Indian cooking experience, offering a fresh, warm, and flavorful accompaniment that complements a variety of dishes. The process involves careful dough preparation, precise kneading, and oven techniques that approximate traditional tandoor baking. By experimenting with flavors, toppings, and baking methods, you can customize naan to suit your taste preferences and dietary needs. At Love With Recipes, we believe that the joy of cooking comes from the process as much as the final taste, and this recipe is designed to guide you through each step with confidence and clarity. Embrace the art of naan-making, and transform your meal into an authentic culinary celebration.
References
- Charmaine Solomon, The Complete Asian Cookbook
- Test Kitchen Tips from Indian Cooking Experts