

 Introduction
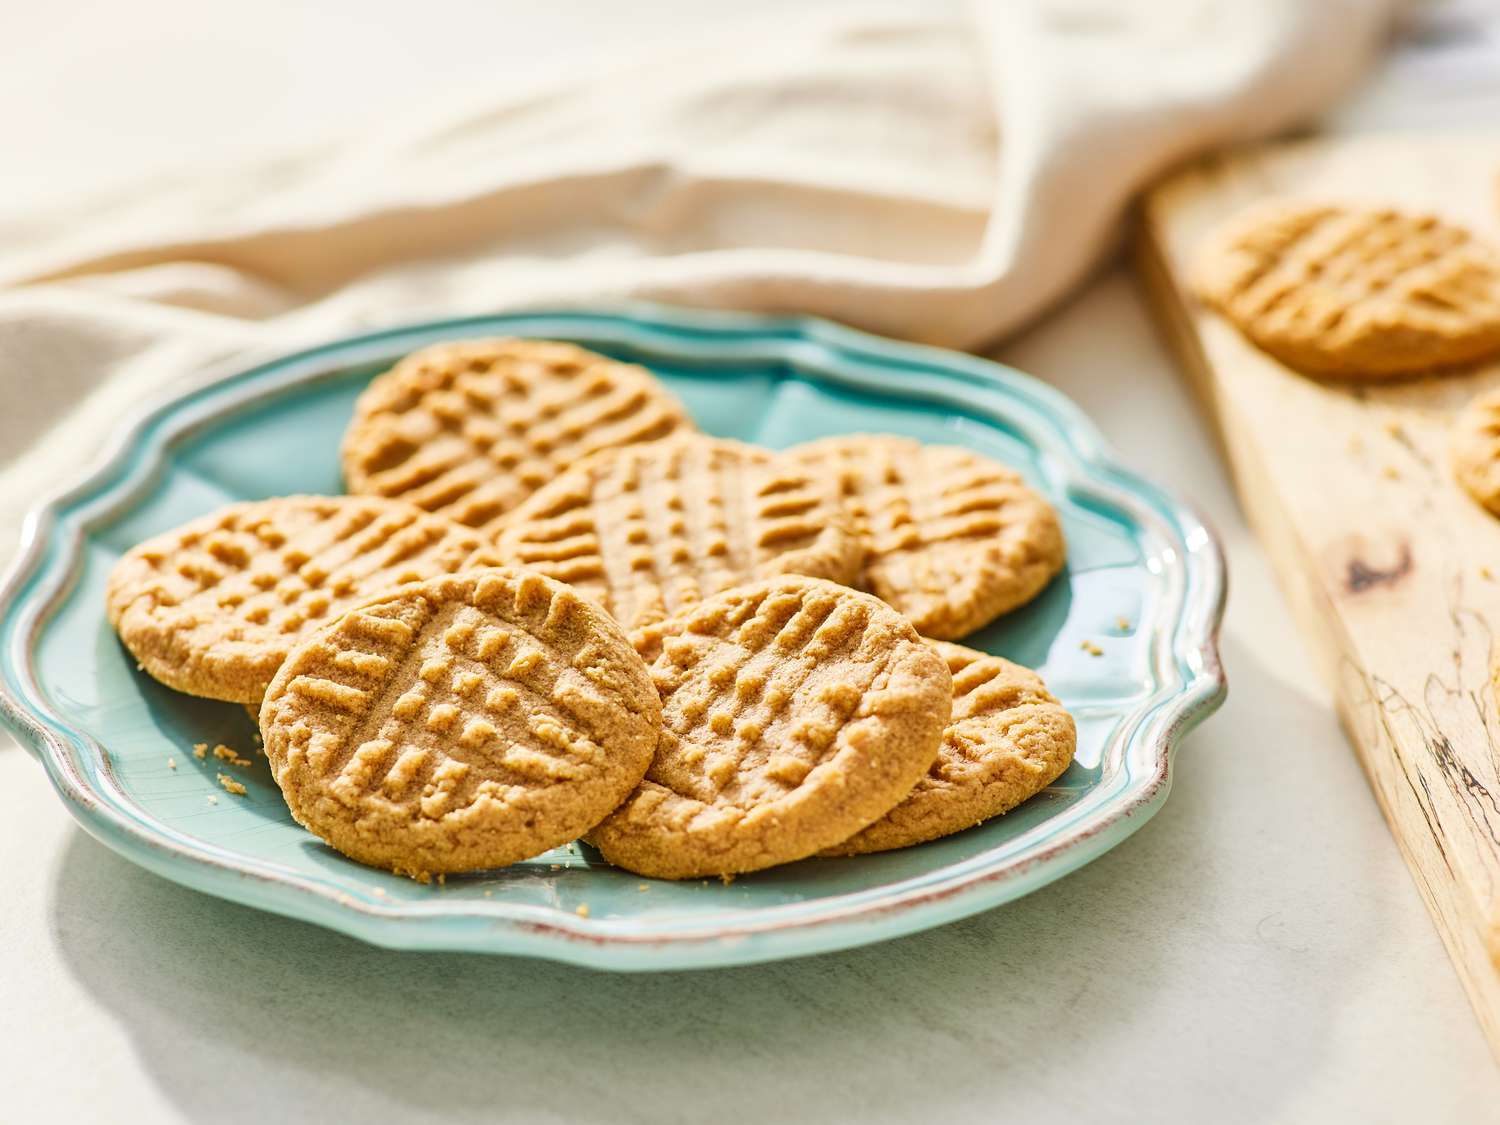
At Love With Recipes, we understand that sometimes life calls for quick, satisfying desserts that don’t require hours in the kitchen or complicated ingredients. This recipe for Peanut Butter in My Chocolate No-Bake Cookies exemplifies that perfect balance of simplicity and indulgence, making it an ideal treat for busy weekdays, spontaneous cravings, or last-minute gatherings. Combining the luscious creaminess of peanut butter with rich, decadent chocolate, these cookies deliver an irresistible chewiness that keeps you coming back for more. Their no-bake nature means you can prepare them in just minutes, with no need for oven time or elaborate steps, allowing for minimal cleanup and maximum enjoyment. Whether you’re a seasoned baker or a beginner in the kitchen, this recipe is designed to be accessible and foolproof, producing consistently delicious results every time.
Time
- Preparation Time: 5 minutes
- Cooking Time: 5 minutes
- Total Time: 10 minutes
Needed Equipment
To ensure a smooth and efficient process, the following equipment is recommended:

- Saucepan or Medium-sized Pot: A sturdy saucepan is essential for melting ingredients evenly. Choose one with a heavy base to prevent scorching.
- Wooden Spoon or Silicone Spatula: For stirring the mixture thoroughly and preventing ingredients from sticking or burning.
- Measuring Cups and Spoons: Precise measurement of ingredients ensures consistent results. Use standard measuring cups for dry and liquid ingredients.
- Cookie Spoon or Teaspoon: For portioning out the mixture onto waxed paper, ensuring uniform cookies.
- Waxed or Parchment Paper: To prevent sticking and facilitate easy removal of cookies once set.
- Cooling Rack (optional): For faster cooling of the cookies if desired.
- Airtight Container: For storage and keeping cookies fresh.
Tags
These cookies are perfect for:
- Candy & Dessert
- Cookies & Brownies
- Quick & Easy Recipes
- No-Bake Treats
- Peanut Butter & Chocolate
- Family-Friendly Snacks
- Vegetarian
Serving Size
Each batch yields approximately 24 cookies, with a serving size considered to be one cookie. This makes it easy to control portions while indulging in a sweet treat. For larger gatherings or buffets, you might want to double the recipe or adjust accordingly.
Difficulty Level
This recipe is rated as easy, requiring minimal culinary skills. Its straightforward process makes it suitable for beginner cooks, kids (with supervision), and for anyone looking for a quick dessert fix without complicated steps or special techniques.
Allergen Information
| Allergen | Contains | Notes |
|---|---|---|
| Peanuts / Tree Nuts | Yes | Contains peanut butter, which is a nut product. |
| Dairy | Possible | If margarine contains milk derivatives, then dairy is present. Use plant-based margarine for dairy-free options. |
| Gluten | No | Oats are naturally gluten-free, but cross-contamination can occur. Use certified gluten-free oats for strict gluten-free diet. |
| Soy | Possible | Check margarine and processed ingredients for soy derivatives if allergies are a concern. |
Dietary Preference
This recipe is suitable for vegetarians. For vegan adaptations, replace margarine with plant-based butter or coconut oil, and ensure peanut butter is free from animal-derived additives.
Course
Dessert, Snack, Candy
Cuisine
American, Comfort Food
Ingredients
| Ingredient | Quantity | Notes |
|---|---|---|
| Sugar | 2 cups | Granulated white sugar provides sweetness and structure. |
| Margarine | 3 tablespoons | Use unsalted or salted. For vegan options, substitute with plant-based margarine or coconut oil. |
| Milk | 1/2 cup | Regular cow’s milk or plant-based alternatives like almond or soy milk. |
| Vanilla Extract | 1/2 teaspoon | Enhances flavor complexity; opt for pure vanilla for best aroma. |
| Creamy Peanut Butter | 1 cup | Choose natural or commercial brands; ensure it’s smooth for easy mixing. |
| Rolled Oats | 1/2 cup | Old-fashioned oats preferred for texture; avoid instant oats for best consistency. |
Instructions
Step 1: Prepare the Mixture
Begin by gathering all ingredients and measuring them precisely. In a medium-sized saucepan, combine the sugar, margarine, milk, and cocoa powder (optional if you want a richer chocolate flavor). Place the saucepan over medium heat, stirring constantly with a wooden spoon or silicone spatula. Stir until all ingredients are fully incorporated and the mixture is smooth. This process ensures an even distribution of sweetness and chocolate, preventing scorching or burning.
Step 2: Bring to a Boil
Once the mixture is smooth, increase the heat slightly to bring it to a gentle boil. Keep stirring continuously to prevent sticking or burning at the bottom of the pan. When the mixture reaches a rolling boil, set a timer for exactly one minute. This boiling time is critical for achieving the correct consistency of the cookies, as it allows the sugar to fully dissolve and the mixture to thicken slightly, which is essential for the cookies to set properly later.
Step 3: Remove from Heat and Add Flavors
After boiling for one minute, remove the saucepan from the heat source. Carefully add the vanilla extract and peanut butter. Stir vigorously until the peanut butter is thoroughly melted and evenly distributed throughout the hot mixture. This step ensures a creamy, uniform consistency and enhances the flavor profile. The mixture will be glossy and thick at this point.
Step 4: Incorporate the Oats
Next, add the rolled oats to the mixture. Stir well to combine, ensuring that every oat is coated in the chocolate-peanut butter mixture. This step is crucial because the oats act as the base that holds the cookies together once cooled. Mixing thoroughly ensures each cookie will have a consistent texture and flavor distribution.
Step 5: Portion and Shape
Using a teaspoon or cookie scoop, portion out the mixture onto prepared waxed or parchment paper. For uniformity, try to use the same size for each cookie. Gently press the mixture down slightly if you prefer flatter cookies. Leave space between each cookie to prevent sticking as they set. This step is where your personal touch comes in—whether you prefer rounded mounds or slightly flattened cookies, shaping is entirely up to your preference.
Step 6: Cooling and Setting
Let the cookies rest at room temperature for about 30 minutes. If you’re in a hurry or want the cookies to set faster, place the tray in the refrigerator for about 10-15 minutes. The cool environment accelerates the setting process by solidifying the fats and sugars in the mixture, which helps the cookies hold their shape. Once set, the cookies will have a firm yet chewy texture, with the chocolate and peanut butter flavors harmoniously blended.
Step 7: Storage and Serving
Transfer the cookies to an airtight container for storage. They can be kept at room temperature for a few days, but refrigeration extends their shelf life and maintains their texture. Before serving, allow the cookies to come to room temperature for the best flavor and mouthfeel. These cookies are perfect for sharing, gifting, or enjoying as a quick snack whenever the craving strikes.
Preparation Tips
- Consistent Texture: Ensure peanut butter is well mixed before adding to the hot mixture. Natural peanut butter can sometimes be separated, so stir thoroughly for a smooth consistency.
- Chocolate Variations: For a deeper chocolate flavor, add a tablespoon of cocoa powder to the sugar mixture before heating. For extra richness, consider using dark chocolate chips or chunks stirred into the mixture after removing from heat.
- Oats Choice: Use old-fashioned rolled oats rather than instant oats to achieve the desired chewy texture. Toast the oats lightly in a dry skillet before adding to enhance flavor.
- Temperature Control: Keep the heat moderate to prevent burning the sugar mixture. Use a heavy-bottomed pan for even heat distribution.
- Adding Extras: Incorporate chopped nuts, dried fruits, or mini chocolate chips into the mixture for added texture and flavor.
Nutritional Information
| Nutrient | Per Cookie (approximate) |
|---|---|
| Calories | 174.5 kcal |
| Total Fat | 7.4 g |
| Saturated Fat | 1.6 g |
| Cholesterol | 0.7 mg |
| Sodium | 72.3 mg |
| Total Carbohydrates | 25.2 g |
| Dietary Fiber | 1.5 g |
| Sugars | 17.2 g |
| Protein | 3 g |
Tips and Tricks
- Uniform Cookies: Use a cookie scoop to ensure even-sized cookies, which helps with uniform setting and presentation.
- Faster Cooling: For quick refrigeration, lay the cookies on a wire rack and use a cold pack or ice bag beneath the tray.
- Flavor Enhancements: Mix in a pinch of sea salt on top of the cookies before setting for a sweet-salty contrast.
- Presentation: Drizzle melted chocolate or sprinkle chopped nuts over the cookies once they’re set for a decorative touch.
Add-ons
Customizing your cookies can elevate their appeal and flavor profile:
- Chopped nuts (pecans, walnuts, almonds)
- Dried cranberries, raisins, or chopped dried apricots
- Mini chocolate chips or white chocolate chips
- Shredded coconut for added texture
- Crushed pretzels or toffee bits for crunch
Side Dishes
While these cookies are delightful on their own, pairing them with complementary treats enhances the overall experience:
- Fresh Fruit: Sliced strawberries, bananas, or apple slices provide a refreshing balance.
- Dairy: A glass of cold milk, almond milk, or coffee pairs beautifully with the richness of the cookies.
- Ice Cream: Serve alongside vanilla or chocolate ice cream for an indulgent dessert.
Improvements
- Vegan Version: Use vegan margarine and natural peanut butter without added honey or dairy derivatives.
- Gluten-Free: Substitute oats with certified gluten-free oats and ensure no cross-contamination.
- Extra Chocolate: Mix in chocolate chips or drizzle melted chocolate on top for an extra chocolate kick.
- Flavor Infusions: Add a teaspoon of cinnamon, espresso powder, or a splash of bourbon for unique flavors.
Save and Store
Proper storage maximizes freshness and flavor:
- Room Temperature: Store in an airtight container at room temperature for up to 3 days.
- Refrigeration: For longer storage, keep in an airtight container in the refrigerator for up to a week. Allow cookies to warm slightly before serving for optimal texture.
- Freezing: Freeze cookies in a single layer on a baking sheet, then transfer to a freezer-safe container. They can last up to 3 months. Thaw at room temperature before serving.
FAQ
Can I use natural peanut butter?
Yes, but natural peanut butter can be more liquid and may affect the cookie’s texture. Stir thoroughly before use, and expect slightly different consistency. For best results, opt for creamy, non-separating varieties.
Can I make these cookies vegan?
Absolutely. Replace margarine with plant-based butter or coconut oil, and ensure the peanut butter has no added dairy or honey. Use plant-based milk as well.
How do I make these cookies gluten-free?
Use certified gluten-free oats and verify that all other ingredients are gluten-free. The recipe remains the same, with oats being the only potential concern for gluten content.
Can I add other flavorings?
Yes, add cinnamon, espresso powder, or a splash of liqueur like Baileys or Kahlua to customize the flavor profile to your liking.
What if the cookies don’t set properly?
If your cookies remain soft or don’t hold their shape, ensure you boiled the mixture for exactly one minute, and consider refrigerating longer to help them firm up.
Conclusion
These Peanut Butter in My Chocolate No-Bake Cookies are a testament to how minimal ingredients and effort can produce maximum flavor. Perfect for satisfying sweet cravings quickly, they are versatile enough to be customized with your favorite add-ins. The combination of creamy peanut butter and rich chocolate creates a harmonious flavor experience that appeals to all ages. Whether you’re looking for a quick treat to whip up after dinner or a crowd-pleasing dessert for gatherings, these cookies deliver on both taste and convenience. Remember to store them properly to maintain their chewy texture and delightful flavor. Enjoy creating, sharing, and indulging in these irresistibly simple yet decadent cookies, and be sure to explore variations to make them uniquely yours, all while celebrating the joy of homemade sweets, a passion we love to share here at Love With Recipes!