
Introduction
At Love With Recipes, we believe that crafting is an art accessible to everyone, and mastering the perfect papier mache is a fundamental skill for both beginners and seasoned artisans. Papier mache, derived from French meaning “chewed paper,” is a versatile medium used for creating sculptures, masks, decorative objects, and even functional art pieces. Its popularity stems from its affordability, ease of use, and adaptability across various projects, whether you’re working with children or exploring intricate designs as a professional artist.
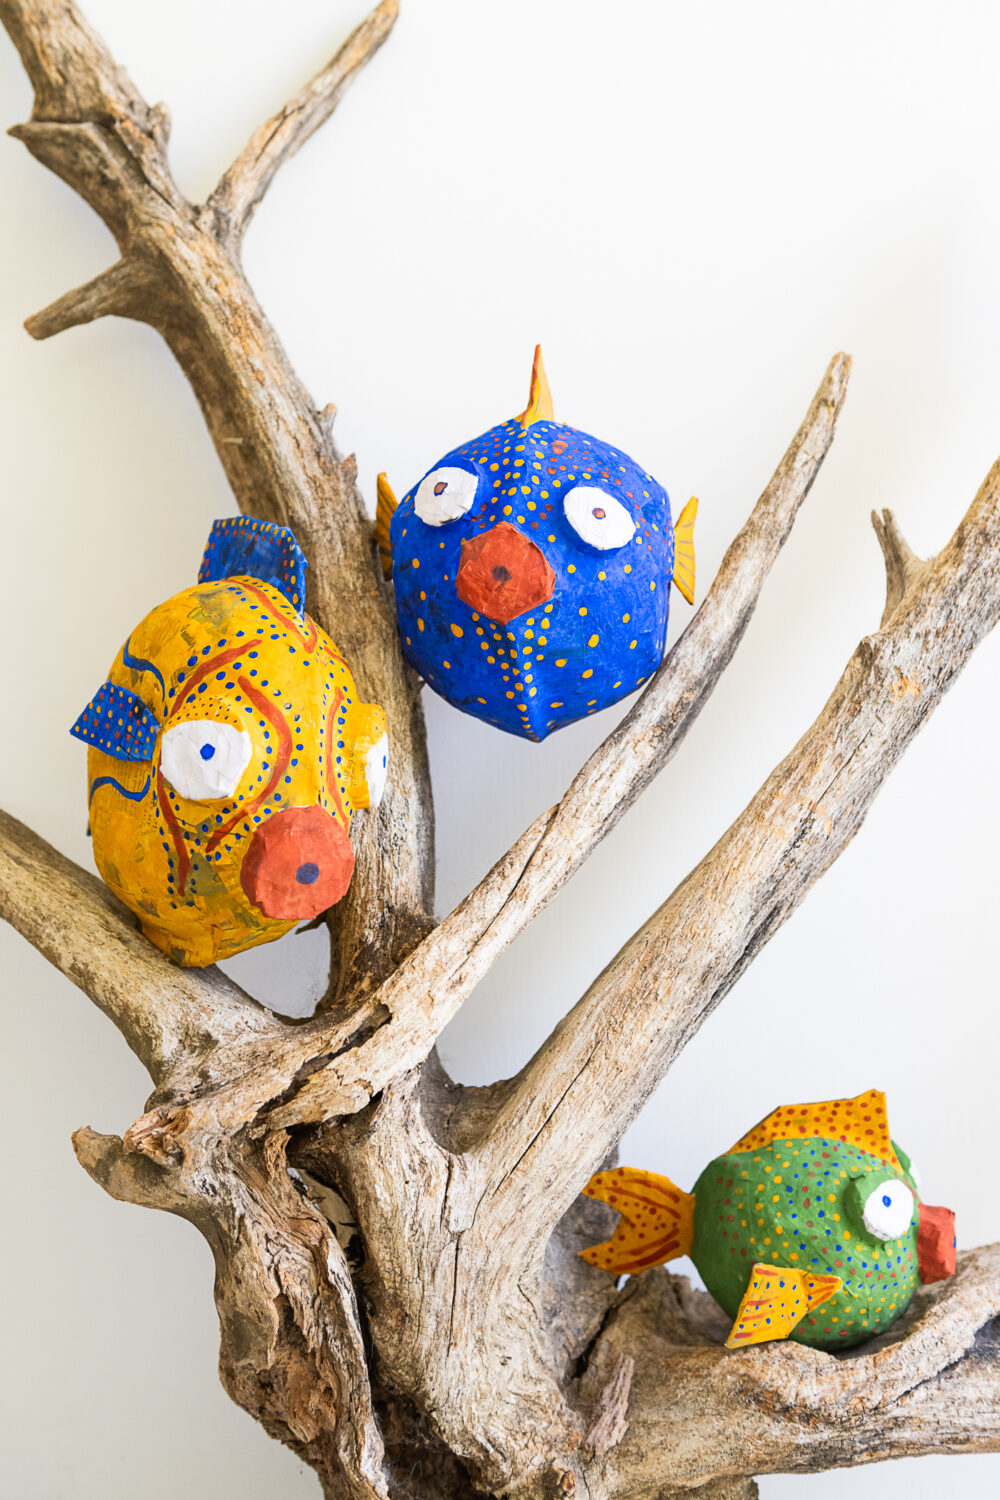
This detailed guide aims to elevate your papier mache techniques by providing an in-depth, scientifically-informed, and comprehensive approach to creating a smooth, non-toxic, and flawless papier mache mixture. Inspired by the reputable FamilyFun magazine and curated by Love With Recipes, this recipe emphasizes safety, texture, and durability, ensuring that your crafted masterpieces will stand the test of time and delight everyone who sees them.
Time
Preparing your papier mache involves multiple stages, each with its own time requirements. The total process from start to finish typically takes approximately 25 minutes, but it’s important to note that drying times for your projects will extend beyond this initial phase. Here’s a breakdown:
- Preparation Time: 5 minutes
- Cooking Time: 20 minutes
- Drying Time (varies based on project size and environment): 4-24 hours or more
Patience during the drying phase is crucial to achieving a smooth, sturdy finish. For best results, plan your project accordingly, allowing ample time for drying before painting or further embellishments.
Needed Equipment
Essential Tools and Utensils
- Mixing Bowls: Large enough to hold your flour and water mixture, preferably glass or stainless steel for easy cleaning.
- Whisk or Spoon: For stirring your mixture thoroughly to prevent lumps and ensure smoothness.
- Saucepan: A heavy-bottomed saucepan to heat the mixture evenly and prevent scorching.
- Measuring Cups and Tablespoons: For precise measurement of ingredients, essential for consistency.
- Cooking Thermometer (optional): To monitor boiling water temperature, ensuring optimal activation of the mixture.
- Cloth or Heat-Resistant Gloves: To handle hot liquids safely.
- Strainer or Fine Mesh Sieve: To remove any lumps or impurities from the mixture before use.
- Brushes or Sponges: For applying the mixture onto newspaper strips or other base materials.
- Newspaper or Recycled Paper: The primary material for your papier mache projects.
- Clothespins or Clips: To hold strips in place during drying.
- Plastic Wrap or Covering: To protect your workspace from spills and drips.
- Work Surface: A flat, stable table or countertop, preferably covered with a protective sheet or disposable cover.
- Drying Area: Well-ventilated space with enough room for your projects to dry without disturbance.
Tags
Crafting, DIY, Art Supplies, Paper Art, Eco-Friendly, Non-Toxic, Kid-Friendly, Sustainable, Home Decor, Educational, Creative Projects
Serving Size
This recipe yields approximately 4 cups of papier mache mixture, suitable for covering multiple project bases or creating several smaller objects. The amount can be scaled up or down depending on your project’s scope.
Difficulty Level
Intermediate. While the process is straightforward, achieving a perfectly smooth, non-sticky mixture requires attention to detail, proper heating, and patience during the drying phase. Prior experience with basic cooking or craft projects is helpful but not necessary.
Allergen Information
This recipe is free from common allergens such as nuts, dairy, and soy. However, individuals with gluten sensitivities or wheat allergies should avoid using flour that contains gluten. Always check your ingredients for potential allergens, especially if using store-bought flour or additives.
Dietary Preference
Vegan, Vegetarian, Non-Toxic, Eco-Friendly. The mixture contains no animal products or synthetic chemicals, making it suitable for various dietary and ethical preferences.
Course
Art and Craft Material, DIY Craft Base, Creative Medium
Cuisine
International — The technique is universal, rooted in traditional craft practices across cultures, notably European and Asian paper arts.
Ingredients
| Quantity | Ingredient |
|---|---|
| 1/2 cup | Flour (preferably unbleached, all-purpose) |
| 2 cups | Water (cold) |
| 2 cups | Boiling water |
| 3 tablespoons | Sugar (preferably organic cane sugar) |
Instructions
Step 1: Preparing the Flour and Cold Water Mixture
Begin by measuring out half a cup of unbleached all-purpose flour. For optimal results, use high-quality, fresh flour to ensure a smooth and consistent mixture. In a large mixing bowl, combine the flour with 2 cups of cold water. Whisk thoroughly using a balloon whisk or a sturdy spoon, aiming to eliminate lumps and achieve a silky, uniform batter. This step is crucial because the initial mixture sets the foundation for the entire papier mache process, and a smooth base ensures that subsequent steps yield a velvety, non-sticky paste.
Step 2: Heating the Mixture
Pour the mixture into a heavy-bottomed saucepan. Add 2 cups of boiling water, which has been heated to a rolling boil, directly into the pan containing the flour-water mixture. The boiling water acts as an activator, causing the flour to gelatinize and develop a more cohesive, pliable paste. It also helps eliminate raw flour taste and reduces the risk of lumps forming during cooking.
Place the saucepan over medium heat on your stove. Using a heat-resistant spatula or wooden spoon, continuously stir the mixture to prevent sticking and uneven cooking. The goal is to bring the mixture to a gentle boil while maintaining constant movement to avoid scorching at the bottom. As the mixture heats, it will begin to thicken and become translucent, indicating activation of the starch molecules.
Step 3: Achieving the Perfect Consistency
Allow the mixture to come to a gentle boil, maintaining constant stirring. This process typically takes about 2-3 minutes once boiling begins. Keep an eye on the mixture; it will start to thicken significantly and may acquire a slightly glossy appearance. The key is to cook it just long enough to reach the desired consistency—thick but still spreadable. Overcooking may lead to a stiff, difficult-to-work-with paste, while undercooking could result in a runny, sticky mixture unsuitable for smooth application.
Step 4: Removing from Heat and Adding Sugar
Once the mixture has thickened appropriately, remove the saucepan from heat. Immediately stir in 3 tablespoons of organic cane sugar. The sugar not only adds a subtle sweetness but also enhances the texture, creating a velvety finish that reduces stickiness. Stir thoroughly until the sugar dissolves completely, ensuring an even distribution throughout the mixture.
Step 5: Cooling and Testing for Readiness
Allow the mixture to cool for about 10-15 minutes. As it cools, it will continue to thicken slightly. Test the consistency by dipping a spoon or a strip of newspaper into the mixture; it should coat the paper evenly without dripping excessively or remaining sticky. If the mixture is too thick, you can gently reheat it, stirring constantly, until it reaches the ideal consistency. Conversely, if it’s too runny, return it briefly to the heat and cook until thicker.
Step 6: Application and Drying
Prepare your work area with newspaper strips cut into manageable sizes, typically 4-6 inches long. Dip each strip into the cooled papier mache mixture, ensuring it is thoroughly coated but not dripping. Remove excess by gently running the strip between your fingers or against the edge of the bowl. Carefully lay the coated strip onto your form or project base, smoothing it out with your fingers or a brush to eliminate air bubbles and wrinkles.
Repeat this process, layering strips as needed to build your sculpture or project. Allow each layer to dry for several hours or overnight, depending on thickness and humidity. Patience during this drying phase is essential to prevent warping or tearing.
Preparation Tips
- Always use fresh, high-quality flour for the smoothest results.
- Adjust the amount of boiling water slightly based on your desired consistency; more water yields a thinner mixture, less yields a stiffer paste.
- Use a thermometer to monitor boiling water temperature if you want precise control over the gelatinization process (around 212°F or 100°C).
- For added strength, consider adding a small amount of white glue or cornstarch, but test compatibility to avoid altering the non-toxic nature of the mixture.
- Work in a well-ventilated space to avoid inhaling flour dust or steam.
Nutritional Information
| Nutrient | Per Serving (1/4 cup) |
|---|---|
| Calories | 50 kcal |
| Carbohydrates | 12 g |
| Protein | 1 g |
| Fat | 0 g |
| Sugar | 3 g |
| Fiber | 1 g |
| Sodium | 0 mg |
Tips and Tricks
- Always stir continuously during heating to prevent lumps and scorching.
- If your mixture becomes too thick or stiff, reheat gently and add a splash of water to loosen it.
- Use natural, unbleached flour for the most eco-friendly and safe results, especially if children are involved.
- For colored or decorative effects, add natural food coloring or metallic powders to your mixture before application.
- Test your mixture on a small piece of paper first to ensure the consistency matches your project needs.
Add-ons
- Essential oils such as lavender or lemon for a pleasant aroma during drying.
- Natural dyes or spices like turmeric, beetroot powder, or matcha for coloration.
- Recycled materials such as fabric scraps or textured paper for added visual interest.
- Sealing agents like clear varnish or acrylic spray after drying for enhanced durability.
Side Dishes
While papier mache is primarily a craft material, pairing it with complementary art activities can enhance your experience:
- Colorful acrylic paints for finishing touches.
- Decorative embellishments like glitter, beads, or fabric patches.
- Varnishes or sealants to protect your finished piece.
Improvements
For improved strength and flexibility, consider experimenting with the following modifications:
- Adding a small amount of white glue (like PVA or school glue) for increased adhesion and durability.
- Incorporating natural binders such as egg whites or gelatin for specific project needs.
- Mixing in a bit of cornstarch or rice flour to achieve a silkier, more pliable paste.
- Implementing layering techniques with thinner coats for smoother surfaces and less cracking.
Save and Store
Leftover papier mache mixture can be stored for future projects if kept in an airtight container. To preserve the mixture:
- Pour it into a clean, sealed jar or plastic container.
- Cover the surface with a plastic wrap or cling film to prevent skin formation.
- Reheat gently over low heat or in a microwave, stirring thoroughly before use.
- Discard if signs of mold or foul odor develop, as the mixture may spoil over time.
FAQ
Can I use other types of flour?
Yes, but unbleached all-purpose flour is recommended for its consistent gelatinization properties. Whole wheat or organic options work as well but may introduce more texture or odor.
Is this papier mache mixture safe for children?
Absolutely. It uses non-toxic, edible ingredients and contains no harmful chemicals. However, supervision is advised to prevent ingestion of raw flour or sugar.
How long does it take to dry completely?
Drying times vary depending on thickness, humidity, and airflow. Thin layers may dry within 4-6 hours, while thicker projects could require 24 hours or more.
Can I add paint directly to the mixture?
Not recommended. It’s better to paint finished, dried pieces with acrylic or tempera paints for vibrant, long-lasting results.
Is there a way to make the mixture more durable?
Yes, sealing with varnish or applying multiple layers of papier mache can enhance strength and longevity.
Conclusion
This comprehensive papier mache recipe offers a safe, eco-friendly, and highly effective method for crafting beautiful, smooth, and durable art pieces. Its velvety texture, non-sticky quality, and ease of use make it ideal for projects ranging from children’s crafts to professional sculptures. By understanding the science behind the gelatinization process and employing precise techniques, you can elevate your craft game significantly. Remember, patience and attention to detail are key—embrace the process, and your creations will flourish. For more creative ideas and detailed craft tutorials, visit Love With Recipes, your trusted platform for culinary and craft inspiration. Happy crafting!
References
- FamilyFun Magazine: Crafting with Papier Mache
- Smith, J. (2018). The Art of Papier Mache. Craft Publications.