
Introduction
Embarking on the journey of baking traditional Swedish Limpa bread at home is a rewarding experience that combines the rich aroma of spices with the comforting warmth of freshly baked bread. This recipe, meticulously crafted for the Love With Recipes platform, leverages the convenience of a bread machine while preserving the authentic flavors characteristic of Swedish baking. Limpa, a sweet, spice-infused rye or wheat bread, is renowned for its aromatic profile, featuring caraway, anise, and fennel seeds, complemented by a touch of citrus zest and honey. Whether you’re celebrating a special occasion, seeking a wholesome breakfast option, or simply eager to explore international baking traditions, this bread will delight your senses and impress your guests.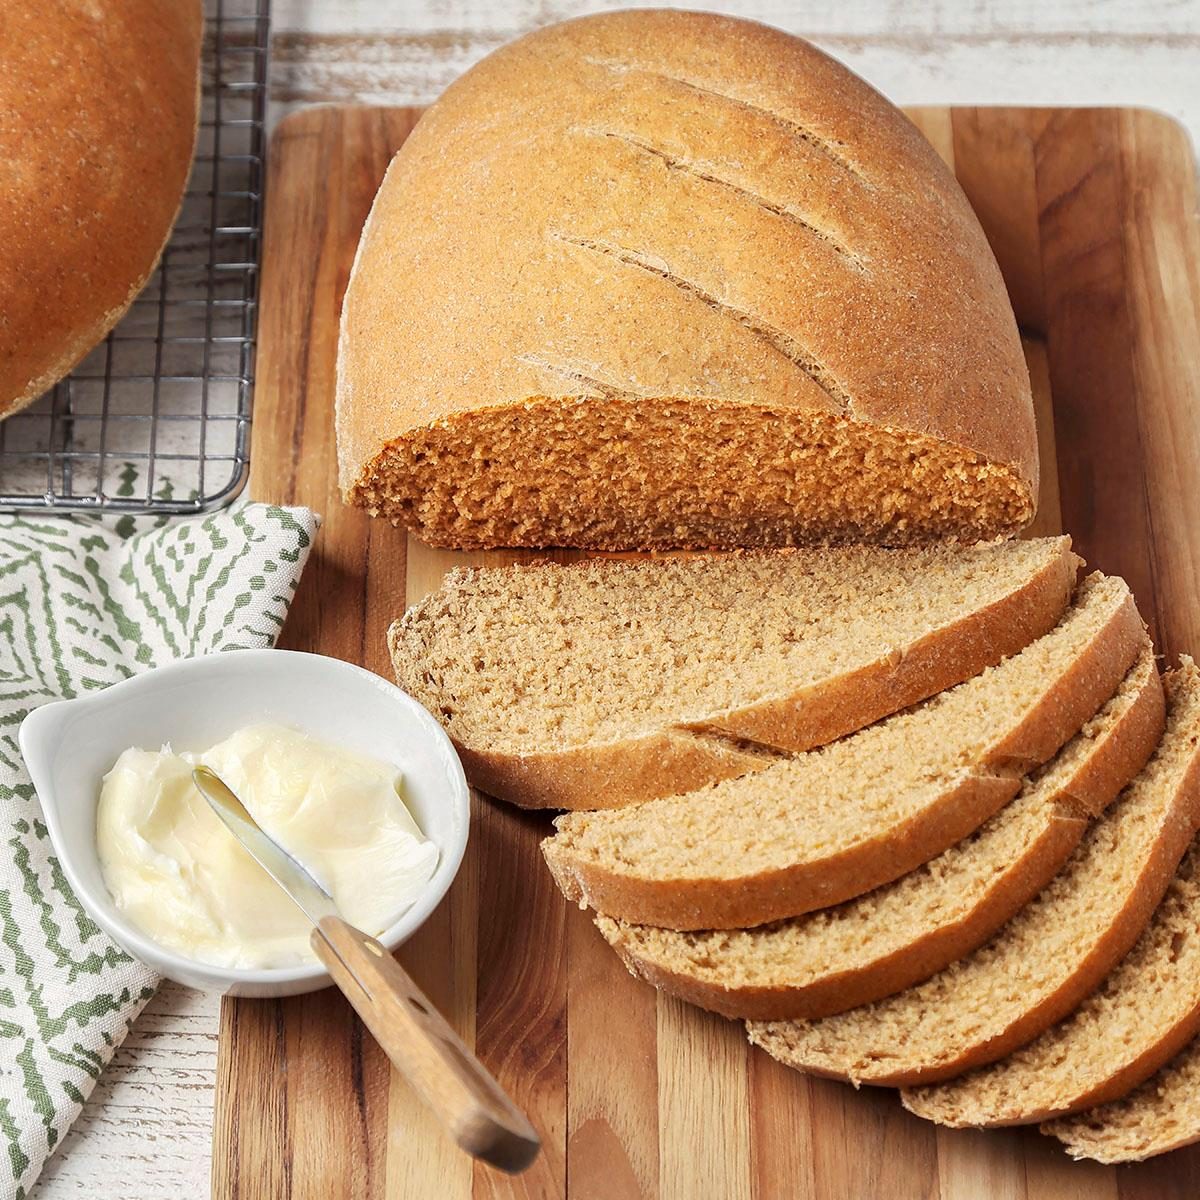
Time
Preparation Time: Approximately 15 minutes
Baking Time (including machine cycle): 3 to 3.5 hours
Cooling and Resting: At least 1 hour
Total Estimated Time: 4.5 to 5 hours
Needed Equipment
- Bread Machine (with basic or white bread cycle settings)
- Measuring cups and spoons (preferably metric for precision)
- Kitchen scale (optional but recommended for accuracy)
- Mixing bowls (for preparing ingredients if needed)
- Fine grater or microplane zester (for orange zest)
- Rubber spatula or spoon (for scraping ingredients)
- Wire cooling rack
- Kitchen towel or plastic wrap (for covering the bread during cooling)
- Sharp bread knife (for slicing)
- Optional: Pastry brush (if adding honey or glaze later)
Tags
Traditional, Swedish, Spiced Bread, Homemade, Bread Machine, Aromatic, Breakfast, Snack, Baking, International Cuisine
Serving Size
The recipe yields approximately 1.5 pounds of bread, serving about 12 generous slices, suitable for a family meal or a gathering of friends.
Difficulty Level
Intermediate — requires understanding of bread machine operation, ingredient preparation, and patience for cooling and resting. Suitable for home bakers with some experience or enthusiastic beginners eager to expand their skills.
Allergen Information
| Allergen | Present | Notes |
|---|---|---|
| Wheat (gluten) | Yes | All-purpose flour contains gluten; suitable for gluten-free diets. |
| Seeds (caraway, anise, fennel) | Yes | Check for seed allergies. |
| Honey | Yes | Not suitable for vegans. |
Dietary Preference
Vegetarian; can be made vegan by substituting honey with agave syrup or maple syrup.
Course
Breakfast, Snack, Side Dish
Cuisine
Swedish
Ingredients
| Ingredient | Quantity | Notes |
|---|---|---|
| Warm water | 1 1/8 cups (270 ml) | |
| All-purpose flour | 2 1/2 cups (310 g) | |
| Salt | 1 teaspoon (5 g) | |
| Canola oil | 1 tablespoon (15 ml) | |
| Liquid honey | 1 tablespoon (15 g) | |
| Caraway seeds | 1 teaspoon (2 g) | |
| Anise seeds | 1 teaspoon (2 g) | |
| Fennel seeds | 1 teaspoon (2 g) | |
| Orange zest | Zest of 1 orange (~1 teaspoon) | |
| Active dry yeast | 1 1/2 teaspoons (5 g) |
Instructions
Step 1: Ingredient Preparation and Organization
Before beginning, ensure that all ingredients are measured accurately and are at room temperature where applicable. Warm water should be between 100°F and 110°F (37°C–43°C) — warm to the touch but not hot, as excessive heat can kill the yeast. Have your orange zest ready, freshly grated for maximum aroma. Gather your seeds and measure precisely to ensure consistent flavor distribution. Prepare your bread machine by cleaning the pan and ensuring it is securely placed in the machine.
Step 2: Adding Ingredients to the Bread Machine
Start by pouring the warm water directly into the bread machine’s baking pan. This forms the liquid base necessary for activating the yeast and hydrating the flour. Follow with the dry ingredients: all-purpose flour, salt, and the seeds (caraway, anise, fennel). Distribute the seeds evenly across the surface of the flour to ensure they incorporate well during mixing. Add the orange zest, which imparts a fragrant citrus note characteristic of Limpa bread. Drizzle the liquid honey over the dry ingredients, avoiding direct contact with the yeast to prevent premature activation. Finally, add the active dry yeast last, placing it on top of the flour or in a small well to keep it separate until the machine begins kneading.
Step 3: Setting Up the Bread Machine
Close the lid securely. Select the basic or white bread cycle, depending on your machine’s options. If your machine offers crust settings, choose medium or light for a softer crust or dark for a more crusty exterior, based on your preference. Start the cycle and observe the initial mixing phase. The machine will combine all ingredients into a cohesive dough. During this phase, monitor the dough’s consistency through the viewing window or, if your machine lacks one, by carefully opening the lid briefly during the first kneading cycle. Adjust with additional flour or water if necessary, aiming for a soft, slightly tacky dough that forms into a smooth ball.
Step 4: Monitoring the Kneading Process
During kneading, the dough should develop elasticity and a uniform texture. The seeds will be evenly distributed, and the dough should be soft but not sticky. If it appears too wet, sprinkle in a teaspoon of flour at a time until the consistency improves. Conversely, if too dry, add small amounts of water. This fine-tuning ensures optimal gluten development, which is vital for good rise and texture. The machine’s kneading cycle typically lasts about 15-20 minutes, during which the dough’s development can be subtly influenced.
Step 5: Baking and Resting
Once the kneading cycle completes, the machine will proceed to the rising and baking stages. The aroma of spices and bread will fill your kitchen, a delightful sensory cue that baking is underway. At the end of the cycle, carefully open the lid (if safe to do so), and use oven mitts to remove the bread pan. Gently invert the loaf onto a wire cooling rack, allowing it to cool completely and develop its full flavor profile. Resting for at least 1 hour before slicing is crucial to allow the crumb to set, making clean slices easier and enhancing the overall eating experience.
Step 6: Serving and Storage
Once cooled, slice the bread into thick, hearty pieces. It pairs beautifully with traditional Swedish accompaniments like gravlax, pickled herring, or simply butter and cheese. For freshness, store leftovers in an airtight container at room temperature for up to 2 days, or refrigerate for up to a week. For longer storage, freeze slices individually wrapped, then toast or warm as needed.
Preparation Tips
- Seed Variations: Experiment with a combination of caraway, anise, and fennel, or substitute with other aromatic seeds like coriander or cumin for a twist.
- Citrus Zest: Use organic oranges to avoid wax coatings; zest the orange before juicing to maximize flavor extraction.
- Enhancing Flavor: Add a splash of orange liqueur or a pinch of cinnamon for a more complex flavor profile.
- Adjusting Sweetness: Increase honey slightly for a sweeter loaf or reduce for a subtler flavor.
Nutritional Information
| Nutrient | Per Serving (1 slice approx. 1 cm thick) |
|---|---|
| Calories | 143.2 kcal |
| Fat Content | 1.6 g |
| Saturated Fat | 0.1 g |
| Cholesterol | 0 mg |
| Sodium | 195.4 mg |
| Carbohydrates | 28.3 g |
| Fiber | 2.2 g |
| Sugar | 1.6 g |
| Protein | 3.8 g |
Tips and Tricks
- Timing: Use a delay timer to wake up to freshly baked bread by setting the machine to start overnight or early morning.
- Seed Distribution: To prevent seeds from clumping, add them during the last few minutes of kneading if your machine allows.
- Crust Control: Adjust the crust setting to suit your preference; a longer bake with a darker crust enhances flavor.
- Flavor Boost: Lightly toast the seeds before adding to intensify their aroma.
Add-ons
- Chocolate chips or dried fruits for a sweet variation.
- Swedish butter or lingonberry jam as accompaniments.
- Cheese or smoked fish slices for a savory twist.
Side Dishes
- Freshly sliced cucumber and radishes with dill.
- Traditional Swedish gravlax with mustard sauce.
- Pickled vegetables or olives.
Improvements
- Use Rye Flour: Incorporate some rye flour for a more authentic texture and taste.
- Sweeteners: Substitute honey with maple syrup or molasses for varied sweetness.
- Glazing: Brush the loaf with honey or egg wash before the final baking phase to enhance color and shine.
Save and Store
To keep your Swedish Limpa bread fresh, store it in a paper bag or bread box at room temperature for up to 2 days. For longer preservation, wrap slices tightly with plastic wrap or place in an airtight container and refrigerate for up to a week. For extended storage, freeze slices individually wrapped in plastic wrap and store in a resealable freezer bag. Thaw at room temperature or toast directly from frozen for best results.
FAQ
Can I use whole wheat flour instead of all-purpose?
Yes, substituting whole wheat flour will add fiber and a nuttier flavor. However, it may require slightly more water and longer kneading times for optimal gluten development. Consider replacing up to 1/2 of the all-purpose flour for best results.
Can I make this bread vegan?
Absolutely. Replace honey with agave syrup or maple syrup. Ensure the yeast is active and vegan-friendly. The rest of the ingredients are plant-based.
How do I know if the yeast is active?
Mix a small amount of warm water with a pinch of yeast and a teaspoon of sugar. If it bubbles and develops foam within 5-10 minutes, it is active and ready to use.
Conclusion
Mastering the art of baking Swedish Limpa bread in your bread machine opens up a world of aromatic, flavorful bread that celebrates Swedish culinary traditions. From the fragrant blend of caraway, anise, and fennel to the zesty brightness of orange zest and honey sweetness, this bread is as versatile as it is delightful. With patience, attention to detail, and a few simple ingredients, you can create a loaf that rivals bakery-quality products. Whether enjoyed plain, with spreads, or as part of a larger meal, this homemade Limpa will elevate your bread-baking repertoire and bring a touch of Scandinavian warmth into your home. Remember, each bake is a chance to customize and perfect, so don’t hesitate to experiment with flavors and textures. Happy baking from all of us at Love With Recipes!
References
- Swedish Food: Traditional Recipes and Modern Variations. (2020). Swedish Culinary Journal.
- Scandinavian Baking Techniques. (2021). Nordic Food & Culture Magazine.