Introduction
Welcome to Love With Recipes, your ultimate destination for delicious, tried-and-true homemade treats. Today, we’re diving into a classic confection that embodies simplicity and satisfaction: an easy, no-fail chocolate fudge that requires no candy thermometer, making it accessible even for novice cooks. This recipe has been a staple in many households, cherished for its rich, velvety texture and perfect sweetness. The beauty of this fudge lies in its straightforward process—just a handful of ingredients, minimal equipment, and a few minutes of active cooking. Whether you’re preparing for a holiday celebration, a quick gift, or just craving something sweet, this fudge will never disappoint. Its compact, rich pieces are ideal for sharing, and it freezes wonderfully, ensuring you can enjoy it anytime. Join us as we explore every aspect of this irresistible treat, from ingredient selection to tips for perfect results, and discover why this fudge continues to be a beloved favorite across generations.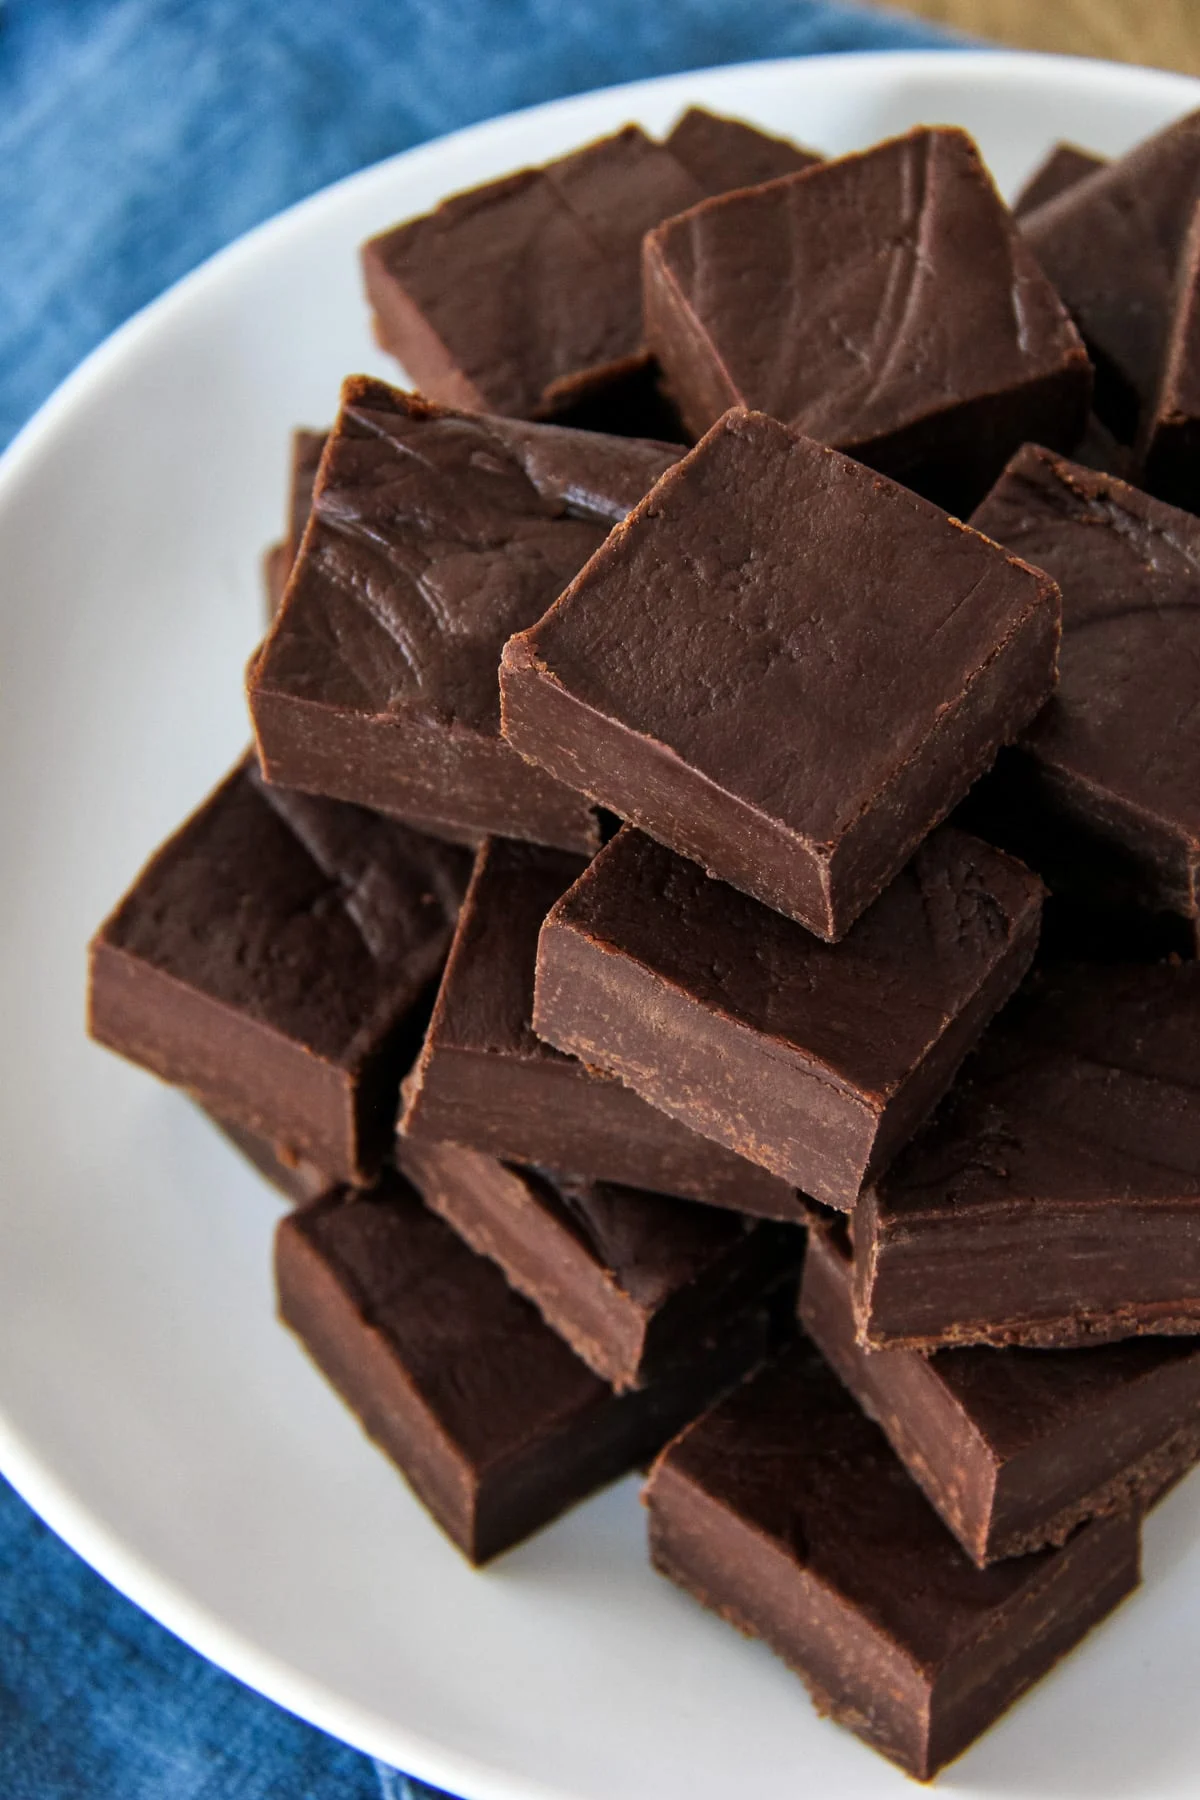
Time
Preparation Time: 15 minutes
Cook Time: 10 minutes
Total Time: 25 minutes
Needed Equipment
- 8-inch square baking pan
- Heavy-duty saucepan (preferably stainless steel or non-stick)
- Rubber spatula or wooden spoon
- Aluminum foil or parchment paper
- Measuring cups (1/8 cup, 1/4 cup, 1/2 cup, 1 cup)
- Knife or pizza cutter for slicing
- Cooling rack (optional, but helpful)
- Refrigerator for setting
Tags
- Chocolate
- Fudge
- Sweet Treats
- No-Bake
- Easy
- Party Snacks
- Holiday Dessert
- Snack
Serving Size
Each serving is approximately one square of fudge, which weighs about 20 grams. The entire batch yields roughly 49 pieces, perfect for sharing or storing for later indulgence.
Difficulty Level
This recipe is classified as Easy. No special skills or tools are required—just simple stovetop cooking and basic kitchen equipment.
Allergen Information
| Allergen | Present in Recipe | Notes |
|---|---|---|
| Soy | Yes | Chocolate chips and marshmallows may contain soy lecithin |
| Nuts | Yes | Chopped walnuts are optional and can be substituted or omitted |
| Dairy | Yes | Butter, evaporated milk, chocolate chips, marshmallows (may contain dairy) |
| Gluten | No | Ingredients are gluten-free, but always check labels |
Dietary Preference
This recipe is suitable for vegetarians but not vegan due to the use of dairy and marshmallows. For vegan adaptation, substitute dairy ingredients with plant-based alternatives and use vegan marshmallows and chocolate chips.
Course
Dessert, Snack, Party Treat
Cuisine
American, Confectionery, Comfort Food
Ingredients
| Quantity | Ingredient |
|---|---|
| 1 1/2 cups | Sugar |
| 2/3 cup | Evaporated milk |
| 2 tablespoons | Butter |
| 1/8 teaspoon | Salt |
| 2 cups | Mini marshmallows |
| 1 1/2 cups | Chocolate chips |
| 3/4 cup | Chopped walnuts (optional) |
| 1 1/2 teaspoons | Vanilla extract |
Instructions
Preparation Phase
Begin by preparing your workspace and equipment. Line your 8-inch square baking pan with foil or parchment paper, ensuring the sides overhang slightly for easy removal later. This step simplifies the process of lifting the fudge out of the pan for slicing and helps with cleanup. Set aside. Gather all ingredients and measuring tools to streamline the cooking process.
Cooking Phase
- Combine ingredients: In a heavy-duty saucepan, add the sugar, evaporated milk, butter, and salt. Use a sturdy spatula or wooden spoon to stir the mixture thoroughly. Ensure all ingredients are evenly distributed, which is critical for consistent boiling and texture.
- Heat and bring to a boil: Place the saucepan over medium heat. Stir continuously to prevent the mixture from sticking or burning. Over the next few minutes, you’ll notice the mixture thickening and bubbling vigorously. Maintain constant stirring to avoid scorching the bottom, and watch for a full rolling boil—this is when the mixture reaches a vigorous, continuous boil with large bubbles that don’t subside.
- Timing the boil: Once the mixture reaches a rolling boil, start your timer. Boil for exactly 4 to 5 minutes, stirring constantly throughout. This precise timing is essential—less than 4 minutes may result in undercooked fudge, while longer may cause it to seize or become grainy. Use a kitchen timer for accuracy. Do not skip this step!
Finishing Phase
- Remove from heat: After boiling for 4-5 minutes, turn off the heat and immediately transfer the saucepan from the stove. Keep the mixture hot but stop stirring briefly.
- Add remaining ingredients: Stir in the mini marshmallows, chocolate chips, and vanilla extract. Continue stirring vigorously until the marshmallows are fully melted and incorporated, creating a smooth, uniform mixture. If some marshmallows or chocolate chips resist melting, keep stirring until fully dissolved. The mixture will become glossy and thick.
- Incorporate nuts: Fold in the chopped walnuts if using. Ensure even distribution for a consistent flavor and texture in each piece.
- Pour into prepared pan: Transfer the hot fudge into the foil-lined pan. Use a spatula to spread it evenly across the pan surface. Be careful, as the mixture is hot and sticky.
Cooling and Setting
Allow the fudge to cool at room temperature for about 30 minutes. For quicker setting, place the pan in the refrigerator for approximately 2 hours, or until the fudge is firm to the touch. Proper cooling is key to achieving clean, easy-to-cut squares.
Once firm, lift the fudge out of the pan using the overhanging foil or parchment paper. Remove the foil, then cut into 49 squares with a sharp knife or pizza cutter. For clean cuts, wipe the blade with warm water between slices.
Preparation Tips
- Use quality ingredients: High-quality chocolate chips and fresh marshmallows make a noticeable difference in flavor and texture.
- Consistent stirring: Stir constantly during boiling to prevent burning and ensure even heat distribution.
- Timing is everything: Adhere strictly to the 4-5 minute boil window for perfect fudge consistency.
- Pan preparation: Lining the pan with foil or parchment simplifies removal and cleanup.
- Flavor variations: Feel free to add a pinch of cinnamon or espresso powder for a flavor twist.
Nutritional Information
| Nutrient | Per Serving (approximate) |
|---|---|
| Calories | 75.7 kcal |
| Fat Content | 3.4 g |
| Saturated Fat | 1.5 g |
| Cholesterol | 2.2 mg |
| Sodium | 16 mg |
| Carbohydrates | 11.7 g |
| Fiber | 0.4 g |
| Sugar | 10.2 g |
| Protein | 0.8 g |
Tips and Tricks
- Test the fudge’s consistency: If unsure, drop a small spoonful on a cold plate after boiling. If it thickens upon cooling, it’s ready to set.
- Adjust sweetness: For a less sweet fudge, reduce sugar by a tablespoon or two, but be cautious of altering the texture.
- Flavor infusion: Add a teaspoon of coffee extract or a dash of peppermint extract for holiday variations.
- Make it vegan: Use vegan marshmallows, dairy-free chocolate chips, and plant-based butter substitutes.
- Storage: Keep in an airtight container at room temperature for up to a week or freeze for longer storage.
Add-ons
- Sprinkle flaky sea salt on top before setting for a sweet-salty contrast.
- Mix in dried fruits such as cranberries or chopped dried apricots for added texture and flavor.
- Layer with caramel or peanut butter for a decadent variation.
- Top with mini candies or sprinkles for festive occasions.
Side Dishes
While fudge is typically enjoyed on its own, it pairs well with:
- Fresh berries (strawberries, raspberries)
- Whipped cream
- Ice cream (as a topping or side)
- Cookies or biscotti
Improvements
- Use a double boiler to prevent scorching if your saucepan runs hot.
- Incorporate flavor extracts such as almond or peppermint for added complexity.
- Experiment with different nuts or dried fruits for unique textures.
- Adjust the boiling time slightly to alter fudge firmness—less time for softer fudge, more for firmer.
Save and Store
For optimal freshness, store the fudge in an airtight container in the refrigerator for up to two weeks. Alternatively, wrap individual pieces with plastic wrap and place in a sealed container or freezer bag for up to 3 months. To serve, allow frozen fudge to thaw slightly at room temperature for about 10 minutes for the best texture. Remember, the rich nature of this fudge means small servings are enough to satisfy your sweet tooth—so portion control is encouraged!
FAQ
Can I make this fudge dairy-free?
Yes, substitute butter with coconut oil or a vegan butter alternative, use dairy-free chocolate chips, and opt for vegan marshmallows. The texture remains similar, but flavor nuances may vary slightly.
Is it necessary to use a thermometer?
No, this recipe is designed to be foolproof without specialized equipment. The key is boiling the mixture for exactly 4-5 minutes to achieve the perfect fudge consistency.
Can I add other flavors or mix-ins?
Absolutely! Consider adding a teaspoon of peppermint extract for a peppermint fudge, or swirl in peanut butter before pouring into the pan. Dried fruits or different nuts can also be incorporated for variety.
How do I ensure clean cuts?
Chill the fudge thoroughly until firm. Wipe your knife with warm water between cuts to prevent sticking and achieve sharp, clean edges.
Can I double the recipe?
Yes, but use a larger pan to ensure proper setting. Be mindful of the boiling time, which may need slight adjustment based on batch size.
Conclusion
This no-fail chocolate fudge is an essential recipe to keep in your culinary repertoire. Its simplicity, rich flavor, and perfect texture make it a crowd-pleaser for any occasion. Whether you’re a seasoned candy maker or a kitchen novice, you’ll find this recipe reliable and satisfying. Remember, the key to success is precise timing during the boiling step and thorough stirring during melting. Once cooled and cut, these delightful squares will become a regular treat in your home. Share them with loved ones or keep them for yourself—either way, this fudge will surely become a favorite. For more delectable recipes and baking tips, visit Love With Recipes, where we celebrate the joy of homemade sweets and treats.
References
- “The Science of Candy Making,” by Rose Levy Beranbaum — For understanding sugar cooking stages.
- “Chocolate Fudge Recipes,” by the National Confectioners Association — For standard fudge techniques and variations.