

Introduction
At Love With Recipes, we understand that comfort food often hinges on simple, flavorful ingredients that come together to create a memorable meal. Tomato-Free Parmesan Chicken is a classic example of such a dish — crispy, tender chicken breasts coated with a savory Parmesan crust, baked to perfection, and bursting with rich flavors. This recipe, handed down through generations, combines the crunch of Parmesan with the succulence of perfectly cooked chicken, making it a versatile centerpiece for family dinners, special occasions, or even meal prep. Its allure lies in its straightforward preparation, high protein content, and adaptability to various side dishes or flavor tweaks. Whether you’re avoiding tomatoes due to allergies, sensitivities, or personal preference, this dish offers a satisfying alternative without sacrificing taste or texture. As a part of the Love With Recipes platform, this recipe has been crafted to ensure maximum flavor, ease of execution, and enjoyment for all home cooks seeking a hearty, wholesome meal.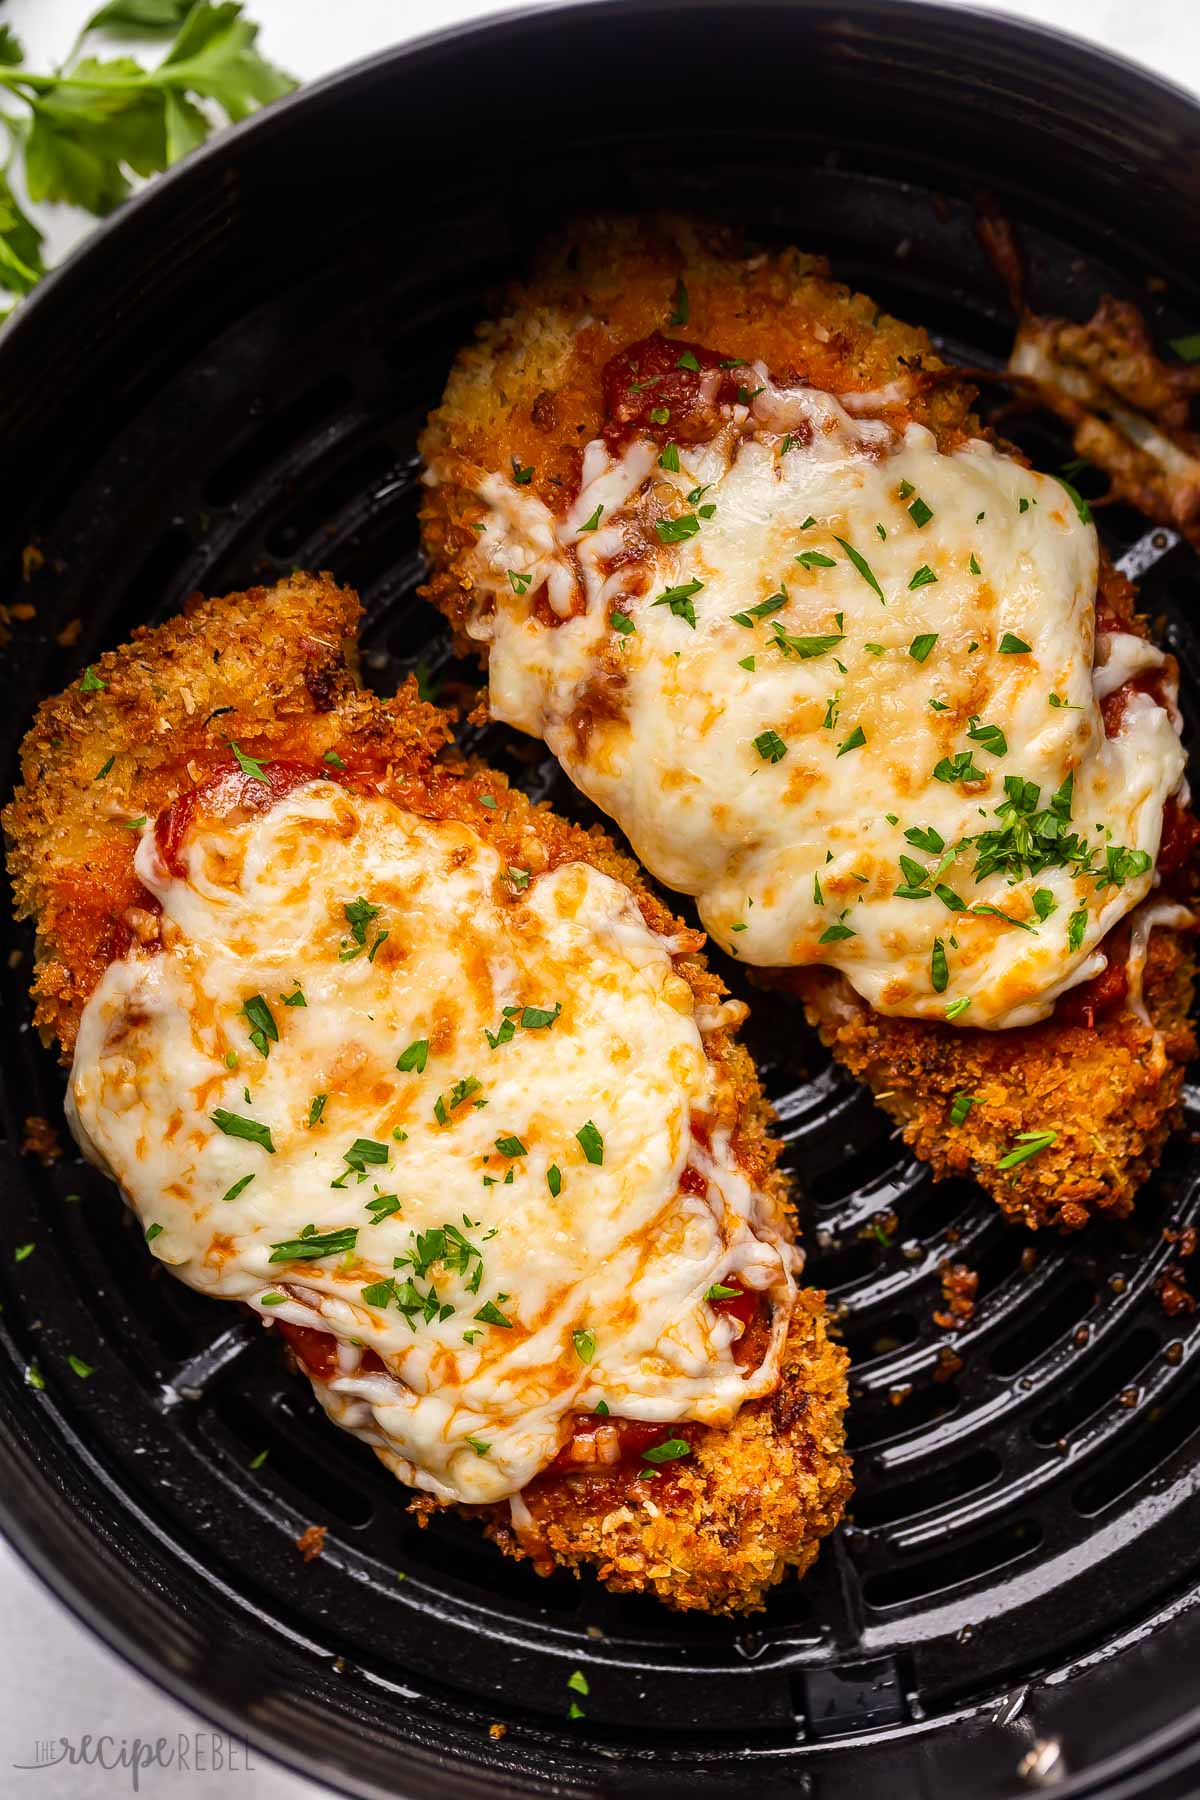
Time
- Preparation Time: 30 minutes
- Cook Time: 45 minutes
- Total Time: 1 hour 15 minutes
Needed Equipment
To successfully prepare this Tomato-Free Parmesan Chicken, gather the following kitchen tools:

- Mixing bowls: Various sizes for preparing breading, egg wash, and Parmesan mixture
- Whisk: For blending eggs and water smoothly
- Measuring cups and spoons: For accurate ingredient measurement
- Sharpened knife: For trimming or preparing chicken breasts if needed
- Cutting board: A stable surface for handling raw chicken
- Large spoon or tongs: For coating chicken pieces in flour and Parmesan mixture
- Frying pan or skillet: For browning the chicken before baking
- Oven-safe casserole dish or baking dish: To transfer and bake the chicken
- Oven mitts: For safety when handling hot dishes
- Kitchen thermometer: To ensure chicken reaches the proper internal temperature (165°F / 74°C)
- Silicone spatula or spoon: For mixing and spreading breading or melted butter
- Cooking spray or butter: For greasing the baking dish
- Aluminum foil (optional): To tent the dish or prevent over-browning
Tags
Chicken, Poultry, High Protein, Oven Baked, Comfort Food, Family Meal, Kid-Friendly, Low Carb Option, Gluten-Free (if using gluten-free flour), Dairy-Based, No Tomatoes
Serving Size
This recipe yields approximately four servings, with each serving consisting of one well-sized chicken breast coated with Parmesan crust. Adjustments can be made to serve more or fewer portions depending on the occasion or appetite.
Difficulty Level
This recipe is classified as Easy. It involves straightforward steps such as breading, pan-frying, and baking, making it suitable for novice cooks and experienced home chefs alike. The key to success lies in patience during breading and ensuring proper browning before baking.
Allergen Information
| Allergen | Presence in Recipe | Notes |
|---|---|---|
| Gluten | Contains gluten (all-purpose flour) | Can be substituted with gluten-free flour for gluten-free version |
| Dairy | Contains Parmesan cheese and butter | Can be omitted or substituted with dairy-free alternatives if needed |
| Egg | Contains eggs in egg wash | For egg allergies, substitute with aquafaba or commercial egg replacers |
| Nightshades | None (no tomatoes or peppers used) | Suitable for nightshade-sensitive diets |
Dietary Preference
This dish is high in protein and can be adapted to fit low-carb or keto diets by choosing appropriate breading options. It is not suitable for vegan or vegetarian diets due to the chicken and cheese, but modifications can be made for plant-based alternatives.
Course
Main Course / Entrée
Cuisine
American / Italian-American
Ingredients in Tables
| Ingredient | Quantity |
|---|---|
| Chicken Breasts | 4 (about 6 oz each) |
| All-Purpose Flour | 1 cup |
| Salt | ½ teaspoon |
| Dried Oregano | ½ teaspoon |
| Cayenne Pepper | ½ teaspoon |
| White Pepper | ¼ teaspoon |
| Eggs | 1 large |
| Water | 2 tablespoons |
| Salt (for egg wash) | 2 teaspoons |
| Black Pepper (for egg wash) | 2 teaspoons |
| Grated Parmesan Cheese | ½ cup |
| Butter (for greasing) | As needed |
| Optional Spices (additional herbs or spices) | To taste |
Instructions
Step 1: Preparing the Chicken
Begin by selecting high-quality chicken breasts. Rinse each piece under cold running water thoroughly to remove any residual blood or impurities. Pat them dry with paper towels or a clean kitchen towel to ensure they are free of excess moisture. Proper drying helps the breading adhere better and results in a crispier crust. If the chicken breasts are particularly thick, consider slicing them horizontally to create thinner cutlets, which will cook more evenly and reduce baking time.
Step 2: Seasoning and Moisture Control
After drying, you may choose to lightly season the chicken with salt and pepper to enhance flavor. For this recipe, the main flavoring will come from the Parmesan crust, so additional seasoning is optional. Place the chicken on a clean plate and set aside while preparing the breading stations. Ensuring the chicken is as dry as possible is essential for achieving a crispy coating; excess moisture can cause the breading to become soggy during baking.
Step 3: Preparing the Flour Mixture
In a large mixing bowl, combine the all-purpose flour with the salt, dried oregano, cayenne pepper, and white pepper. Use a whisk or fork to blend these ingredients thoroughly, ensuring even distribution of spices. This seasoned flour mix will serve as the initial coating for the chicken, helping the breading adhere better and imparting flavor. If you prefer a milder taste, adjust the cayenne pepper accordingly or omit it entirely. For those seeking a gluten-free version, substitute with a gluten-free flour blend, rice flour, or almond flour, keeping in mind the altered texture and flavor profile.
Step 4: Creating the Egg Wash
In a separate bowl, crack the egg and add the water. Whisk vigorously until the mixture is uniform and slightly frothy. The egg wash acts as the glue that binds the flour and Parmesan coatings to the chicken. For a richer coating, you can add a pinch of garlic powder or onion powder to the egg wash, but for this tomato-free version, keeping it simple preserves the clean flavor profile.
Step 5: Parmesan Breading Preparation
In another bowl, combine the grated Parmesan cheese with optional spices such as chopped parsley, basil, or additional herbs for variation. This mixture will be used to create the crispy Parmesan crust. The cheese provides a savory, umami-rich flavor and a crunchy texture once baked. For added flavor, consider mixing in panko breadcrumbs or crushed nuts if you desire a different texture. Set this Parmesan mixture aside, ready to coat the chicken after the flour and egg wash stages.
Step 6: Preheating the Oven and Preparing the Pan
Set your oven to 350°F (175°C). Meanwhile, prepare your frying pan or skillet by adding a couple of tablespoons of oil or butter. The choice of fat depends on preference; butter adds richness, while oil (such as olive oil or vegetable oil) offers a higher smoke point and neutral flavor. Heat the pan over medium-high heat until the fat is shimmering but not smoking. This step ensures that the chicken will brown quickly and evenly when placed in the pan.
Step 7: Bread the Chicken
Take each chicken breast and proceed with the breading process in three stages:
- Coat in seasoned flour: Dip the chicken piece into the flour mixture, turning to coat all sides. Shake off any excess flour to prevent clumping.
- Dip in egg wash: Submerge the floured chicken into the egg mixture, ensuring full coverage. Let any excess drip off.
- Press into Parmesan mixture: Immediately press the chicken into the Parmesan cheese mixture, turning to coat all sides evenly. Press gently to adhere the cheese crust firmly.
Repeat this process for all pieces, placing the breaded chicken on a plate or tray as you go. This method guarantees a thick, flavorful crust that will develop a beautiful golden color during browning and baking.
Step 8: Browning the Chicken
Once the oil or butter in the skillet is hot, carefully place the breaded chicken breasts into the pan. Do not overcrowd; cook in batches if necessary. Brown each side for approximately 3-4 minutes until a golden-brown crust forms. Use tongs or a spatula to gently flip the chicken, ensuring even browning without disturbing the crust. The goal here is to develop a crispy exterior that will remain intact during baking, so avoid moving the chicken excessively.
Step 9: Baking to Perfection
Transfer the browned chicken breasts into a buttered or greased casserole dish or baking pan. For uniform cooking, space the pieces adequately apart. Cover the dish loosely with aluminum foil if you wish to prevent excessive browning or to retain moisture. Bake in the preheated oven for approximately 30 to 45 minutes, depending on the thickness of the chicken breasts. Use a kitchen thermometer to verify doneness; internal temperature should reach 165°F (74°C). The chicken juices should run clear, and the meat should be tender and moist.
Step 10: Final Touches and Serving
For an extra crunch, melt a small amount of butter and mix it with any remaining Parmesan breading. Sprinkle this mixture over the baked chicken just before serving to add an extra layer of flavor and crunch. Alternatively, drizzle with a simple lemon butter sauce or serve with a side of fresh herbs for added brightness. Serve hot, accompanied by your favorite sides.
Preparation Tips
- Consistent Thickness: For even cooking, ensure chicken breasts are of uniform thickness. Use a meat mallet or rolling pin to flatten thicker parts.
- Air-Drying: For maximum crispiness, let the breaded chicken rest uncovered in the refrigerator for 15-20 minutes before baking. This helps the crust adhere better.
- Flavor Variations: Add chopped fresh herbs, garlic powder, or smoked paprika to the Parmesan mixture for different flavor profiles.
- Cooking Variations: Instead of pan-frying, you can bake the chicken directly on a greased sheet with a drizzle of oil for a healthier option.
Nutritional Information
| Nutritional Component | Amount Per Serving |
|---|---|
| Calories | 668.1 kcal |
| Total Fat | 22.7 g |
| Saturated Fat | 7.5 g |
| Cholesterol | 209.6 mg |
| Sodium | 1004.4 mg |
| Total Carbohydrates | 63.6 g |
| Dietary Fiber | 3.4 g |
| Sugars | 3.8 g |
| Protein | 48.7 g |
Tips and Tricks
- Use Fresh Parmesan: Freshly grated Parmesan provides a richer flavor and better melting quality than pre-grated varieties.
- Adjust Breading Thickness: For a crispier crust, double coat the chicken with Parmesan, re-dipping in egg and Parmesan again.
- Monitor Browning: Keep an eye during browning to prevent burning, especially if using butter, which can brown quickly.
- Use a Meat Thermometer: Ensures perfect doneness without overcooking, maintaining moistness.
- Make Ahead: Breaded chicken can be prepared a day in advance and refrigerated, allowing flavors to meld and saving time on busy days.
Add-ons and Variations
- Herb-Infused Parmesan: Mix chopped fresh herbs like parsley, basil, or thyme into the Parmesan coating for aromatic variations.
- Spicy Kick: Incorporate crushed red pepper flakes or smoked paprika into the Parmesan mixture for a spicy version.
- Cheese Variations: Use Pecorino Romano, Asiago, or a blend of Italian cheeses for different flavor profiles.
- Gluten-Free Version: Substitute the all-purpose flour with almond flour or gluten-free breadcrumbs, and ensure the Parmesan is gluten-free.
Side Dishes
This Parmesan chicken pairs beautifully with a variety of sides. Consider these options for a complete meal:
- Garlic Mashed Potatoes
- Steamed or Roasted Vegetables (asparagus, broccoli, green beans)
- Fresh Garden Salad with vinaigrette
- Risotto or creamy polenta
- Roasted sweet potatoes or root vegetables
- Warm crusty bread or garlic bread for added indulgence
Improvements and Customizations
- Adding a Crunch Layer: Mix panko breadcrumbs into Parmesan for an extra crispy crust.
- Flavor Boost: Incorporate lemon zest or minced garlic into the Parmesan mixture for enhanced flavor.
- Marinate: Briefly marinate chicken in a herb-infused buttermilk or yogurt for increased tenderness and flavor.
- Use a Convection Oven: For even crispier results, bake in a convection setting if available.
Save and Store
Leftover Parmesan chicken can be stored in an airtight container in the refrigerator for up to 3 days. For best results:
- Allow the chicken to cool completely before refrigerating.
- Reheat in the oven at 350°F (175°C) for 15-20 minutes to preserve crispiness.
- If reheating in the microwave, place on a microwave-safe dish and cover with a paper towel; expect some loss of crispiness.
For freezing, tightly wrap cooked or uncooked breaded chicken in plastic wrap and place in a freezer-safe bag for up to 3 months. Thaw in the refrigerator overnight before reheating or baking.
FAQs
Can I make this recipe dairy-free?
Yes, substitute Parmesan with a dairy-free cheese alternative or nutritional yeast for a cheesy flavor. Use dairy-free butter or oil for greasing. Keep in mind that texture and flavor may differ slightly.
Can I bake the chicken without browning on the stovetop?
Absolutely. For a completely oven-baked version, bread the chicken and bake directly at 375°F (190°C) for 35-45 minutes, flipping halfway through. Keep an eye on the crust to prevent over-browning.
Is this recipe suitable for gluten-free diets?
Yes. Replace all-purpose flour with gluten-free flour or almond flour, and ensure Parmesan cheese and other ingredients are gluten-free. The texture may vary slightly but will remain delicious.
What are some good substitutions for cayenne pepper?
For milder flavor, omit cayenne pepper. For smoky undertones, use smoked paprika. For heat, add crushed red pepper flakes.
Conclusion
Tomato-Free Parmesan Chicken embodies the essence of comforting, wholesome home cooking. Its crispy Parmesan crust, tender interior, and straightforward preparation make it a standout dish for any occasion. Whether serving it alongside roasted vegetables, a fresh salad, or creamy mashed potatoes, this recipe promises a satisfying, protein-rich meal that can be customized to suit your taste preferences. Perfect for busy weeknights or leisurely weekends, it combines flavor, texture, and versatility seamlessly. As always, Love With Recipes is committed to bringing you recipes that celebrate simplicity and deliciousness, making your cooking experience both joyful and rewarding. Enjoy crafting this timeless dish and sharing it with loved ones, knowing it will become a cherished part of your culinary repertoire.
References: None available; recipe adapted and customized based on family traditions and culinary expertise.