Introduction
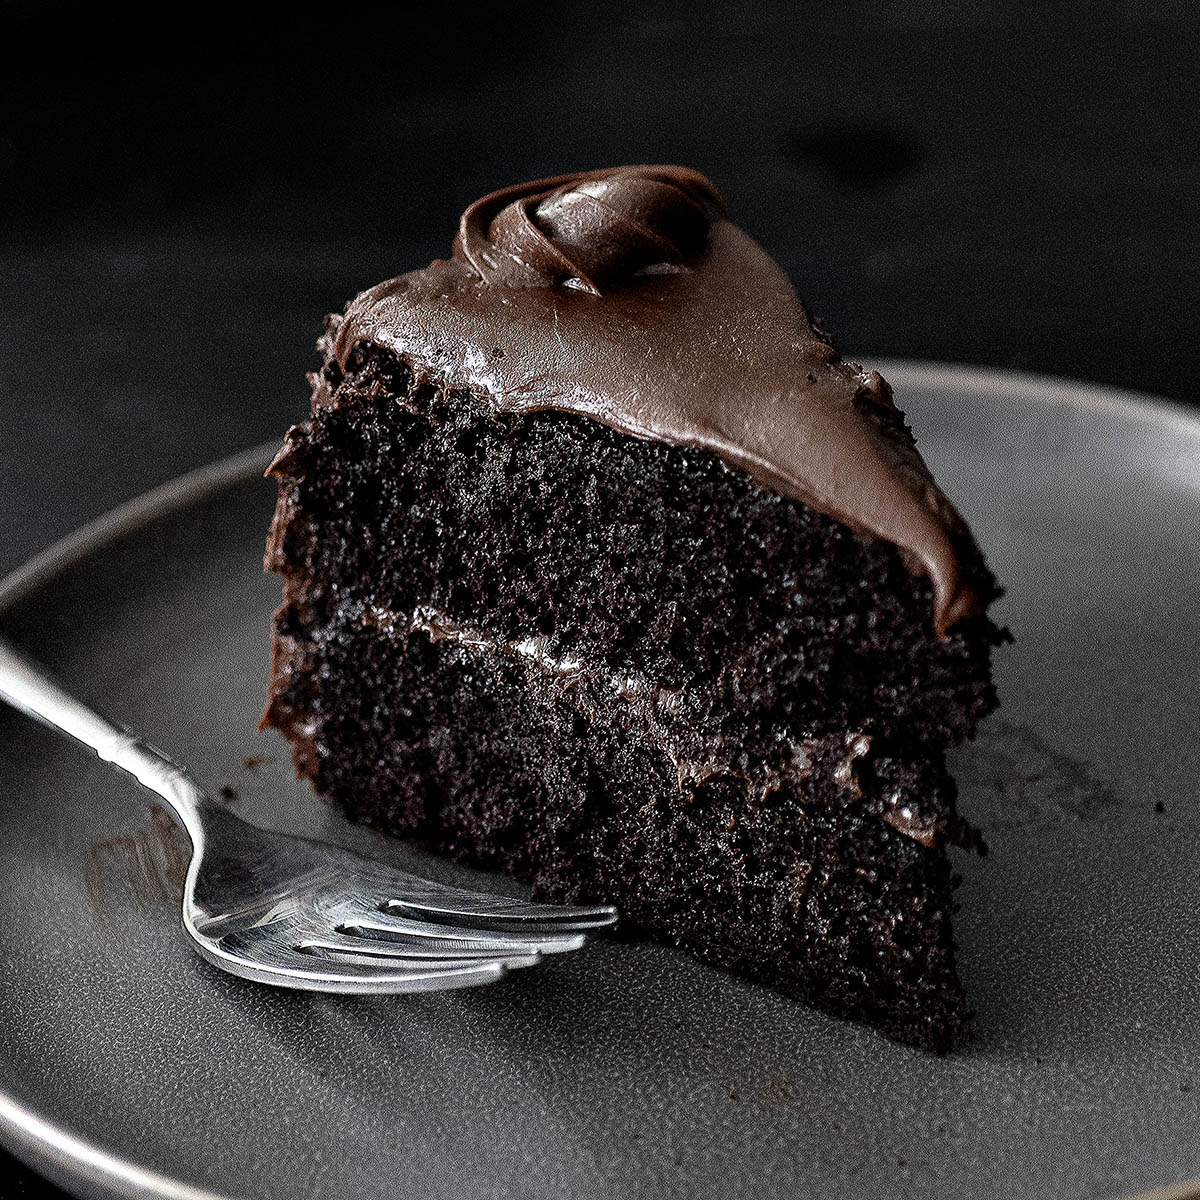
Welcome to Love With Recipes! Today, we’re diving deep into the art of creating a truly moist, decadent chocolate cake that will satisfy even the most discerning sweet tooth. This recipe is designed to be straightforward, quick to prepare, and irresistibly delicious, making it perfect for busy weeknights, spontaneous celebrations, or any moment when you crave rich chocolate goodness. Despite its simplicity, this cake boasts a tender crumb, intense chocolate flavor, and an irresistibly moist texture, thanks to carefully selected ingredients and precise techniques.
Whether you’re an experienced baker or a novice looking to impress friends and family, this moist chocolate cake is a versatile choice. Serve it plain, topped with whipped cream, a dusting of powdered sugar, or a luscious chocolate ganache. Pair it with a scoop of vanilla ice cream or a cup of hot coffee for an indulgent experience that elevates your dessert game. The beauty of this recipe lies in its adaptability, allowing you to customize toppings, fillings, and accompaniments to suit your preferences and occasion. So, gather your ingredients, roll up your sleeves, and prepare to craft a chocolate masterpiece that will leave everyone craving more.
Time
This recipe requires approximately 1 hour and 10 minutes from start to finish, with the majority of the time spent baking and cooling. Here’s a detailed breakdown:
- Preparation Time: 10 minutes
- Baking Time: 45 to 60 minutes
- Cooling Time: 10 to 15 minutes (initial cooling in pan + complete cooling on wire rack)
Planning ahead with an accurate estimate ensures your cake turns out perfectly moist and ready to serve at your desired time.
Needed Equipment
As with all baking endeavors, having the right tools on hand makes a significant difference in the outcome. Here’s a comprehensive list of equipment you’ll need:
- Oven: Preheated to 190°C (375°F). Ensure your oven has a reliable temperature setting for even baking.
- Mixing Bowls: At least one large mixing bowl for combining ingredients, and a small bowl for dissolving baking soda.
- Electric Mixer or Whisk: An electric handheld mixer simplifies mixing, but a sturdy whisk can suffice if you prefer manual stirring.
- Measuring Cups and Spoons: For accurate measurement of ingredients, especially liquids and powders.
- Kitchen Scale: Optional, but useful for precise measurement of ingredients like butter and flour.
- Cake Pan: 8 or 9-inch round pan, preferably with non-stick coating or lined with parchment paper.
- Spatula: For scraping the batter into the pan and spreading evenly.
- Boiling Water Kettle or Pot: To prepare boiling water for dissolving baking soda.
- Cooling Rack: For cooling the cake evenly after baking.
- Toothpick or Cake Tester: To check doneness without damaging the cake.
- Optional: Parchment paper, for lining the pan; cake decorating tools if adding toppings or frosting.
Tags
This moist chocolate cake recipe is versatile and can be tagged with the following keywords for easy categorization:
- Chocolate
- Moist Cake
- Easy Dessert
- Baking
- Quick Recipe
- Homemade Cake
- Party Dessert
- Chocolate Lover’s Favorite
- Family-Friendly
- Comfort Food
Serving Size
This recipe yields approximately 8 to 10 generous slices, depending on how you cut the cake. If you prefer smaller portions or are serving a larger crowd, you can adjust the serving size accordingly. For presentation and portioning, using a serrated knife to cut clean slices ensures each piece remains moist and intact, showcasing the cake’s tender crumb and rich chocolate flavor.
Difficulty Level
This recipe is rated as easy. Its straightforward steps, minimal ingredients, and simple techniques make it accessible for bakers of all skill levels. The key to success lies in accurate measurements, proper mixing, and precise baking times. Even beginner bakers can achieve a professional-looking cake with a moist, luscious texture by following the instructions carefully.
Allergen Information
| Allergen | Present in Recipe |
|---|---|
| Gluten | Yes (all-purpose flour) |
| Eggs | Yes |
| Dairy | Butter, Milk |
If you have allergies or intolerances, consider substituting gluten-free flour, dairy-free margarine or oils, and plant-based milk options.
Dietary Preference
This recipe is not vegan or vegetarian due to the presence of eggs and butter. However, it can be adapted to vegan by replacing eggs with flaxseed or chia seed eggs, using vegan butter or margarine, and plant-based milk. For those following a low-sugar or low-fat diet, modifications are possible but may affect the cake’s moistness and flavor.
Course
This moist chocolate cake is categorized as a dessert. It can be served as a standalone treat or as part of a celebration, such as birthdays, anniversaries, or casual gatherings.
Cuisine
This recipe belongs to the Western culinary tradition, with roots in classic American baking. Its rich chocolate flavor and moist texture make it a beloved staple for chocolate lovers worldwide.
Ingredients
Ingredient Table
| Ingredient | Quantity | Notes |
|---|---|---|
| Sugar | 1 cup (200g) | Granulated white sugar works best |
| Butter | 115g (½ cup) | Unsalted butter preferred for control over salt content |
| Baking Powder | 1 teaspoon | Leavening agent for rise |
| Egg | 1 large | Room temperature for better mixing |
| Vanilla Extract | ½ teaspoon | Pure vanilla enhances flavor depth |
| Milk | ½ cup (120ml) | Whole milk preferred, but can substitute with plant-based options |
| All-purpose Flour | 1½ cups (180g) | Sifted for a lighter texture |
| Boiling Water | ½ cup (120ml) | Helps activate cocoa and create moist crumb |
| Baking Soda | ½ teaspoon | Works with boiling water to leaven the cake |
Instructions
Step 1: Preheat and Prepare
Begin by setting your oven to 190°C (375°F). Proper preheating ensures even baking and optimal rise. While the oven heats, prepare your cake pan. Use butter or non-stick spray to grease the interior thoroughly, then dust lightly with flour or line with parchment paper to prevent sticking. This initial preparation makes removing the cake later effortless and preserves its moist crumb.
Step 2: Mix the Batter
In a large mixing bowl, combine the sugar, softened butter, and baking powder. Using an electric mixer on medium speed, cream these ingredients together for approximately 2-3 minutes until the mixture is smooth, fluffy, and slightly pale. This process incorporates air into the mixture, contributing to a lighter cake texture.
Add the egg, vanilla extract, and milk to the bowl. Continue beating until fully incorporated, about 1-2 minutes. Ensure that the egg is thoroughly mixed into the batter to prevent streaks and promote uniform texture.
Sift the all-purpose flour into the bowl to remove lumps and aerate it. Gradually add the flour, mixing on low speed to prevent overworking the batter, which can lead to a dense cake. Mix until just combined; overmixing at this stage can develop gluten and make the cake tough.
Step 3: Dissolve Baking Soda in Boiling Water
In a small bowl, pour the boiling water and add the baking soda. Stir briskly until fully dissolved. The chemical reaction between baking soda and boiling water creates carbon dioxide bubbles, enhancing the cake’s rise and moisture content. Pour this mixture into the batter gradually, folding gently with a spatula or spoon to incorporate evenly.
Step 4: Transfer and Bake
Pour the batter into the prepared cake pan. Use a spatula to spread it evenly across the surface, ensuring consistent thickness for uniform baking. Place the pan on the middle rack of the preheated oven.
Bake the cake for approximately 45 to 60 minutes. Start checking around the 45-minute mark. Insert a toothpick or cake tester into the center; if it comes out clean, the cake is ready. If not, continue baking, checking every 5 minutes. A moist cake will have a slightly domed top and a firm, springy texture when touched.
Step 5: Cooling and Serving
Remove the cake from the oven and place it on a cooling rack. Allow it to cool in the pan for about 10 minutes. This initial cooling helps the cake set and reduces the risk of breaking apart when transferring.
Carefully run a knife around the edges to loosen the sides and invert onto a wire rack to cool completely. Once cooled, slice into portions and serve. For presentation, dust with powdered sugar, add whipped cream, or drizzle with chocolate ganache as desired.
Preparation Tips
- Ingredient Temperature: Use room temperature eggs, milk, and butter for smoother mixing and better rise.
- Sifting Flour: Sifting aerates the flour and removes lumps, resulting in a finer crumb.
- Measuring Flour: Use spoon-and-level technique or a scale to avoid overpacking the cup, which can lead to dense cake.
- Boiling Water: Adding boiling water activates cocoa powder, intensifying chocolate flavor and moisture.
- Mixing Technique: Do not overmix once flour is added, as this develops gluten and affects texture.
- Oven Calibration: Ensure your oven is correctly calibrated for accurate baking times.
Nutritional Information
| Nutrient | Per Serving (Approximate) |
|---|---|
| Calories | 2460.7 kcal |
| Fat | 105.5 g |
| Saturated Fat | 64.2 g |
| Cholesterol | 474.4 mg |
| Sodium | 2418.4 mg |
| Carbohydrates | 356.4 g |
| Fiber | 8.6 g |
| Sugar | 201.2 g |
| Protein | 32.7 g |
Note: Nutritional values are approximate and depend on specific ingredient brands and portion sizes.
Tips and Tricks
- Enhance Chocolate Flavor: For an extra-rich chocolate punch, add ¼ cup of cocoa powder to the dry ingredients.
- Moisture Boost: Replace some of the butter with vegetable oil for a more tender crumb.
- Frosting Ideas: Top with whipped cream, mascarpone, cream cheese frosting, or a drizzle of melted chocolate for added decadence.
- Adding Mix-ins: Incorporate chocolate chips, chopped nuts, or dried fruit into the batter for texture and flavor variations.
- Presentation: Decorate with fresh berries, edible flowers, or sprinkles to make it special for celebrations.
Add-ons and Variations
- Chocolate Ganache: Pour over cooled cake for a glossy, rich finish.
- Filling Layers: Slice the cake horizontally and add a layer of jam, frosting, or whipped cream between layers.
- Vegan Version: Use flaxseed eggs, vegan butter, and plant-based milk.
- Low-Sugar Alternative: Use natural sweeteners like honey or maple syrup, adjusting baking times accordingly.
Side Dishes
This moist chocolate cake pairs beautifully with various accompaniments:
- Fresh berries (strawberries, raspberries, blueberries)
- Whipped cream or mascarpone
- Vanilla or chocolate ice cream
- Fruit compotes or coulis
- Hot coffee, espresso, or milk
Improvements
To elevate your cake further, consider the following enhancements:
- Adding Espresso: A teaspoon of espresso powder intensifies the chocolate flavor without overpowering it.
- Incorporating Spices: A pinch of cinnamon or chili powder adds depth and warmth.
- Frosting and Garnishes: Decorate with chocolate shavings, edible gold leaf, or colorful sprinkles for special occasions.
- Layered Design: Prepare multiple layers and stack them with filling for a more impressive presentation.
Save and Store
This cake is best enjoyed fresh but can be stored for later consumption. Wrap it tightly in plastic wrap or store in an airtight container at room temperature for up to 3 days. For longer storage, refrigerate for up to 1 week, ensuring it is well covered to prevent drying out. To serve after refrigeration, bring the cake to room temperature for optimal moistness and flavor.
For freezing, wrap the entire cake or individual slices in plastic wrap and then foil. Freeze for up to 3 months. Thaw in the refrigerator overnight before serving, then bring to room temperature for best texture.
FAQ
Can I make this cake gluten-free?
Yes. Substitute all-purpose flour with a gluten-free flour blend designed for baking. Sift the flour blend well and adjust baking time if necessary.
Can I use dark chocolate instead of cocoa powder?
While cocoa powder is ideal for achieving a rich chocolate flavor, you can incorporate melted dark chocolate into the batter for a different but equally delectable result. Adjust sugar levels accordingly to balance sweetness.
How do I ensure my cake stays moist?
Using boiling water to activate the cocoa, not overmixing the batter, and avoiding overbaking are key. Adding a small amount of vegetable oil can also boost moistness.
What frosting pairs best with this cake?
Classic chocolate ganache, vanilla buttercream, or whipped cream are excellent choices. For a healthier option, serve with fresh berries and a dusting of powdered sugar.
Conclusion
This Moist Chocolate Cake is a testament to how simple ingredients and techniques can come together to produce an indulgent, satisfying dessert. Its moist, tender crumb and deep chocolate flavor make it a go-to choice for any occasion, from casual family dinners to special celebrations. Remember, the secret to perfection lies in precise measurements, gentle mixing, and attentive baking. Experiment with add-ins and toppings to make this cake uniquely yours, and enjoy the process of creating a homemade treat that delights the senses. At Love With Recipes, we believe that baking is both a science and an art, and this recipe embodies that perfectly. Happy baking!
References
- King Arthur Baking Company. (2020). The Baking Bible. King Arthur Flour.
- Schaefer, S. (2019). The Art of Chocolate Baking. Culinary Institute of America.