
Introduction
Embarking on a journey toward plant-based culinary excellence often involves reimagining traditional favorites, transforming them into dairy-free, vegan-friendly options that preserve the essence of classic flavors. One such delight is Non-Dairy Gorgonzola, a vegan adaptation of the renowned Italian blue cheese celebrated for its pungent aroma, tangy flavor, and crumbly yet creamy texture. Unlike its dairy counterpart, Non-Dairy Gorgonzola offers a suitable alternative for vegans, lactose-intolerant individuals, and those seeking to reduce their intake of animal products without sacrificing flavor or culinary versatility. This recipe, published on Love With Recipes, a platform renowned for sharing comprehensive and high-quality culinary content, aims to guide you through the process of creating this flavorful, health-conscious cheese substitute from scratch, emphasizing detailed techniques, ingredient insights, and nutritional considerations.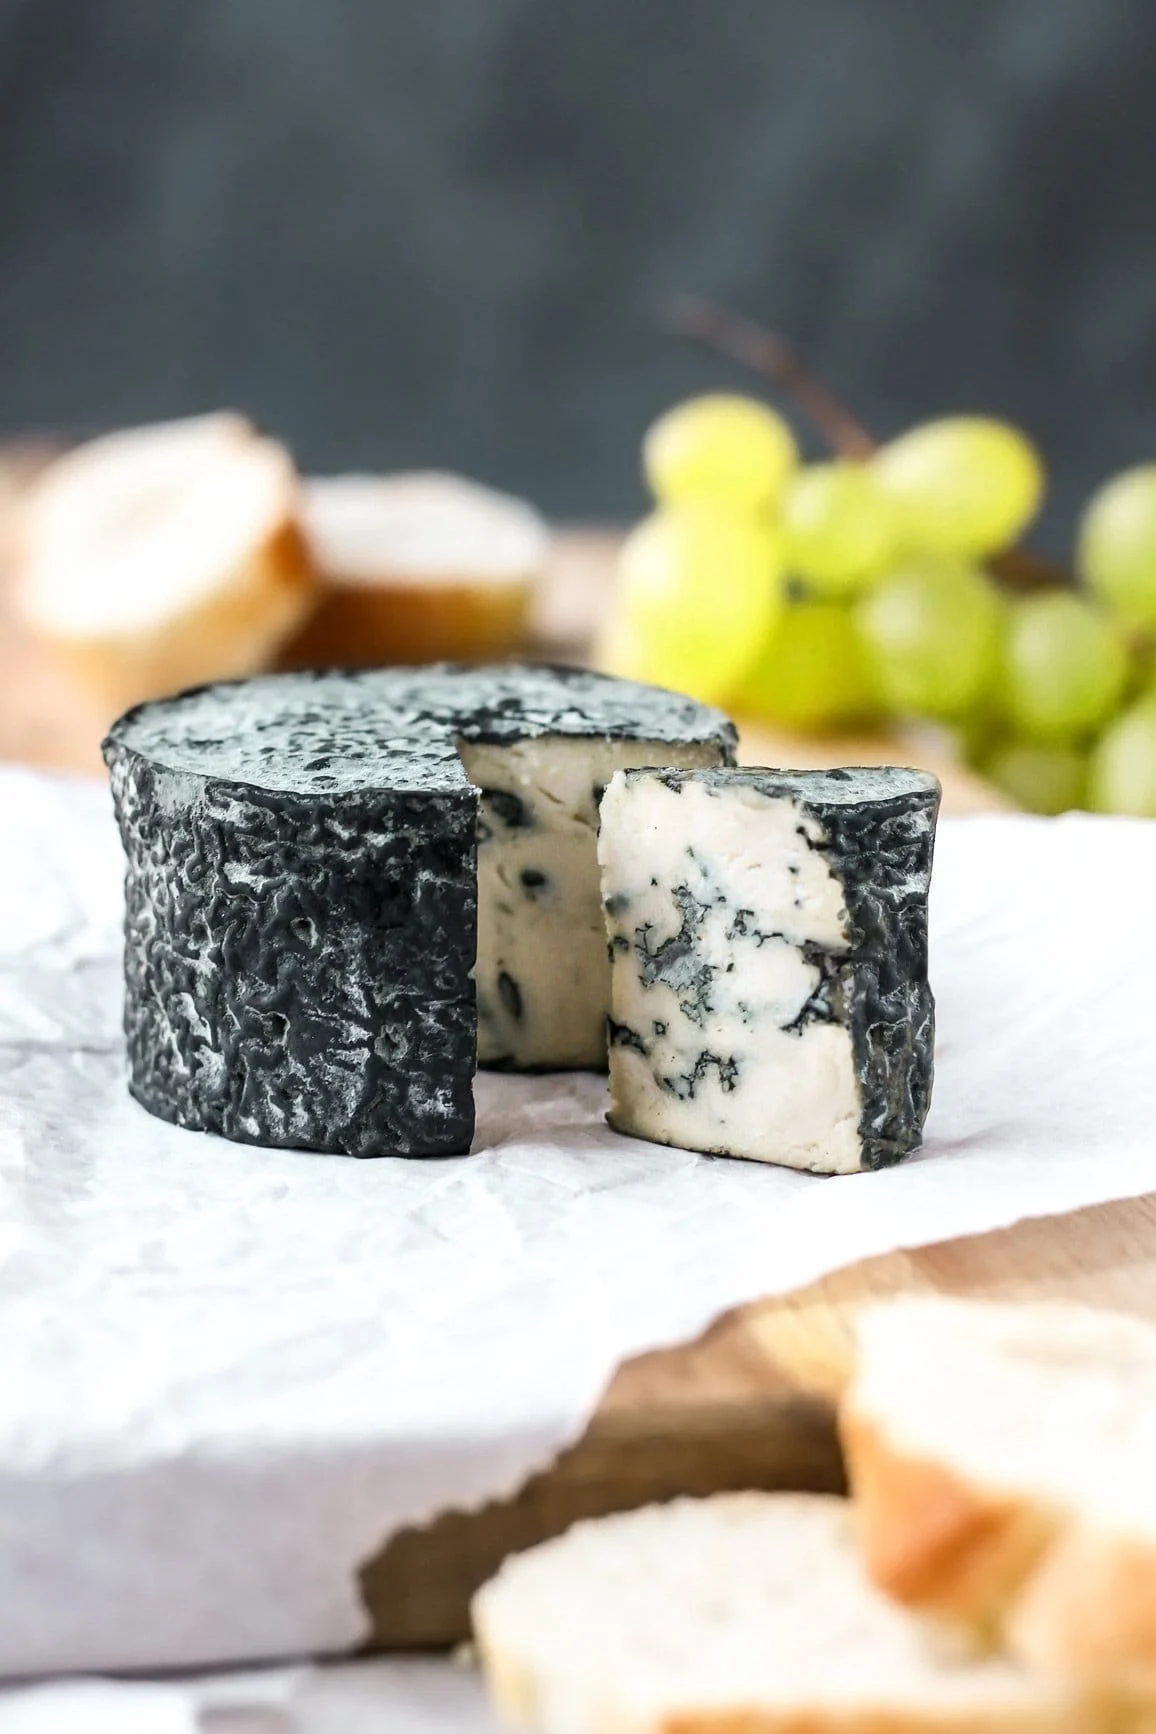
Time
- Preparation Time: 15 minutes
- Fermentation Time: 24-48 hours
- Chilling Time: A minimum of 3 hours (preferably overnight)
- Total Estimated Time: Approximately 2 to 3 days (including fermentation and chilling)
Needed Equipment
- High-speed blender or food processor: Essential for creating a smooth, creamy base with nuts and flavorings.
- Glass fermentation jar or airtight container: To facilitate the fermentation process while allowing gases to escape.
- Measuring spoons and cups: For precise measurement of ingredients, especially crucial for consistent results.
- Fine mesh strainer or cheesecloth: Optional, for straining if a firmer cheese texture is desired.
- Spatula or silicone scraper: To transfer the mixture and ensure no wastage.
- Refrigerator: To chill and firm up the cheese after fermentation.
- Sharp knife or cheese knife: For slicing and serving.
- Small saucepan (if using agar-agar): For dissolving agar-agar before blending.
- Kitchen scale: For accurate measurement of ingredients, especially if scaling the recipe.
Tags
Vegan, Dairy-Free, Plant-Based, Cheese Alternative, Fermentation, Gluten-Free, Nut-Based, Healthy, Homemade, Gourmet
Serving Size
Per 1-ounce (28-gram) serving, approximately 8 servings per batch.
Difficulty Level
Intermediate: Requires basic knowledge of fermentation, blending, and ingredient handling. Patience is key during fermentation and chilling stages.
Allergen Information
- Contains tree nuts (cashews or almonds)
- Contains probiotics (from capsules or powders)
- Contains gluten-free ingredients (if tapioca starch or agar-agar chosen)
Dietary Preference
Vegan, Dairy-Free, Plant-Based, Gluten-Free (if gluten-free starches are used), Soy-Free (if soy ingredients are avoided)
Course
Appetizer, Cheese Platter, Snack, Condiment
Cuisine
Italian-Inspired, Vegan, Contemporary Plant-Based
Ingredients
Ingredient Quantities and Descriptions
| Ingredient | Quantity | Description/Notes |
|---|---|---|
| Raw Cashews or Almonds | 1 cup (150 grams) | Soaked in water for at least 4 hours or overnight for best blending |
| Probiotic Capsules | 2 capsules (or 1 teaspoon probiotic powder) | Use capsules without added fillers; empty the powder into the mixture |
| Nutritional Yeast | 2 tablespoons (about 10 grams) | Provides cheesy umami flavor and B-vitamins |
| Salt | 1 teaspoon (about 5 grams) | Enhances flavor; adjust to taste |
| Tapioca Starch or Agar-Agar | 2 tablespoons (about 16 grams) tapioca or 1 teaspoon agar-agar powder | For texture; tapioca provides stretchiness, agar-agar creates firmness |
| Garlic Powder | 1/2 teaspoon (about 1 gram) | For depth of flavor |
| Onion Powder | 1/2 teaspoon (about 1 gram) | Complementary savory note |
| Dried Basil (optional) | 1/2 teaspoon (about 0.5 grams) | For herbal aroma |
| Water | As needed | To blend to desired consistency |
Instructions
Step 1: Preparation of Nuts
Begin by rinsing your raw cashews or almonds thoroughly under cold running water. Place the nuts in a bowl and cover with ample water, ensuring they are submerged completely. Allow them to soak for a minimum of 4 hours, though overnight soaking is preferable for maximum softening and easier blending. Soaking not only softens the nuts but also helps to neutralize enzyme inhibitors, improving digestibility and flavor profile. After soaking, drain the nuts and rinse them again under cold water. Pat dry with a clean towel or paper towels to remove excess moisture, which can interfere with blending and fermentation.
Step 2: Preparing the Probiotic Mixture
Open the probiotic capsules carefully, avoiding contamination. Using a small spoon, empty the probiotic powder into a clean bowl. If you are using probiotic powder instead of capsules, measure out approximately 1 teaspoon. The probiotics introduce beneficial bacteria that ferment the mixture, developing the characteristic tangy flavor and aiding in the cheese’s fermentation process. Proper handling of probiotics is essential; keep the powder dry and avoid exposing it to heat or moisture before use.
Step 3: Blending the Base
In your high-powered blender or food processor, combine the soaked and drained nuts with the probiotic powder, nutritional yeast, salt, garlic powder, onion powder, and dried basil if using. Begin blending on low speed, gradually increasing to high. As the mixture blends, slowly add water—initially about 2–3 tablespoons—and continue blending until a smooth, creamy texture is achieved. The consistency should be similar to thick yogurt or soft cheese, but can be adjusted with more water if necessary. Scrape down the sides of the blender periodically to ensure uniform blending. The goal is a homogeneous paste free of lumps, which allows for even fermentation and consistent flavor development.
Step 4: Incorporating Thickening Agents
To achieve the desired cheese-like texture, incorporate tapioca starch or agar-agar. If using tapioca starch, sprinkle it into a small saucepan with 1/4 cup water and cook over medium heat, stirring constantly until the mixture thickens and becomes translucent. For agar-agar, dissolve 1 teaspoon of powder in 1/4 cup boiling water, stirring until fully dissolved. Add the thickening mixture gradually into the blender while blending on low speed, ensuring even distribution. Continue blending until fully incorporated. This step is crucial for mimicking the crumbly yet creamy texture of traditional Gorgonzola.
Step 5: Fermentation
Transfer the blended mixture into a clean glass jar or fermentation container. Cover loosely with a cloth or paper towel secured with a rubber band to allow gases to escape while preventing contaminants from entering. Place the jar in a warm, dark place at room temperature, ideally between 68°F to 77°F (20°C to 25°C). Fermentation time varies depending on ambient temperature and desired tanginess; typically, 24 to 48 hours suffices. During this period, beneficial bacteria ferment the mixture, producing lactic acid and other flavor compounds that develop the characteristic Gorgonzola tang. Taste the mixture periodically after 24 hours; if a pronounced tang and slight sourness are desired, extend fermentation up to 48 hours.
Step 6: Chilling and Setting
Once fermentation is complete, transfer the container to the refrigerator and chill for at least 3 hours, preferably overnight. Chilling helps to firm up the cheese, making it easier to handle and slice. The cheese will develop further flavor complexity as it cools. If a firmer texture is desired, you can also strain the cheese through a fine mesh or cheesecloth to remove excess moisture, then chill again.
Preparation Tips
- Use high-quality, raw, unsalted nuts for a cleaner flavor profile. Soaking not only softens the nuts but reduces bitterness and enhances creaminess.
- Adjust seasoning after fermentation; if the cheese tastes too tangy, add a pinch more salt or nutritional yeast.
- For a more intense blue-veined appearance, gently mix in blue mold powder (vegan safe) after fermentation, but this is optional and requires careful handling.
- Ensure your fermentation environment is clean to avoid unwanted bacterial contamination. Use sterilized jars and utensils.
- Experiment with herbs and spices such as thyme, rosemary, or black pepper to customize flavor profiles.
Nutritional Information
| Nutrient | Per 1 oz (28g) Serving |
|---|---|
| Calories | 100–120 kcal |
| Total Fat | 7–9 grams |
| Saturated Fat | 0 grams (mostly unsaturated fats from nuts) |
| Protein | 3–4 grams |
| Carbohydrates | 7–9 grams |
| Dietary Fiber | 1–2 grams |
| Sodium | 250–300 mg |
| Vitamins & Minerals | Rich in B-vitamins, magnesium, calcium (dependent on ingredients) |
Tips and Tricks
- Use a high-powered blender for silky smooth texture; a less powerful blender may require longer blending times or additional water.
- Adjust fermentation time based on taste preference; longer fermentation yields a more pronounced tang.
- For added flavor complexity, incorporate finely chopped herbs or vegan-friendly mold powder after fermentation.
- Maintain consistent fermentation conditions—avoid fluctuations in temperature to ensure predictable results.
- If the cheese is too soft after chilling, add a small amount of additional tapioca starch dissolved in water and blend thoroughly, then chill again.
Add-ons
- Blue-veined appearance: Add vegan blue mold spores or powder to the mixture after fermentation for authentic visual appeal.
- Herb-infused versions: Mix in fresh or dried herbs like thyme, rosemary, or chives for additional flavor layers.
- Spicy kick: Incorporate chili flakes or smoked paprika for a smoky, spicy variant.
Side Dishes and Pairings
- Vegan cheese platter with crackers, sliced fresh fruits (figs, grapes, pears), and nuts.
- Crumbled over salads, roasted vegetables, or vegan pasta dishes for added depth.
- Spread on toasted baguette slices or crusty bread for an elegant appetizer.
- Use as a filling for vegan stuffed mushrooms or savory tarts.
Improvements and Variations
- Experiment with different nuts like macadamia or pecans for unique flavors and textures.
- Add smoked paprika or liquid smoke for a smoky flavor profile.
- Integrate vegan blue mold spores for authentic blue-veined appearance and taste.
- Incorporate sun-dried tomatoes or roasted garlic for richer, more complex flavors.
Save and Store
Transfer the finished Non-Dairy Gorgonzola to an airtight container and store in the refrigerator for up to 10 days. For longer storage, freeze in small portions wrapped tightly in plastic wrap or vacuum-sealed, and consume within 1-2 months. Allow frozen cheese to thaw in the refrigerator before use. Always use clean utensils when handling the cheese to prevent spoilage and maintain freshness.
FAQ
Can I make this cheese nut-free?
While nuts are essential for creaminess and flavor, you can experiment with soaked sunflower seeds or pumpkin seeds as alternatives. However, the texture and flavor may differ slightly.
Is this cheese suitable for people with nut allergies?
No, due to the nut content, this recipe is not recommended for nut-allergic individuals. Consider nut-free alternatives or specialized recipes.
How can I adjust the tanginess?
Fermentation duration influences tanginess; extend fermentation up to 48 hours for a more pronounced flavor. Adjust seasonings after fermentation to balance flavors.
Can I omit the probiotics?
Probiotics are crucial for fermentation. Omitting them will prevent development of the authentic tangy flavor. For a quick, non-fermented version, skip fermentation but expect a different taste profile.
Is this cheese suitable for cooking?
Yes. It melts well when heated—use it in vegan sauces, fondues, or as a topping. Its texture and flavor enhance many dishes.
Conclusion
Creating Non-Dairy Gorgonzola at home is a rewarding process that combines culinary art with microbiology, resulting in a versatile, flavorful, and health-conscious cheese alternative. By understanding the nuances of fermentation, ingredient quality, and flavor balancing, you can craft a product that rivals traditional Gorgonzola in taste and texture, all while adhering to vegan principles. The process fosters a deeper appreciation for plant-based ingredients and offers endless opportunities for customization and innovation. Whether served on a cheese platter, incorporated into savory dishes, or enjoyed simply spread on crusty bread, this vegan Gorgonzola is a testament to the richness of plant-based gastronomy. Remember to document your variations and share your successes with fellow food enthusiasts on Love With Recipes, where passionate cooks unite to explore innovative culinary creations.
References
- Gunderson, J. (2017). The Art of Vegan Cheese. Vegan Food Publishing.
- Holt, S. (2020). Fermentation for Beginners. Microbe Publishing.