Lievito Madre (Sourdough Starter) Recipe
Introduction:
Lievito madre, or sourdough starter, is the foundational ingredient for many traditional Italian baked goods. Its creation involves cultivating wild yeasts and bacteria naturally present in the air, which transform flour and water into a living dough that can rise naturally, adding depth and flavor to your baked treats. While the process can seem time-consuming, the results are definitely worth the wait. This recipe introduces a quicker method using an “starter,” which leverages the power of dried fruit (in this case, raisins) to jumpstart the fermentation process. Over the course of 31 days, you’ll nurture your sourdough starter to maturity, resulting in a bubbly, aromatic levito madre that will be ready to make your dough rise to perfection.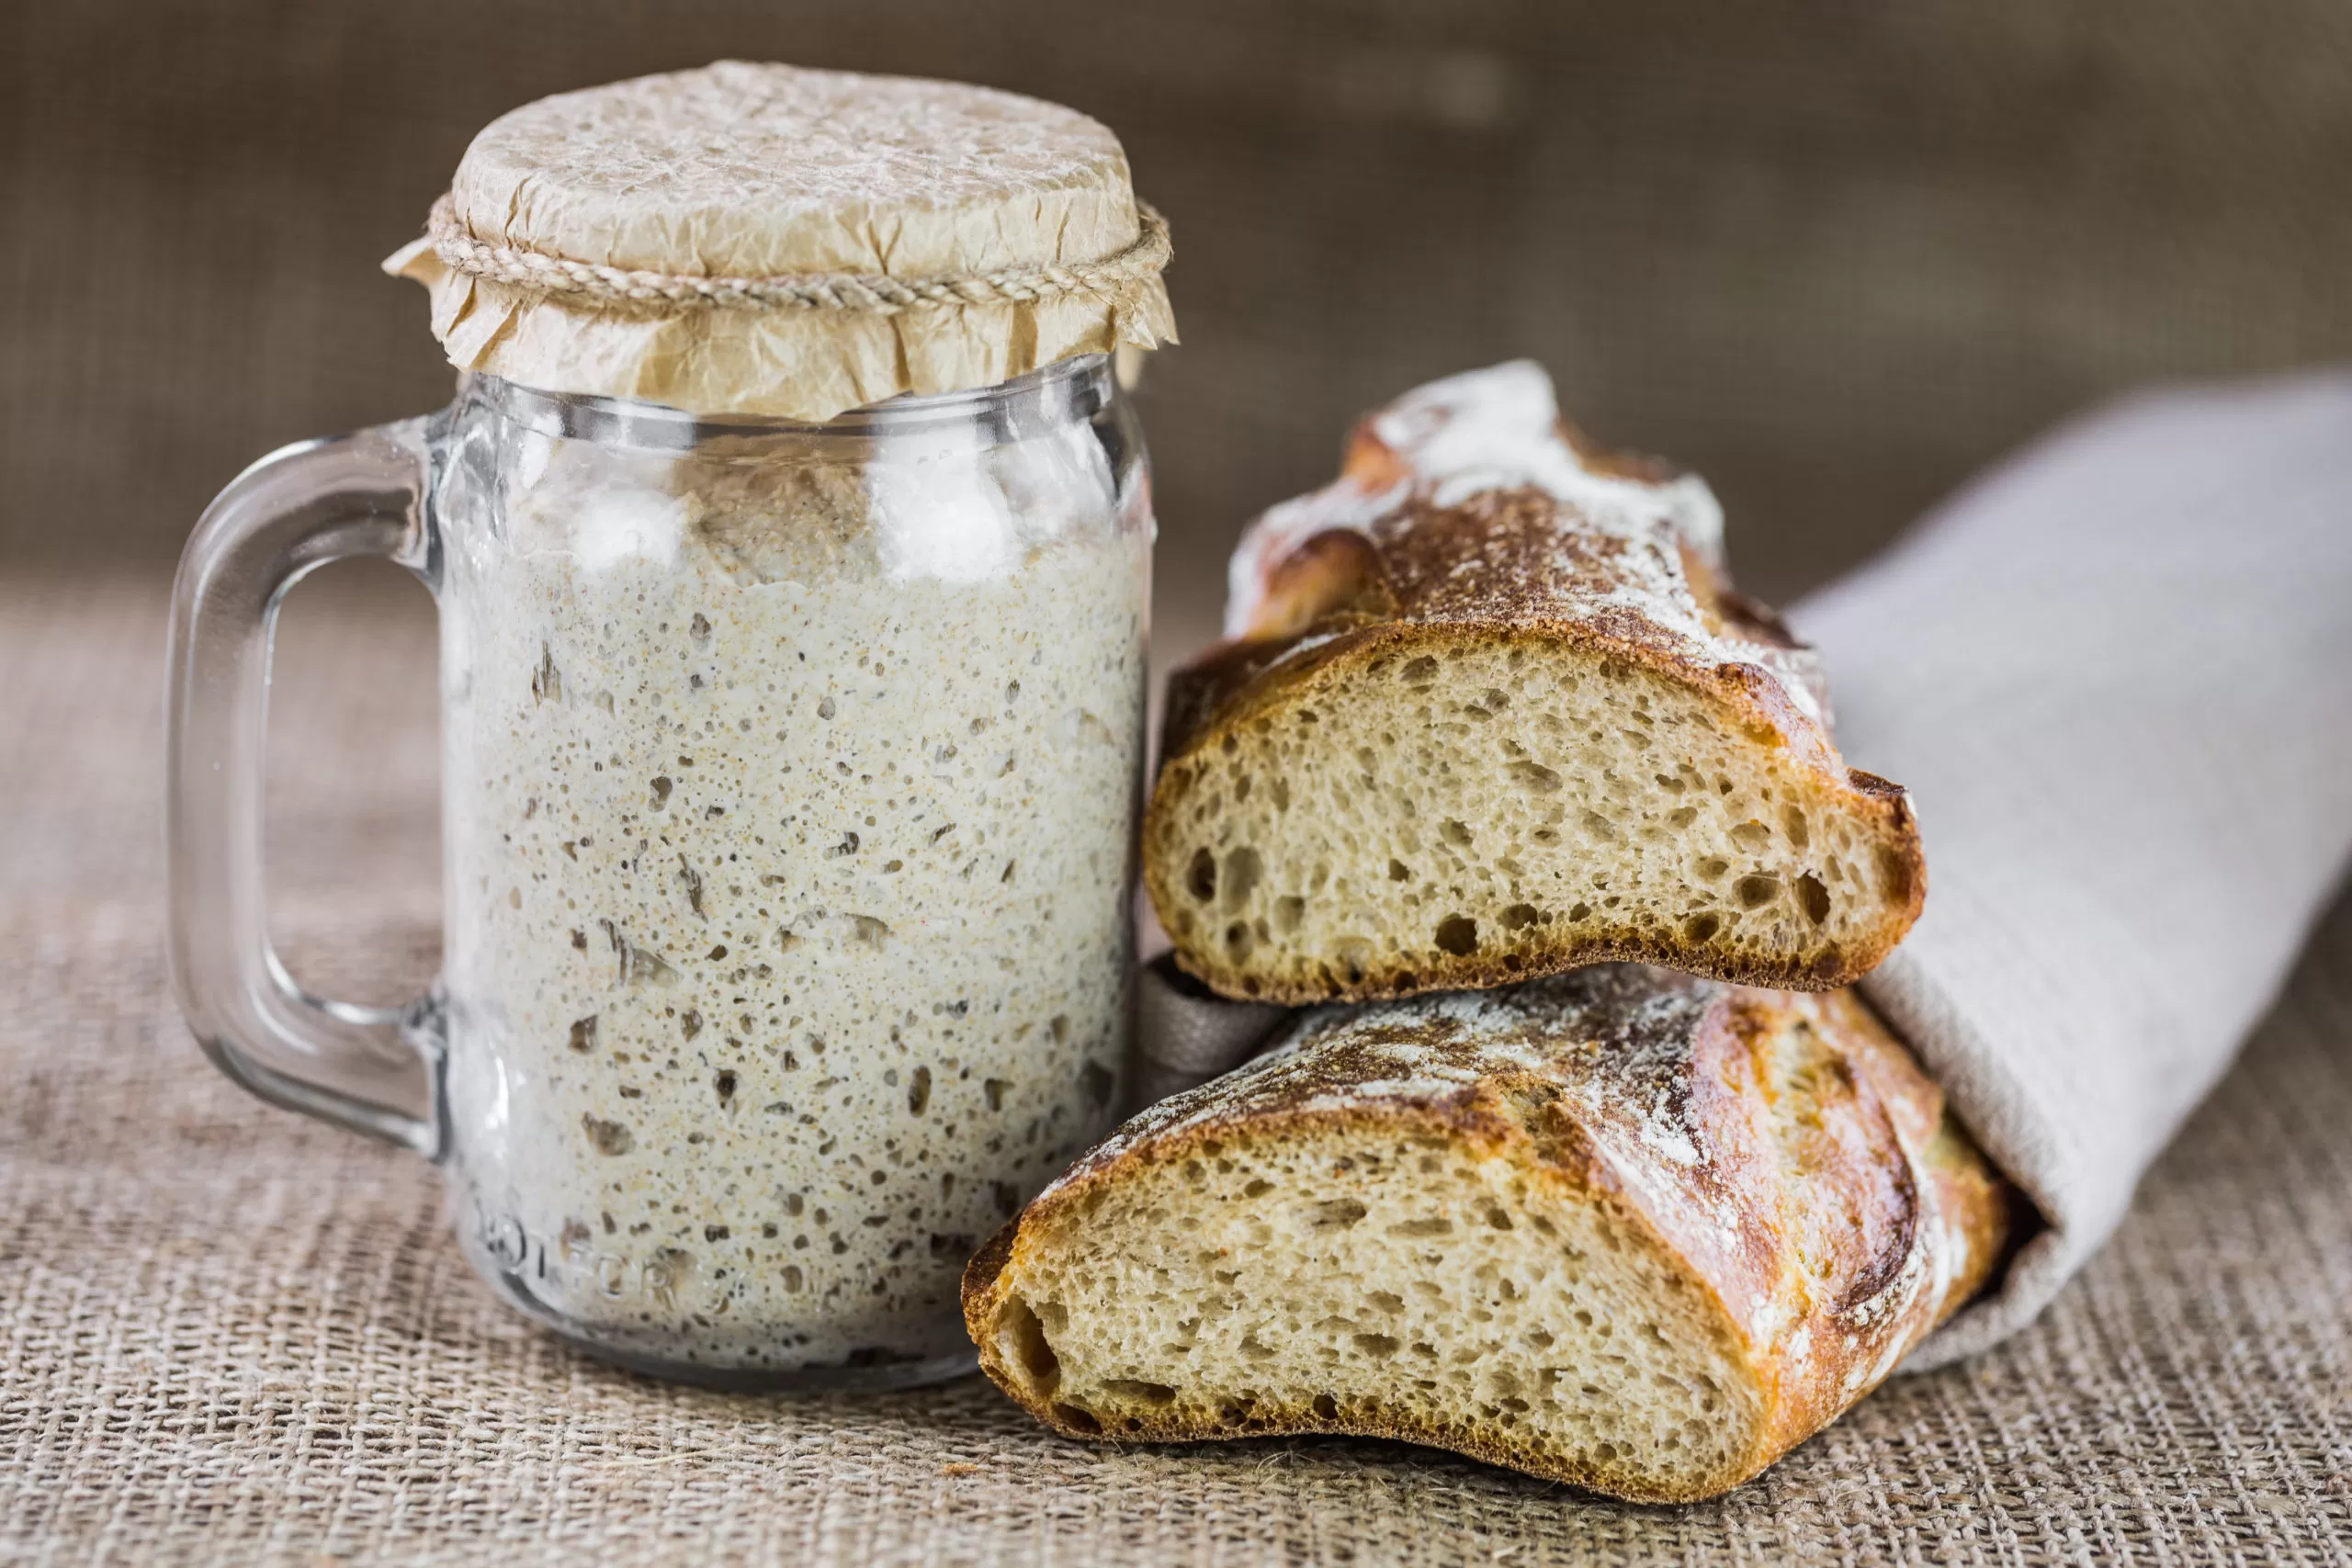
Ingredients:
| Ingredient | Amount |
|---|---|
| Raisins (Uva Passa) | 50g |
| Manitoba Flour | 100g |
| All-Purpose Flour (Farina 0) | 50g |
| Water (for starter) | 120g |
| Water (for refreshment) | 75g |
| Manitoba Flour (for refreshment) | 100g |
| All-Purpose Flour (for refreshment) | 50g |
| All-Purpose Flour (to adjust texture) | q.b. (as needed) |
| Water (for final rinse) | 1L |
| Sugar (for rinse) | 10g |
Instructions:
Creating the Starter (Days 1-2):
- Wash the Raisins:
- Start by washing the raisins thoroughly to remove any impurities, such as dust or wax. Place them in a fine mesh strainer and pour hot water directly over them. This step ensures that no unwanted residues are left on the raisins.
- After washing, transfer the raisins to a bowl and add 120g of water. Allow the mixture to sit for 20 minutes to soften.
- Blend the Raisins:
- After 20 minutes, the raisins should be plump and soft. Use an immersion blender to puree them along with the water. The resulting mixture should still have some texture—don’t blend it into a perfectly smooth paste.
- Prepare the Flour Mix:
- In a separate bowl, combine 100g of Manitoba flour and 50g of all-purpose flour. Add the raisin mixture to the flour blend and stir with a spatula to combine. Use a silicone spatula to scrape down the edges and ensure all the flour is incorporated.
- Knead the Starter:
- Transfer the mixture to a clean surface and knead it until the dough is smooth and cohesive. It should not be too sticky; if necessary, dust lightly with more all-purpose flour to adjust the consistency.
- Fermentation:
- Once the dough is kneaded, place it into a glass jar or container with a lid (if you don’t have one with a clasp, a regular jar will work too, just don’t close it too tightly). Let it sit at room temperature for 48 hours.
Feeding the Starter (Days 3-31):
- First Refreshment (Day 3):
- After 48 hours, your starter should be bubbling with activity. Now it’s time to feed it! Remove 150g of the starter from the jar and place it into a clean bowl.
- Add 100g of Manitoba flour, 50g of all-purpose flour, and 75g of water to the mixture. Stir well with a spoon until fully combined.
- Knead and Stretch the Dough:
- Transfer the mixture to a work surface lightly dusted with flour. Begin kneading it, folding it over itself and pressing it down, then stretching it and folding again. Continue this process for a few minutes to help the dough develop structure.
- Shaping and Resting:
- Once the dough becomes smooth and cohesive, shape it into a small, neat ball. Return the starter to its jar, cover loosely, and leave it at room temperature for 3 hours.
- Repeat the Refreshment Process:
- Every 48 hours, repeat this process of removing 150g of starter, refreshing it with the same flour and water amounts, and kneading it until smooth. Repeat this feeding and refreshing for 31 days, ensuring that the starter continues to develop and mature.
Final Steps (End of Day 31):
- Preparing for Storage:
- After 31 days, your sourdough starter should be fully matured and ready to use. At this point, you can remove the portion you want to use in your recipe, and the remainder will be your ongoing starter for future baking.
- Rinse the Starter (Bagnetto):
- The next step involves giving your starter a “bath” or cleaning, known as “bagnetto.” This helps remove any antagonistic microorganisms and ensures that the starter is pure.
- Divide your starter into two portions. Discard the outer portion and set the remaining pieces aside. In a large bowl, add 1L of warm water and 10g of sugar, mixing until the sugar dissolves.
- Submerge the pieces of starter into the water and allow them to soak for 20 minutes. Afterward, gently press the pieces to release any remaining bubbles or gases.
- Once this step is complete, strain the starter and transfer it back to a clean bowl.
- Final Refreshment:
- To refresh the starter after its bath, add 100g of Manitoba flour, 50g of all-purpose flour, and 75g of water to the starter. Mix until the dough comes together, then knead it on a floured surface until smooth.
- Shape the dough into a ball, cover it loosely, and allow it to rest at room temperature for 3 hours. After this time, you can either use the starter in a recipe or refrigerate it for future use.
How to Use the Sourdough Starter:
- For Baking:
Your starter is now ready to be used in various bread recipes, pizza dough, and other baked goods. To use it, simply take a portion of the starter and incorporate it into your recipe in place of commercial yeast. - Storing the Starter:
When not in use, store your sourdough starter in the refrigerator, but remember to feed it at least once a week. To feed, remove it from the fridge, discard half, and follow the refreshment steps again with flour and water.
Tips for Success:
- Consistency is Key:
Make sure to refresh your starter regularly for the full 31 days to ensure that the yeast and bacteria develop properly. If you skip a feeding, your starter may lose its vitality. - Patience Pays Off:
While it may seem like a lengthy process, each step is crucial for developing the right flavors and textures in your starter. Take your time, and trust that the end result will be worth the wait. - Environment Matters:
The temperature of your kitchen can affect the fermentation process. If it’s too warm, your starter may ferment too quickly; if it’s too cold, the process may take longer. Aim for a consistent room temperature between 68-75°F (20-24°C).
Conclusion:
Making your own lievito madre (sourdough starter) at home is a rewarding and sustainable way to bake naturally leavened breads. The process may take some time, but with a little patience and care, you’ll have a versatile and aromatic starter that you can use in a wide range of recipes. Not only will it add complexity to your dough, but the sense of satisfaction from nurturing your starter and using it in your baking will make every loaf you bake that much more special.
For more delicious, time-honored recipes, visit Love With Recipes.