

Introduction
Rajasthani cuisine, celebrated for its bold flavors and hearty dishes, offers a treasure trove of culinary delights rooted in centuries of tradition. Among these, Rajasthani Badi Ki Sabzi stands out as a quintessential comfort food that embodies the rustic charm of the desert landscape. Known for its simplicity and rich aroma, this dish combines the wholesome goodness of dried dumplings called ‘badi’ with an aromatic spice-infused gravy, making it a favorite among vegetarians and meat-eaters alike. The preparation of Badi Ki Sabzi exemplifies the ingenuity of Rajasthan’s culinary heritage, transforming humble ingredients into a flavorful, nourishing meal. Whether served on a chilly winter evening or as part of a festive feast, this dish offers a satisfying experience that warms both the palate and the soul.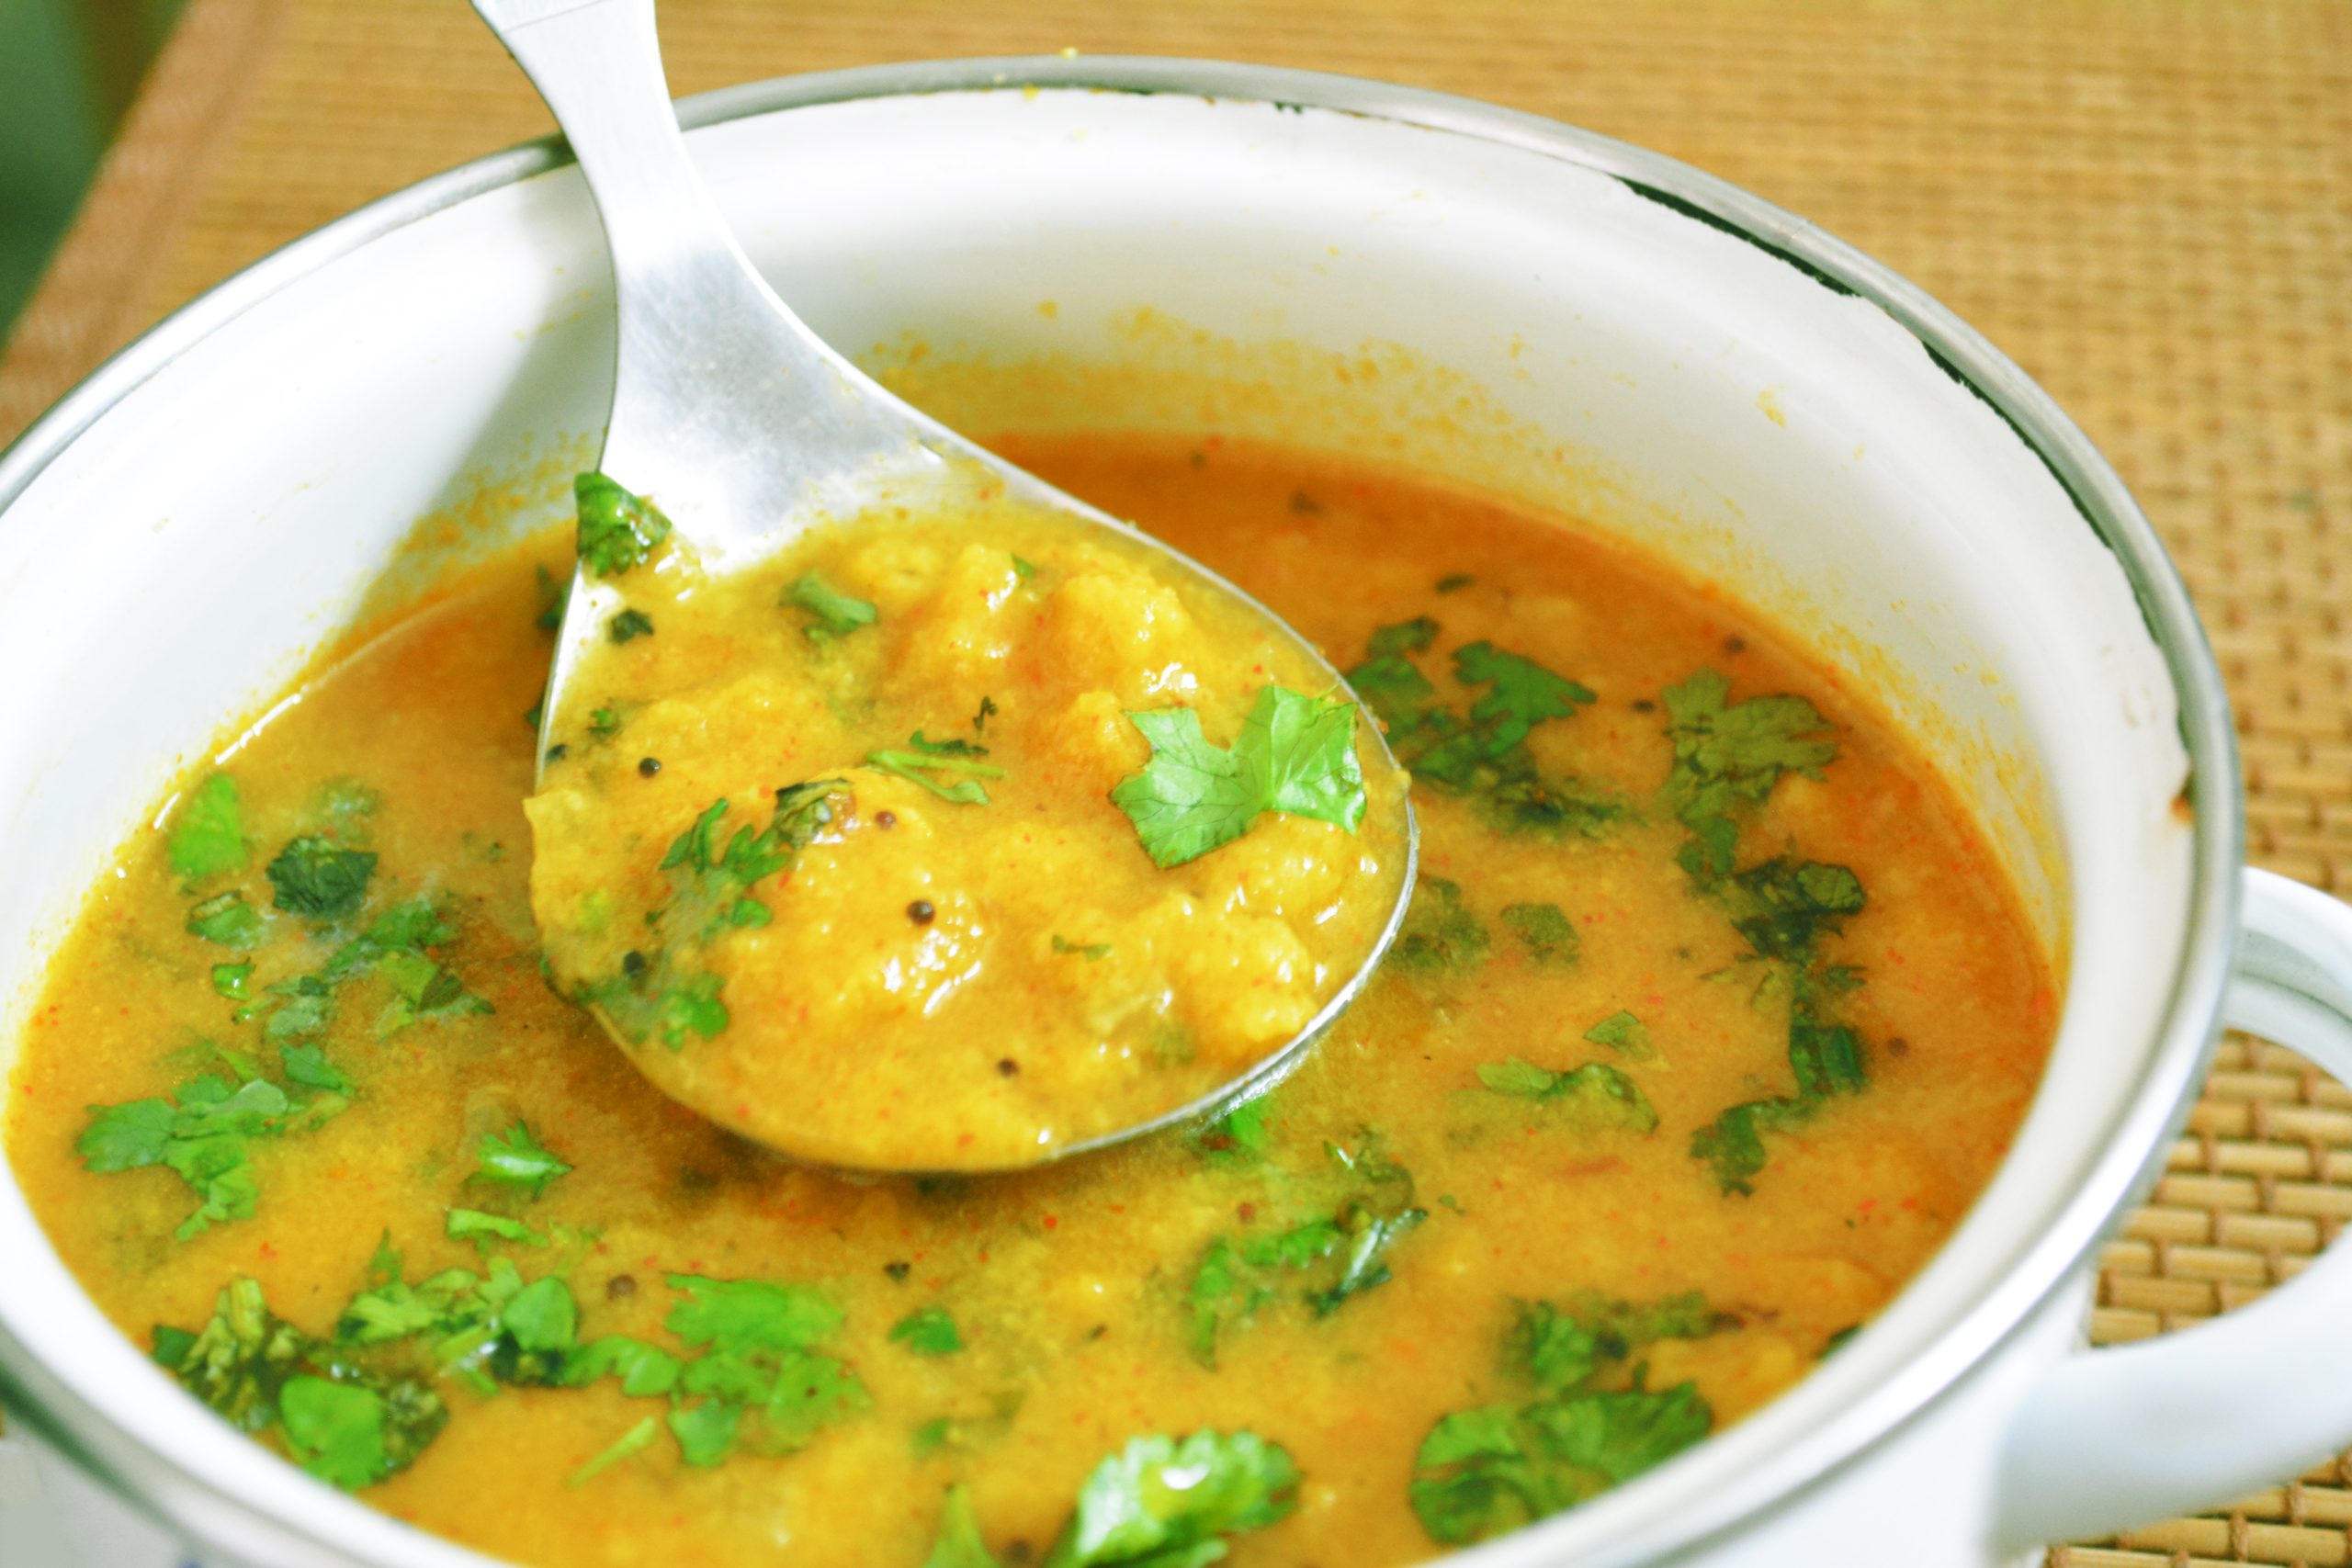
This comprehensive guide, published on Love With Recipes, will walk you through every step of creating this iconic dish, from sourcing authentic ingredients to perfecting the cooking techniques that bring out its full flavor potential. The recipe is designed to be accessible for home cooks, with an emphasis on traditional methods and tips to elevate your culinary skills. By the end of this extensive exploration, you’ll not only master the art of making Rajasthani Badi Ki Sabzi but also gain insights into the cultural significance, variations, and nutritional benefits of this timeless dish.

Time
Preparation Time
15 minutes
Cooking Time
20 minutes
Total Time
Approximately 35 minutes
Needed Equipment
- Wide heavy-bottomed pan or kadai
- Cooking spoon or spatula
- Measuring cups and spoons
- Knife and chopping board
- Stove or cooktop
- Small bowl for mixing spices
- Grater (optional, for garlic and onion prep)
- Ladle
- Serving bowls
Tags
- Vegetarian
- Rajasthani Cuisine
- Comfort Food
- Spicy
- Gluten-Free (if using gluten-free badi)
- Traditional Recipe
- Quick & Easy
- Vegetable Side Dish
Serving Size
Serves 4 people generously, with about 1 to 1.5 cups of sabzi per serving.
Difficulty Level
Easy to Moderate — suitable for beginner cooks with basic cooking skills and some familiarity with Indian spices.
Allergen Information
- Contains gluten if traditional badi is used (made from urad dal and besan)
- Contains garlic and onion
- May contain mustard seeds which can be allergenic
Dietary Preference
Vegetarian, can be adapted to vegan by substituting ghee with plant-based oils and ensuring the badi is vegan-friendly.
Course
Main Course / Vegetable Dish
Cuisine
Rajasthani / North Indian
Ingredients in Tables
Primary Ingredients
| Ingredient | Quantity |
|---|---|
| Badi (wadi) | 1 cup |
| Ghee | As required (about 2-3 tbsp for frying and cooking) |
| Curry leaves | 3 leaves |
| Mustard seeds (Rai/Kadugu) | 1/2 teaspoon |
| Asafoetida (hing) | A pinch |
| Green chilies | 1, finely chopped |
| Garlic | 10 cloves, finely chopped or grated |
| Onion | 1, chopped |
| Water | As required for gravy |
| Red chili powder | 1 teaspoon |
| Turmeric powder (Haldi) | 1/2 teaspoon |
| Coriander powder (Dhania) | 1 teaspoon |
| Salt | As required |
| Coriander leaves (Dhania) | 2 sprigs, finely chopped |
Optional Ingredients / Variations
| Ingredient | Notes |
|---|---|
| Fried besan dumplings | As a substitute for badi |
| Tofu cubes | For vegan variation |
| Additional spices (garam masala, amchur) | For enhanced flavor |
Instructions
Step 1: Preparation of Badi (if making from scratch)
Traditional badi are dried dumplings made from urad dal (black gram) and often besan (gram flour), flavored with spices and herbs. If you want to make your own, soak urad dal for 4-6 hours, drain, and grind into a smooth paste with minimal water. Mix in salt, red chili powder, and ajwain seeds or other herbs as desired. Shape into small dumplings or flat discs and dry them in sunlight for 2-3 days until completely dehydrated. Store in an airtight container. For the purpose of this recipe, store-bought dried badi can be used, which are readily available in Indian grocery stores.
Step 2: Heating the Ghee and Tempering Spices
Begin by heating ghee in a large, heavy-bottomed pan over medium heat. Ghee imparts a rich flavor typical of Rajasthani cuisine and helps in releasing the aromatic nuances of the mustard seeds and curry leaves. Once the ghee is hot, add mustard seeds. As they crackle, carefully add the curry leaves. This crackling sound indicates the release of essential oils, which greatly enhances the dish’s aroma. Immediately after, add a pinch of asafoetida, which acts as a digestive aid and adds a distinctive earthy aroma. Stir briefly to distribute the spices evenly.
Step 3: Aromatics – Green Chilies and Garlic
Next, add the finely chopped green chilies and garlic. Sauté these ingredients for 1-2 minutes until fragrant and slightly golden. The garlic should be cooked until tender but not burnt; burnt garlic can impart bitterness. The green chilies provide the characteristic heat and vibrancy to the dish. Adjust the quantity based on your spice tolerance. For milder flavor, remove the seeds from the chilies or reduce the amount.
Step 4: Cooking the Onions
Add the chopped onions to the pan. Stir well and cook until translucent and soft, about 3-4 minutes. This step creates a flavorful base, as caramelized onions add sweetness and depth. Be careful not to overcook or burn the onions, as this can alter the flavor profile negatively. If using a non-stick pan, control the heat carefully to prevent sticking or burning.
Step 5: Incorporating Spices
Once the onions are translucent, add the red chili powder, turmeric powder, coriander powder, and salt. Mix thoroughly, ensuring the spices coat the onions evenly. Cook for another 3-4 minutes, allowing the spices to toast slightly and release their essential oils. This step is crucial for developing the dish’s signature aroma. Constant stirring prevents burning and ensures even spice distribution.
Step 6: Adding Water and Simmering
Pour in water gradually, starting with about 1 to 1.5 cups, depending on your desired gravy consistency. Stir well to combine the spices and onions, forming a flavorful broth. Bring the mixture to a gentle simmer, reducing the heat to low-medium. Let it cook for 5-6 minutes to allow the flavors to meld together. Adjust water quantity if you prefer a thicker or thinner gravy. For a thicker consistency, reduce the water slightly, and for a more soupy texture, add a little more.
Step 7: Incorporating the Badi (Dumplings)
Add the dried badi into the simmering gravy. Gently stir to distribute the dumplings evenly throughout the sauce. Cover the pan partially and cook for 2-3 minutes to allow the badi to absorb the flavors. For a richer taste, you can cook the dish uncovered for an additional 5-6 minutes, which will reduce the gravy and intensify the flavors. Keep an eye on the dish to prevent burning or sticking, and stir gently to avoid breaking the dumplings.
Step 8: Final Touches and Garnish
Once the badi are soft, well-infused, and the gravy has thickened to your liking, turn off the heat. Garnish generously with finely chopped coriander leaves. The fresh herbs add a bright, aromatic finish to the dish. Serve hot, ensuring the flavors are vibrant and comforting.
Preparation Tips
- Authentic Badi: For authentic taste, prepare your own badi by soaking urad dal, grinding into a smooth paste, flavoring, shaping, and sun-drying until completely dehydrated. This process can take 2-3 days but yields the most traditional flavor. Alternatively, high-quality store-bought badi works well and saves time.
- Flavor Enhancement: To deepen the flavor, fry the badi briefly in ghee before adding to the gravy. This enhances their texture and aroma.
- Spice Adjustment: Tailor the heat level by increasing green chilies or red chili powder. For milder taste, reduce these quantities or remove seeds.
- Vegetarian Variations: Use fried tofu cubes or paneer for added protein and a different textural element.
- Gravy Texture: Adjust water quantity to make the gravy thick or thin, according to preference.
Nutritional Information in Tables
| Nutrient | Per Serving (approximate) |
|---|---|
| Calories | 130 kcal |
| Protein | 4 g |
| Carbohydrates | 20 g |
| Fats | 5 g |
| Fiber | 3 g |
| Sugar | 3 g |
| Sodium | 150 mg |
Tips and Tricks
- Flavor Boost: Add a teaspoon of amchur (dry mango powder) at the end for a tangy kick.
- Cooking Badi: Fry the badi in ghee for 2-3 minutes before adding to the gravy for enhanced aroma and flavor.
- Seasoning: Adjust salt and spices at the end of cooking to suit your palate.
- Extra Aromatics: Include a pinch of garam masala or a dash of dried mango powder for a flavor twist.
- Make Ahead: Prepare the badi in advance and store in airtight containers for quick use in future recipes.
Add-ons and Variations
- Vegetables: Incorporate chopped spinach, fenugreek leaves, or peas into the gravy for added nutrition.
- Proteins: Add chunks of paneer or tofu for a more substantial meal.
- Spice Variations: Experiment with cumin seeds, dried red chilies, or coriander seeds for different regional flavors.
Side Dishes
- Whole wheat chapatis or lachha parathas
- Steamed basmati rice or jeera rice
- Fresh salad with onions, cucumbers, and lemon
- Raita or plain yogurt to balance heat
Improvements and Customizations
- Texture: For a creamier gravy, blend a small portion of cooked onions and spices and mix back into the dish.
- Flavor Layering: Add a small piece of cinnamon stick or cloves during tempering for a subtle aromatic depth.
- Spice Balance: Use freshly ground spices for a more vibrant flavor compared to pre-ground ones.
- Healthier Version: Use mustard oil or a neutral oil instead of ghee for a lower-fat option, keeping the authentic flavor with added spices.
Save and Store
Leftover Badi Ki Sabzi can be stored in an airtight container in the refrigerator for up to 2 days. Reheat gently on the stovetop, adding a splash of water if needed to restore the gravy’s consistency. For longer storage, freeze in portions for up to a month. To reheat, thaw in the refrigerator overnight and warm in a pan over low heat. Ensure the dish is heated thoroughly before serving to maintain flavor and safety.
FAQ
Can I make Badi Ki Sabzi vegan?
Yes, by substituting ghee with vegetable oil or plant-based butter, and ensuring the badi is made from vegan ingredients, you can enjoy a vegan version of this dish. Sun-dried badi are typically vegan, but always check the ingredients.
Can I use fresh badi instead of dried?
Freshly made or store-bought fresh badi can be used, but they have a different texture and flavor profile. Typically, dried badi are preferred for their concentrated flavor and longer shelf life.
What are some authentic regional variations?
In some parts of Rajasthan, Badi Ki Sabzi is cooked with additional ingredients like dried mango powder (amchur), dried red chilies, or even topped with a dollop of ghee for extra richness. Variations also include adding vegetables such as spinach or fenugreek leaves for added health benefits.
Is this dish gluten-free?
Traditional badi made from urad dal and besan are gluten-free. However, commercially available badis may contain wheat flour or other additives, so always check packaging for gluten content.
Conclusion
Rajasthani Badi Ki Sabzi exemplifies the simplicity and depth of Indian rustic cooking, blending dried dumplings with a fragrant, spice-laden gravy. Its quick preparation, comforting textures, and rich flavors make it a versatile dish suitable for any occasion—be it a weekday meal or a festive gathering. The dish’s ability to be customized with various ingredients and spices allows for endless variations, ensuring it remains a favorite in homes across Rajasthan and beyond. Whether you’re a seasoned cook or a beginner eager to explore North Indian flavors, mastering this dish will enrich your culinary repertoire and bring a taste of Rajasthan into your kitchen. Remember, at Love With Recipes, we believe that food is an expression of culture and love, and this dish is a perfect example of that philosophy.
References
- Rajasthan: A Culinary Journey by Harish Kapadia
- The Complete Book of Indian Cooking by Mridula Baljekar